
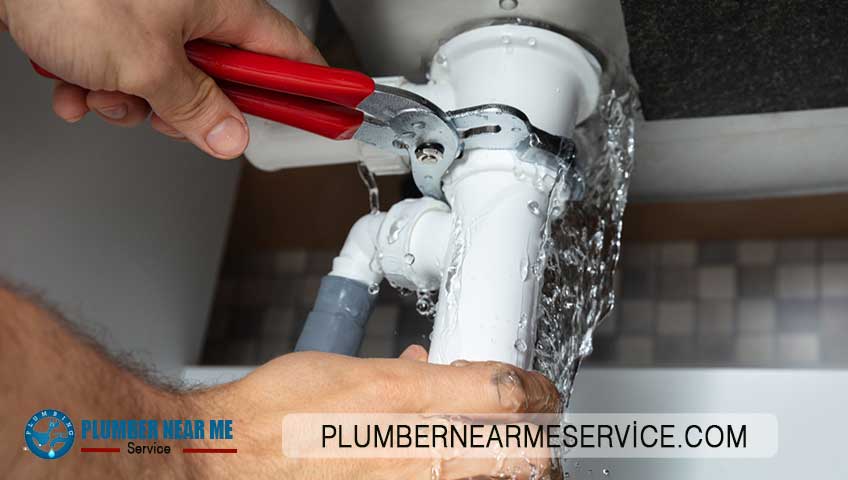
The vast majority of leaking or dripping faucets are brought on by cut up or worn washers and the commonest kind of leaking washer is named a ‘jumper valve washer’.
Jumper valve washers are discovered within the majority of basin faucets, bathe faucets, backyard faucets, laundry faucets and older type kitchen tapware. Be aware that tapware that’s not of the mixer faucet kind or ceramic disk kind can have a jumper valve inside it.
So, by understanding easy methods to change a jumper valve washer is not going to solely prevent water however can even prevent cash. Changing a leaking faucet or jumper valve washer is one thing you’ll be able to simply do your self because it’s one of many few plumbing jobs that isn’t regulated.
By following the under 7 DIY steps you’ll discover it straightforward to cease your faucets from dripping.
However bear in mind, in case you’re undecided or nonetheless unsure after studying this weblog then don’t threat it, name a licensed grasp plumber at Essendon Plumbing Providers on 1300 231 976.
Firstly, Right here Are the Instruments you Will Have to Change a Jumper Valve Washer
The 7 DIY Steps to Altering a Jumper Valve Washer
Step 1 – Flip Off Your Water Provide
Flip off the mains water provide, this could possibly be crucial of all steps. For those who pull aside a faucet earlier than turning the water off, you’re going to have a serious flood in your arms.
The mains isolation valve is often discovered on the water meter situated on the entrance of your property simply contained in the boundary. In a flat or house there may be often a financial institution of water meters situated in a central location or at every house.
For those who’re undecided easy methods to flip off your water or the place your water meter is situated, see our weblog ‘How Do I Shut Off My Water Provide’.
Step 2 – Drain the Scorching & Chilly Pipework Down
Drain the cold and hot pipework down on the faucets by absolutely opening each cold and hot faucets till the water stops flowing. To take away any air within the system and assist drain the water, downturn one other cold and hot faucet in the home and go away it open. As soon as the water has stopped flowing you might be able to disassemble the faucet. If the water doesn’t cease flowing, you could not have turned the meter off arduous sufficient.
Step 3 – Disassemble the Faucet
Disassemble the faucet by first eradicating the button on the prime of the faucet spindle, or there could also be a locking nut below the faucet deal with, then loosen and take away the deal with. Take away the faucet shroud by unscrewing anti-clockwise, which is able to expose the faucet spindle. Typically the shroud might be on tight or caught with cleaning soap scum, so you could want to put a rag round it and use a footprint wrench to get it unfastened – being cautious to not injury or scratch the shroud.
Unsure the place to purchase the instruments, see our weblog ‘The Greatest DIY Plumbing Instruments to Purchase at Bunnings’ that will help you out.
Step 4 – Take away the Faucet Spindle Physique
Take away the faucet spindle physique by inserting an adjustable shifting spanner, additionally discovered within the above weblog, on the nut of the spindle and switch it anti-clockwise. Totally take away the spindle to show the jumper valve.
The stem of the jumper valve ought to now be uncovered both caught within the spindle physique or sitting on the faucet seat within the housing. Jumper valve our bodies are made from both plastic or brass. If sitting within the faucet physique, use a pair of lengthy nostril pliers to take away the jumper valve.
As soon as eliminated you need to have the ability to see both a cut up within the washer or the rubber has worn down or perished.
Step 5 – Change the Jumper Valve Washer
Firstly, when buying a brand new jumper valve washer out of your native plumbing {hardware} store, we advise you spend just a little further and purchase the very best quality jumper valve washer you’ll be able to afford. It’s finest to exchange each the new and the chilly faucet washers on the similar time, as you have already got the water turned off. Make sure that there is no such thing as a particles sitting on the valve seat, then place the washer inside the faucet spindles.
Now place the spindle physique again over the housing and screw them down clockwise until hand tight, as soon as hand tight, nip up gently with a shifting spanner, there is no such thing as a must overtighten.
Step 6 – Place Deal with Again On & Flip Water on on the Water Meter
Earlier than changing the shroud, flip the faucets off by inserting the deal with again on the spindle and winding down in a clockwise route. Now bear in mind to show the opposite set of faucets off in the home earlier than turning the water provide again on on the water meter.
Return to the faucets you simply re-washered and open them each as much as flush any particles out earlier than closing off the faucet once more.
Step 7 – Check for Leaks & Change the Shroud
Check for drips or leaks by opening and shutting the faucet a number of instances. It needs to be straightforward to open and shut and never require a lot strain to show off. When you’re completely happy you’ve fastened the leak, take away the deal with once more, set up the shroud then change the faucet deal with and locking button or screw. That’s all there may be to it, job accomplished!
Contact Us
For those who need assistance from a Licensed Grasp Plumber, then name and converse to our staff right now. Contact Essendon Plumbing Providers on 1300 231 976 or guide on-line. We’re obtainable 24/7, three hundred and sixty five days a yr.

Write a Comment