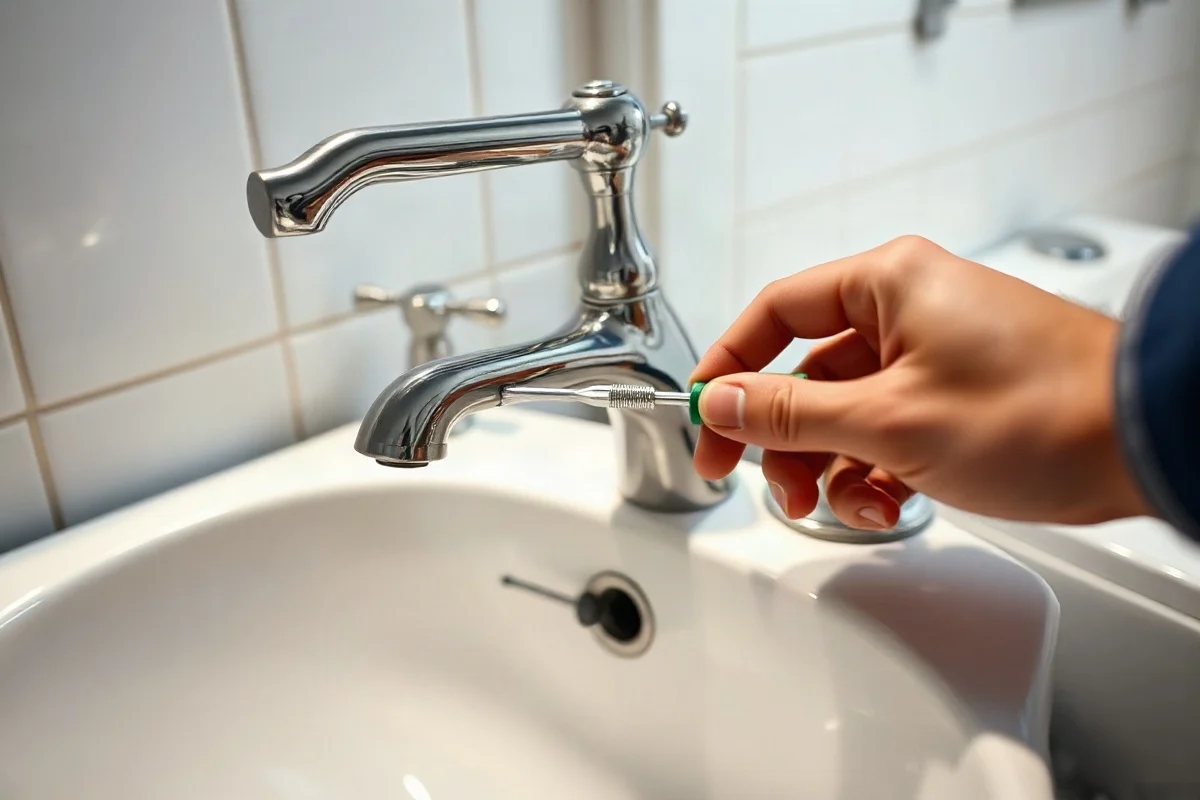
Yes, you can often replace a worn bathroom faucet washer yourself if the faucet has a simple compression-style design and the shutoff valves work properly. Turn off the water, remove the handle and valve stem, replace the damaged washer with a matching part, and reassemble the faucet carefully. However, many modern bathroom faucets use cartridges, ceramic discs, or other components instead of a traditional washer. If the faucet does not come apart easily, the shutoff valve will not stop the water, or the leak continues after the repair, use a qualified local plumber.
What a Faucet Washer Does
A washer is a small flexible seal inside some faucet valves. When you turn the handle off, the washer presses against a valve seat and stops water from passing through the spout. Over time, pressure, mineral deposits, age, and repeated use can damage the washer or the metal surface beneath it.
Traditional compression faucets usually have separate hot and cold handles. They often require several turns to open or close and are among the most likely bathroom faucet types to use replaceable rubber washers. A single-handle faucet or a two-handle faucet that turns only a short distance may use a cartridge, ceramic disc, or ball-style valve instead.
Identifying the valve design before buying parts helps prevent wasted time and accidental damage. If you are not sure what type of faucet you have, take a clear photograph of the faucet and the removed parts to a plumbing supply store, or ask a professional to identify the repair.
Common Signs of a Worn Washer
A damaged washer usually produces a few recognizable symptoms:
- Water continues dripping from the spout after the handle is fully closed.
- The drip becomes worse when the handle is tightened.
- The handle feels unusually stiff, loose, or difficult to turn.
- Water leaks around the handle while the faucet is running.
- The faucet makes a squealing, chattering, or vibrating sound when opened.
- The leak comes from only the hot or cold side of a two-handle faucet.
A drip from the spout often points to a valve, washer, cartridge, or valve-seat problem. Water around the handle may indicate a stem seal or O-ring issue instead. Water under the sink can come from a supply connection, faucet body, or drain assembly and may not be related to the washer at all. For broader faucet troubleshooting, see this guide to faucet repair.
Safe Checks Before Taking the Faucet Apart
Begin with low-risk observations. Dry the faucet and the area beneath the sink, then operate the handles while watching where water first appears. Do not assume that water running down the faucet body is coming from the spout. A leak at the handle or supply connection requires a different repair.
Check the faucet type
Look at the number of handles and how they operate. A faucet with a handle that screws down through several turns may be a compression model. A lever or handle that moves through a short arc is more likely to use a cartridge or ceramic valve. This is only a general indication, so consult the manufacturer’s instructions if they are available.
Test the shutoff valves
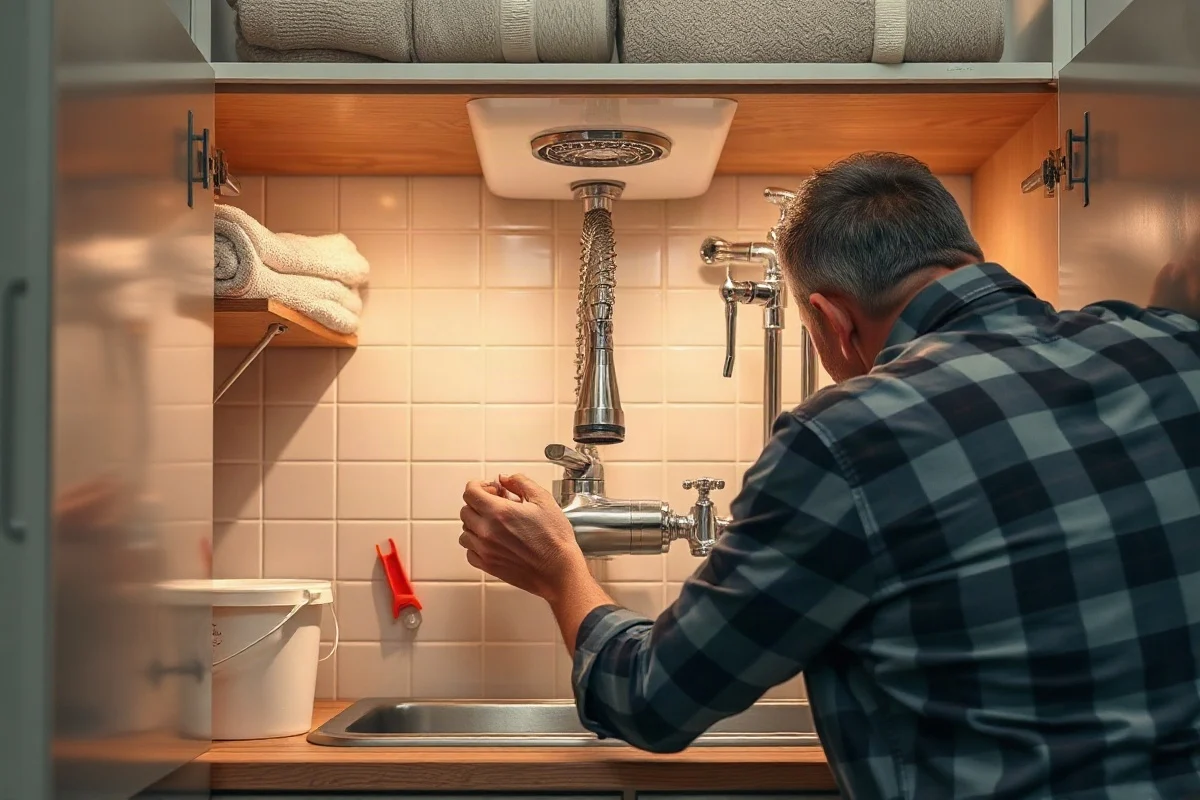
Most bathroom sinks have individual hot and cold shutoff valves below the basin. Turn the suspected valve clockwise gently until it stops. Do not force a valve that is stuck, corroded, or leaking around its stem. If the valve cannot stop the water, leave it alone and contact a qualified plumber. A faucet repair can quickly become a flooding problem when a shutoff valve fails.
Protect the drain and work area
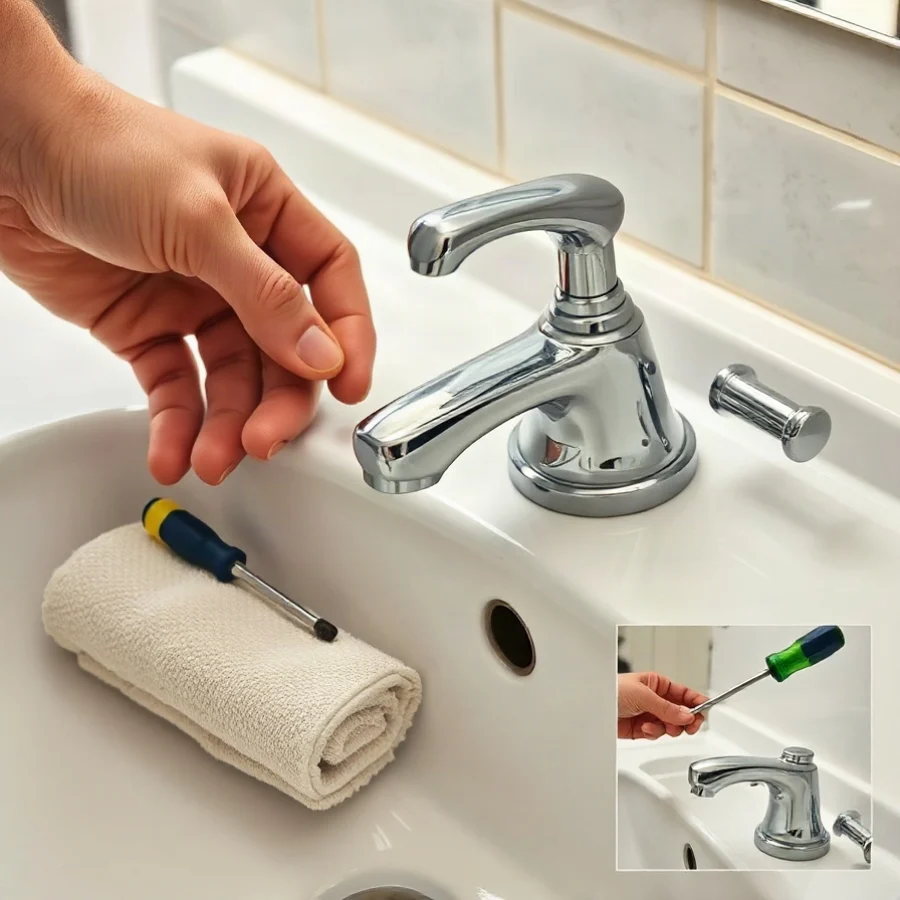
Close the sink drain or cover it with a cloth so small screws do not disappear into the drain opening. Place a towel in the sink and under the faucet area. Keep a small container nearby for screws and washers, and take photographs during disassembly so you can confirm the original order of the parts.
Tools and Replacement Parts
A basic washer replacement may require an adjustable wrench, a screwdriver, an Allen key, needle-nose pliers, a cloth, and a flashlight. Some faucet designs use a retaining nut that requires a specialized faucet tool. You may also need penetrating lubricant for a stuck fastener, but avoid spraying products where they could enter the waterway or damage finished surfaces.
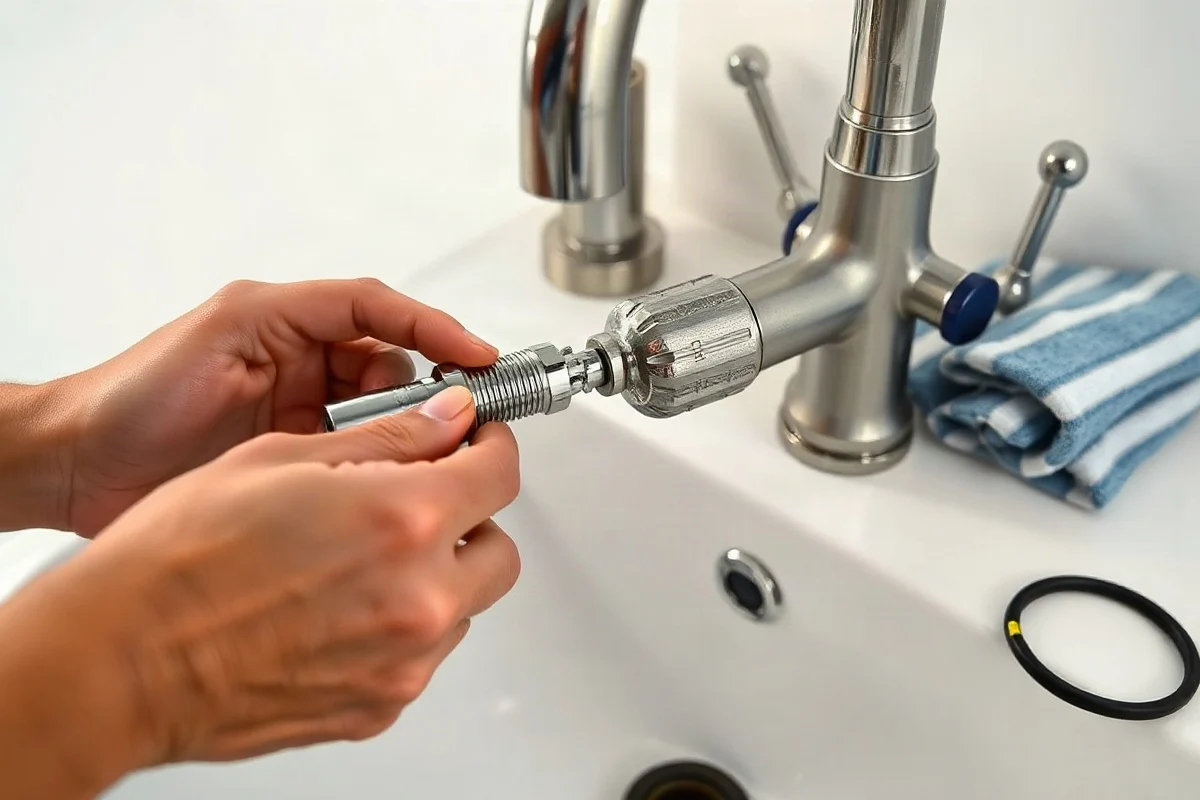
The replacement washer must match the old washer in diameter, thickness, shape, and material. Some valves use a flat washer, while others use a beveled, cone-shaped, or screw-mounted washer. Bring the old part with you when selecting a replacement. Do not rely only on color or an approximate size.
How to Replace a Bathroom Faucet Washer
1. Shut off the water
Close the hot or cold shutoff valve connected to the leaking side. Open the faucet to release pressure and confirm that water stops flowing. If water continues running or the valve begins leaking, stop the project and arrange for professional help.
2. Remove the handle
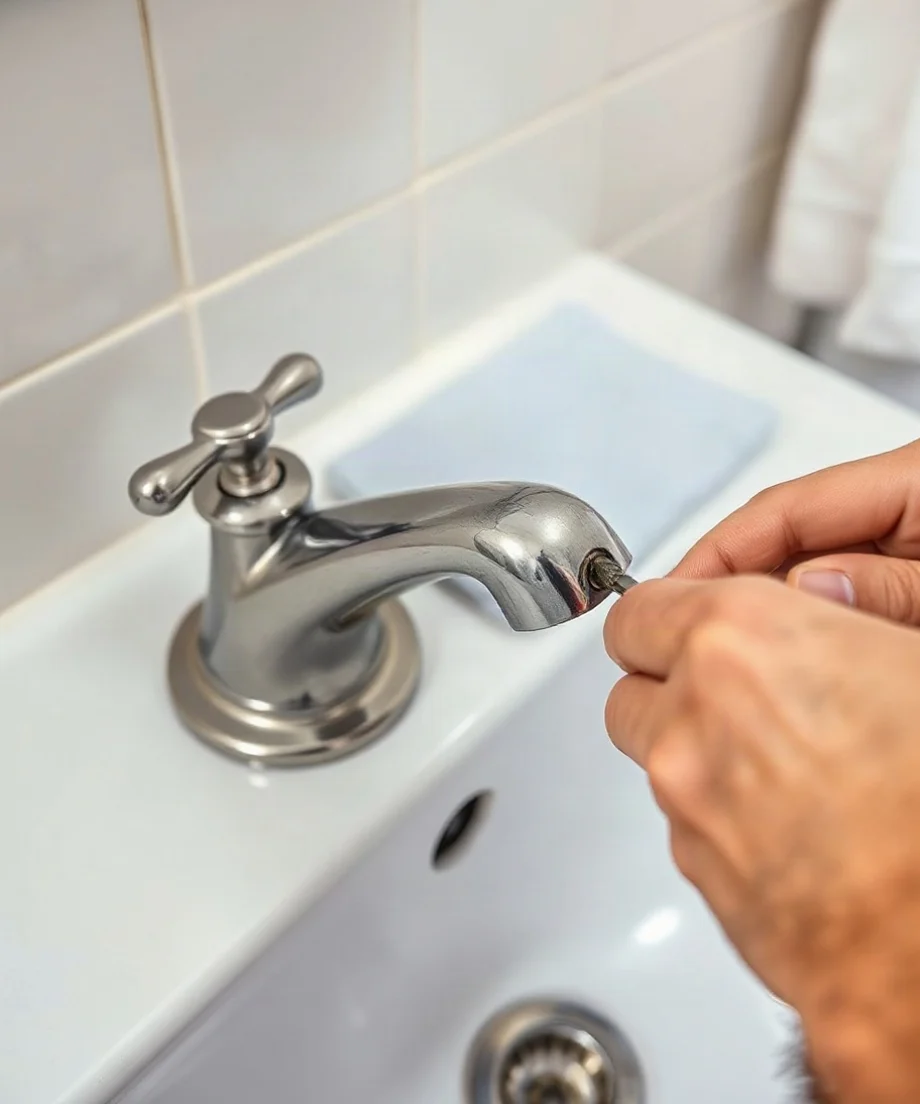
Look for a decorative cap, visible screw, or small set screw securing the handle. Remove the fastener with the correct screwdriver or Allen key, then lift the handle straight up or pull it gently according to the faucet design. Avoid prying aggressively against the faucet finish, because chipped plating can create sharp edges and permanent cosmetic damage.
3. Expose the valve stem
Depending on the faucet, you may need to remove a trim cover, packing nut, or retaining nut. Use a wrench on the correct flats and protect the finish with a cloth. Keep track of the order and orientation of each part. If the stem is stuck, do not twist the faucet body or apply excessive force. A damaged faucet body can be more expensive to repair than the original drip.
4. Remove and inspect the old washer
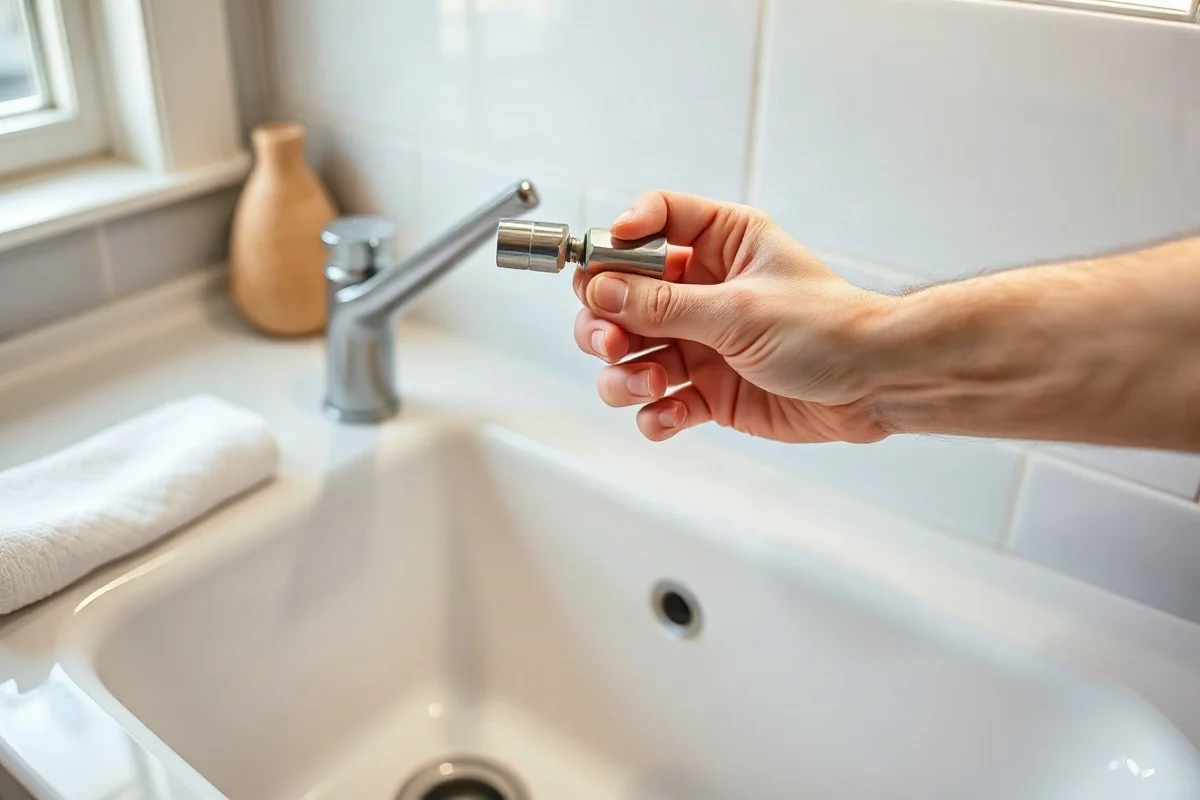
Once the valve stem is removed, inspect the end for a washer held by a small screw or nut. Remove the fastener carefully and compare the old washer with the replacement. Look for cracking, flattening, hardening, uneven wear, or a small indentation caused by the valve seat.
Inspect the valve seat as well. If its surface is rough, deeply pitted, or covered in mineral buildup, a new washer may not seal for long. Light deposits may sometimes be cleaned carefully, but a damaged seat may need a professional repair or replacement component.
5. Install the matching washer
Place the new washer in the same position and orientation as the original. Reinstall the screw or retaining fastener, tightening it securely without crushing the rubber. Over-tightening can distort the washer and cause another leak.
6. Reassemble the faucet
Return the valve stem, retaining nut, trim, and handle to their original positions. Tighten connections firmly but do not use excessive force. If the faucet has a packing nut, it should not be tightened so much that the handle becomes difficult to turn.
7. Restore water slowly and test
Open the shutoff valve gradually while watching the faucet and the connections below the sink. Turn the handle on and off several times. Check for a drip from the spout, leakage around the handle, and moisture at the supply connection. Wipe everything dry and check again after a few minutes.
When a Washer Replacement Is Not the Right Repair
Replacing a washer will not fix every dripping bathroom faucet. A faucet may need a cartridge, ceramic disc, O-ring, valve seat, or complete valve assembly instead. If the faucet is corroded, the handle is broken, replacement parts are unavailable, or the body leaks, replacing the faucet may be more practical than rebuilding it.
Consider professional help when the faucet has no accessible shutoff, the supply valves are seized, the valve stem breaks during removal, or water is leaking inside the cabinet or wall. A concealed leak can damage cabinetry and building materials before it becomes obvious. If you see active flooding, shut off the home’s main water supply if it is safe to do so and contact an emergency plumbing service. You can also review emergency leak repair guidance.
Do not work on electrical equipment near standing water. If the leak has reached an outlet, wiring, lighting, or other electrical component, keep away from the area and call qualified professionals. Sewage exposure, major flooding, hidden pipe damage, and code-related work should also be handled by appropriate local professionals rather than treated as a simple faucet project.
Repair or Replace the Faucet?
A washer replacement is usually worth considering when the faucet body is sound, the correct parts are available, and the leak is limited to one valve. Replacement may make more sense when several components are worn, the finish is badly corroded, the faucet has repeated leaks, or the repair requires uncommon parts and extensive disassembly.
Before choosing a new faucet, check the number and spacing of the sink’s mounting holes, the size of the supply connections, the available clearance beneath the basin, and whether the new faucet includes the required components. When in doubt, measure the existing installation and ask a qualified professional to confirm compatibility.
What Affects the Cost of This Repair?
The cost of repairing a dripping faucet depends on more than the washer itself. Important factors include:
- Whether the faucet uses a traditional washer or a cartridge-style valve.
- How accessible the shutoff valves and connections are beneath the sink.
- Whether the shutoff valves operate correctly.
- Whether the valve seat, stem, threads, or faucet body are damaged.
- Whether replacement parts are common or difficult to identify.
- Whether the faucet can be repaired or must be replaced.
- Whether additional leaks, corrosion, or water damage are discovered.
Local service charges and parts availability vary, so request a written explanation of the recommended repair rather than relying on a generic online price. A trustworthy plumber should explain whether the quote covers diagnosis, labor, parts, removal of the old faucet, and testing. For general budgeting information, visit the site’s plumbing costs resource.
How to Choose the Right Plumber
If you decide not to replace the washer yourself, look for a local plumber with experience repairing bathroom faucets and older fixtures. Ask what type of valve they believe the faucet uses, whether they can identify replacement parts, and whether they will discuss repair versus replacement before doing additional work.
Confirm the plumber’s business information, request a clear written estimate, and ask what happens if the initial diagnosis reveals a damaged valve seat or shutoff valve. Avoid anyone who pressures you into immediate replacement without explaining the condition of the existing faucet. For more guidance, see how to choose a plumber.
A dripping faucet is often a manageable maintenance issue, but it should not be ignored indefinitely. Water can stain the basin, waste water, corrode components, and signal a larger valve problem. Start with safe identification and shutoff checks, use the correct replacement part if the design is straightforward, and stop when the repair involves seized valves, hidden leaks, flooding, or uncertain components.
Comments
0No comments yet. Be the first to share a helpful note or question.
Leave a Comment
Your email address will not be published. Comments are reviewed before appearing on the site.