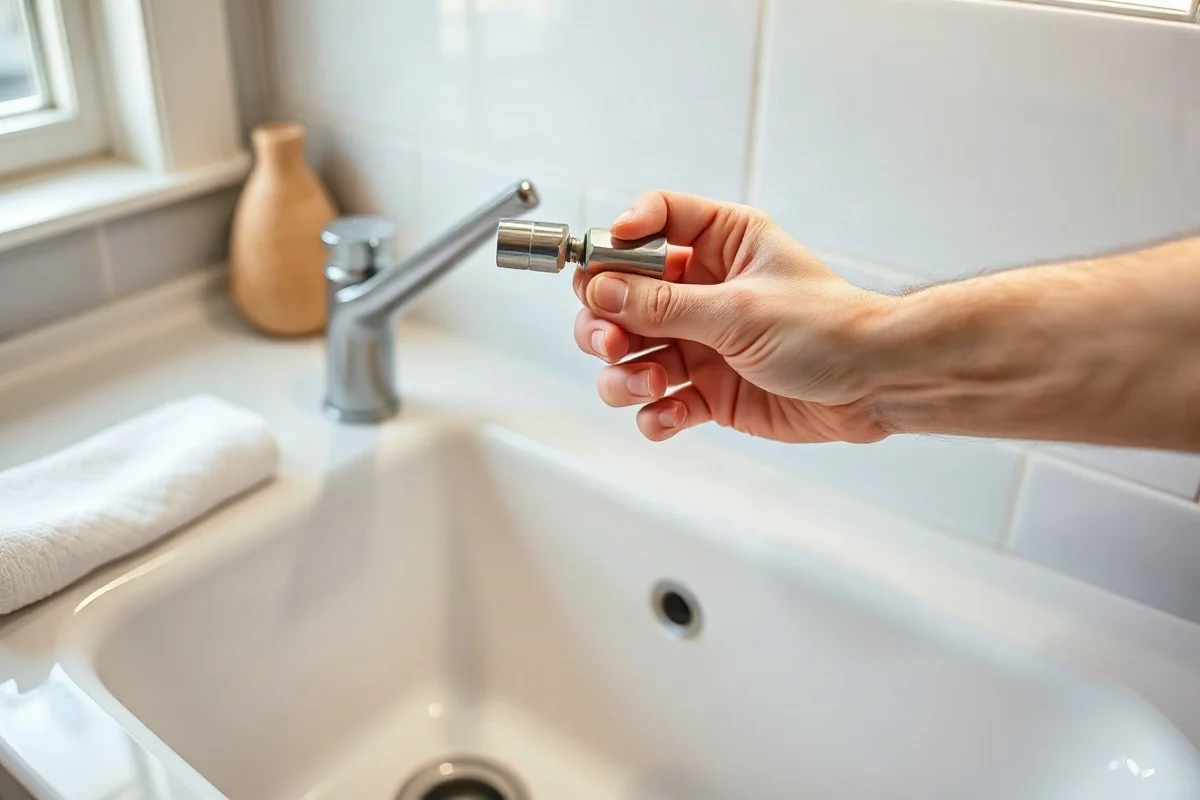
On most single-lever faucets, you do not change a traditional rubber washer. Instead, the handle operates a cartridge, ceramic disc assembly, or ball mechanism that controls both water flow and temperature. If the faucet drips, leaks around the handle, or will not shut off completely, the usual repair is to clean or replace a cartridge, seal, O-ring, or related internal part. Before taking anything apart, shut off the water supply, identify the faucet design, and confirm that the leak is actually coming from the faucet rather than a supply connection or drain.
Why a single-lever faucet may be leaking
A dripping single-handle faucet can have several causes. The symptom often gives you a useful starting point, but it does not prove which part has failed.
- Water drips from the spout when the handle is off: The cartridge, ceramic discs, ball assembly, or internal seals may be worn, dirty, or damaged.
- Water leaks around the handle: A worn cartridge seal, O-ring, retaining nut, or loose handle connection may be responsible.
- Water leaks at the base of the spout: The spout O-rings may be worn, or the spout may need cleaning and reseating.
- The handle feels stiff or rough: Mineral deposits, a damaged cartridge, or a loose or over-tightened retaining component may be affecting movement.
- Flow is weak or uneven: The aerator, cartridge inlet screens, or supply valves may be restricted. A clogged aerator is often easier to address than an internal faucet failure.
These symptoms can overlap. For example, mineral buildup can damage seals over time, while a loose part can allow water to reach places that make the cartridge appear to be the problem.
First, identify the faucet mechanism
The word “washer” is often used for any small rubber part in a faucet, but modern single-lever designs usually use one of three internal systems.
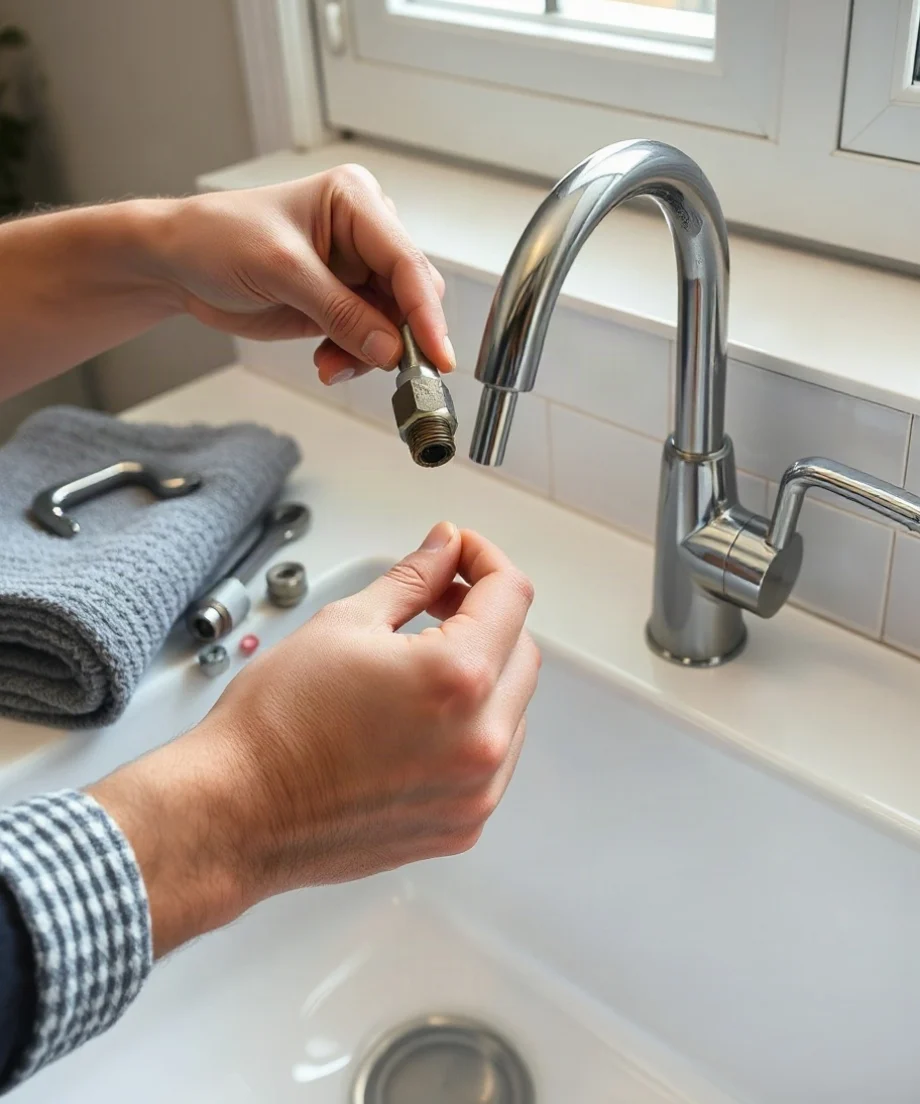
Cartridge faucet
A cartridge faucet contains a removable cylindrical cartridge under the handle. The cartridge may be plastic, metal, or a combination of materials. Many single-lever bathroom and kitchen faucets use this design. If the cartridge is worn, replacing the complete cartridge is usually more practical than attempting to replace tiny internal seals.
Ceramic disc faucet
A ceramic disc faucet uses closely fitted discs to regulate water. These faucets are often durable, but debris or damaged discs can cause dripping or difficult handle movement. Depending on the design, the service part may be a complete ceramic cartridge or disc assembly rather than a separate washer.
Ball faucet
A ball faucet has a rounded metal or plastic ball beneath the handle. It may use rubber seats and springs that resemble small washers. If the faucet uses this arrangement, a repair kit may include replacement seats, springs, and O-rings. The exact parts must match the faucet design.
Look for the brand name and model information on the faucet, handle, escutcheon, or packaging. Take a clear photograph before disassembly. If you cannot identify the replacement part confidently, remove the old part only after shutting off the water and take it to a plumbing supply store or contact the manufacturer for identification.
Safe checks before disassembly
Some checks are low-risk for a homeowner. Turn off the faucet and inspect the area with a flashlight. Dry the faucet and surrounding countertop or sink deck completely, then place a dry paper towel around the handle, spout base, and supply connections. Turn the water on briefly and observe where the first drop appears. Water can travel along the body of the faucet, so the wettest point is not always the original source.
Also check the aerator at the end of the spout. Mineral deposits can reduce flow and may be mistaken for a cartridge problem. Remove the aerator by hand if possible, rinse away loose debris, and reinstall it carefully. Avoid forcing a stuck aerator with tools that could scratch the finish or damage the faucet.
Do not begin work if the shutoff valve will not close, the flexible supply hose is corroded, the cabinet is already flooding, or you see water near electrical equipment. In those situations, use a qualified local professional. For a serious leak, close the main water supply if you can do so safely and seek urgent plumbing help. You can also review guidance for leak repair or emergency leak repair.
Tools and replacement parts
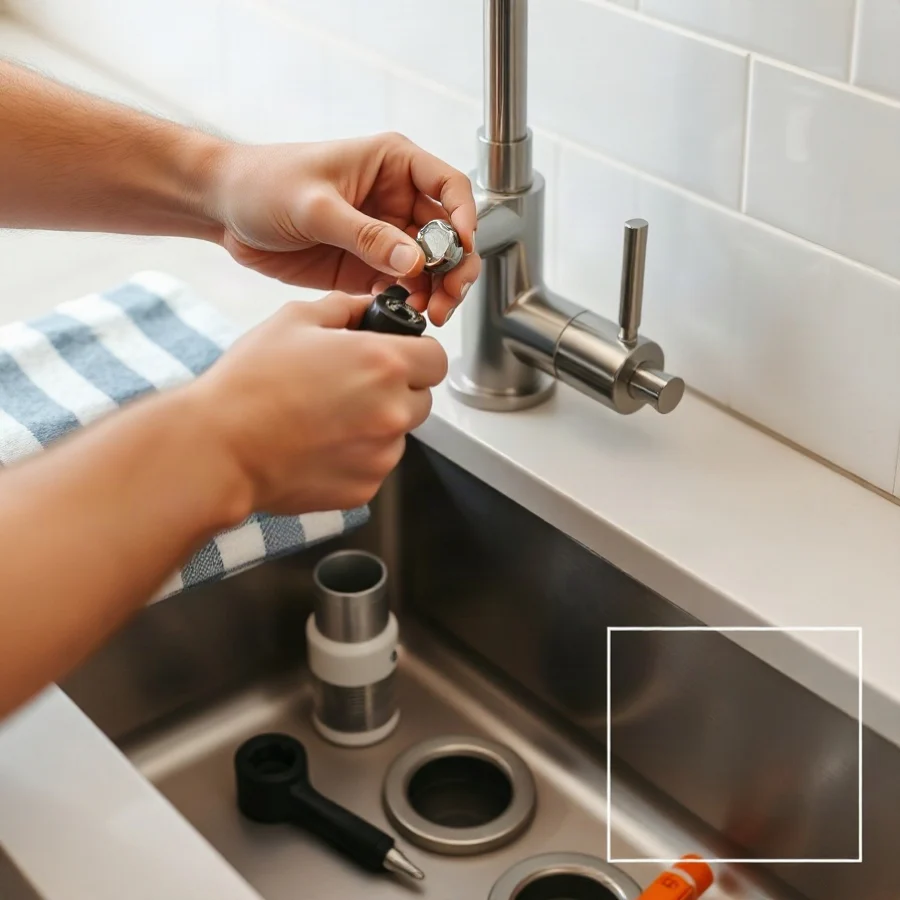
The tools vary by faucet, but a basic repair may require an adjustable wrench, hex key, Phillips or flat-head screwdriver, needle-nose pliers, a small pick, a towel, and a container for screws and clips. A flashlight is useful under a sink or behind a backsplash.
Buy the correct cartridge or repair kit rather than choosing a part based only on appearance. Two cartridges can look similar while differing in length, stem shape, alignment, or internal stops. If the faucet has separate hot and cold supply valves, check that both are closed before removing internal components. Keep the drain closed or cover it with a towel so small screws cannot fall into the drain opening.
How to replace the internal part
The following process applies broadly to many cartridge-style faucets, but the order and fasteners differ by model.
1. Shut off the water and relieve pressure
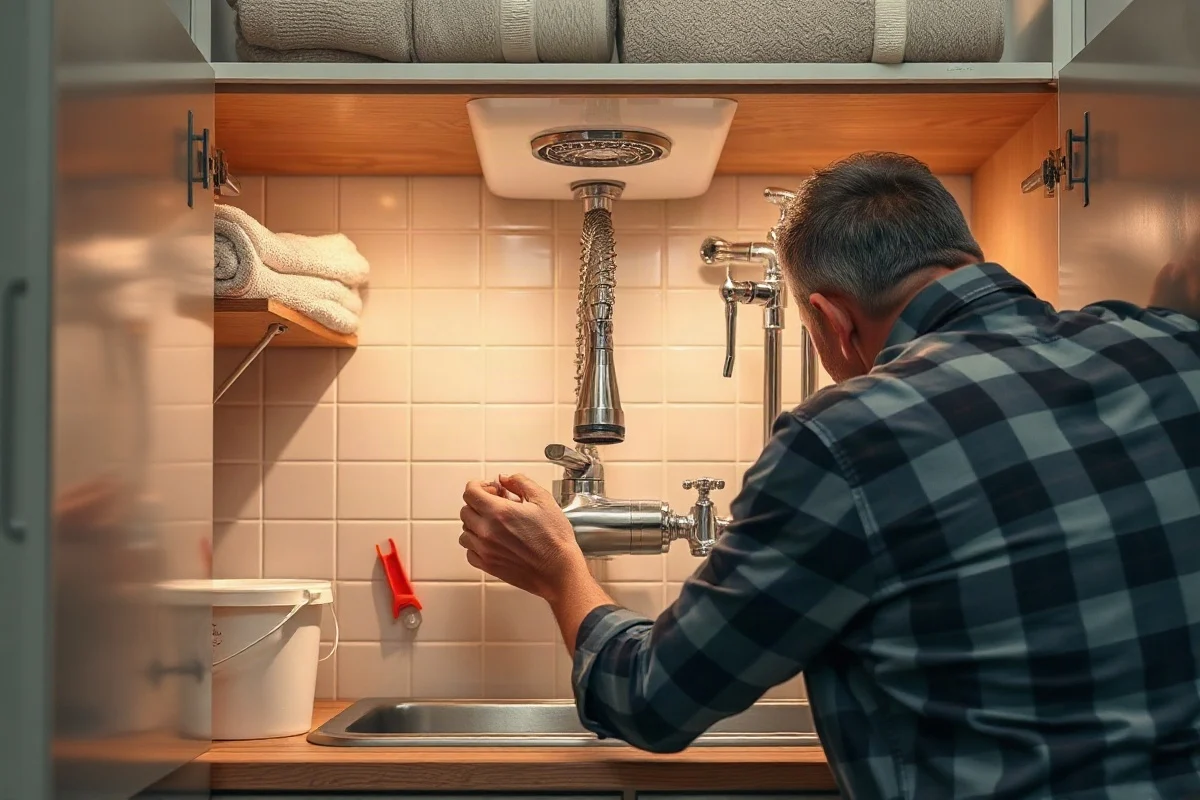
Close the hot and cold shutoff valves beneath the sink by turning them clockwise without forcing them. Open the faucet and move the handle through its range to release trapped pressure. If the shutoff valves do not work properly, stop rather than trying to repair the faucet with the water supply active.
2. Protect the finish and remove the handle
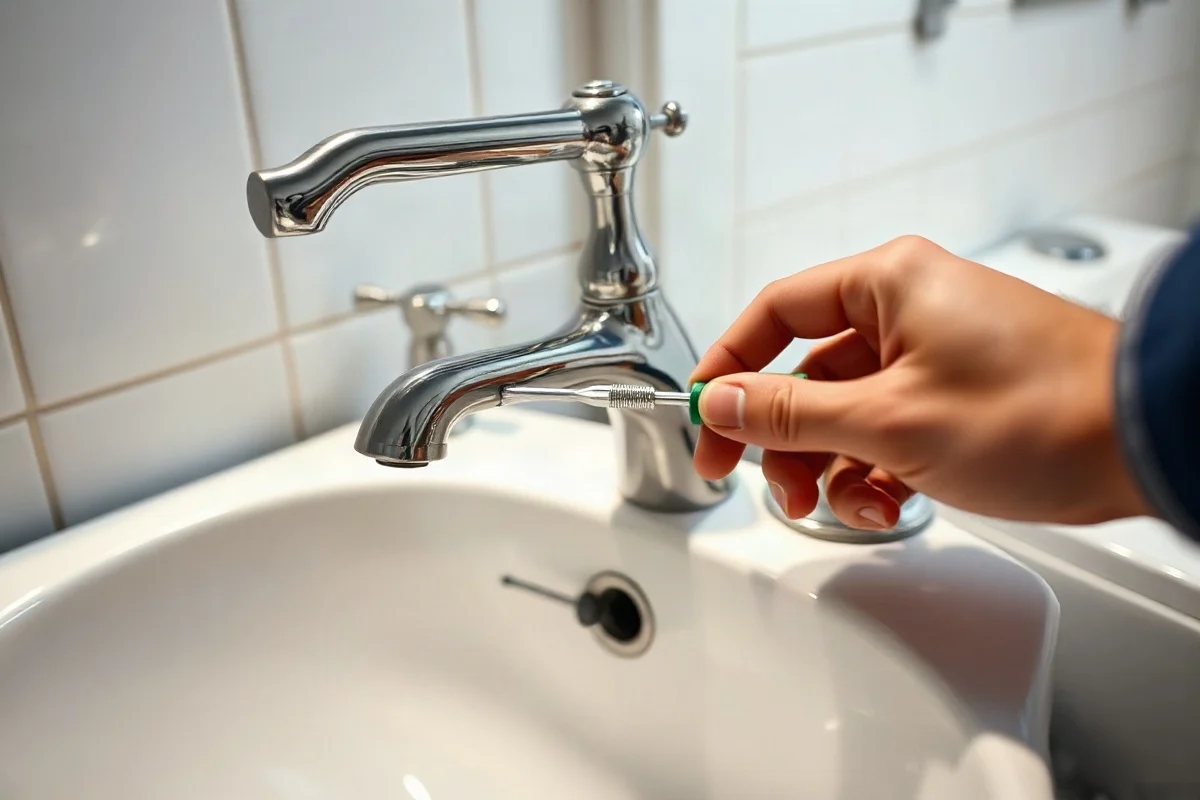
Place a towel over the drain and around the faucet. Many handles have a small set screw hidden under a decorative cap or on the side. Remove the cap carefully, then loosen the screw with the correct hex key or screwdriver. Lift the handle straight up. If it is stuck, do not pry aggressively against the faucet body; excessive force can damage the finish or the valve stem.
3. Remove the retaining parts
Under the handle, you may find a decorative sleeve, retaining nut, clip, or bonnet. Take photographs as each part comes off and place the pieces in order. Use a wrench with light, controlled pressure. If the retaining nut is seized, stop if the faucet body begins to twist or the countertop connection moves.
4. Remove the cartridge or repair assembly
Pull the cartridge straight out when possible. Some cartridges require a retaining clip to be removed first, and others may need a cartridge puller. Do not use a screwdriver as a lever against delicate faucet surfaces. If the cartridge will not come out with reasonable hand pressure, mineral buildup may be holding it in place. A professional can remove it without unnecessarily damaging the faucet body.
5. Clean the housing and install the replacement
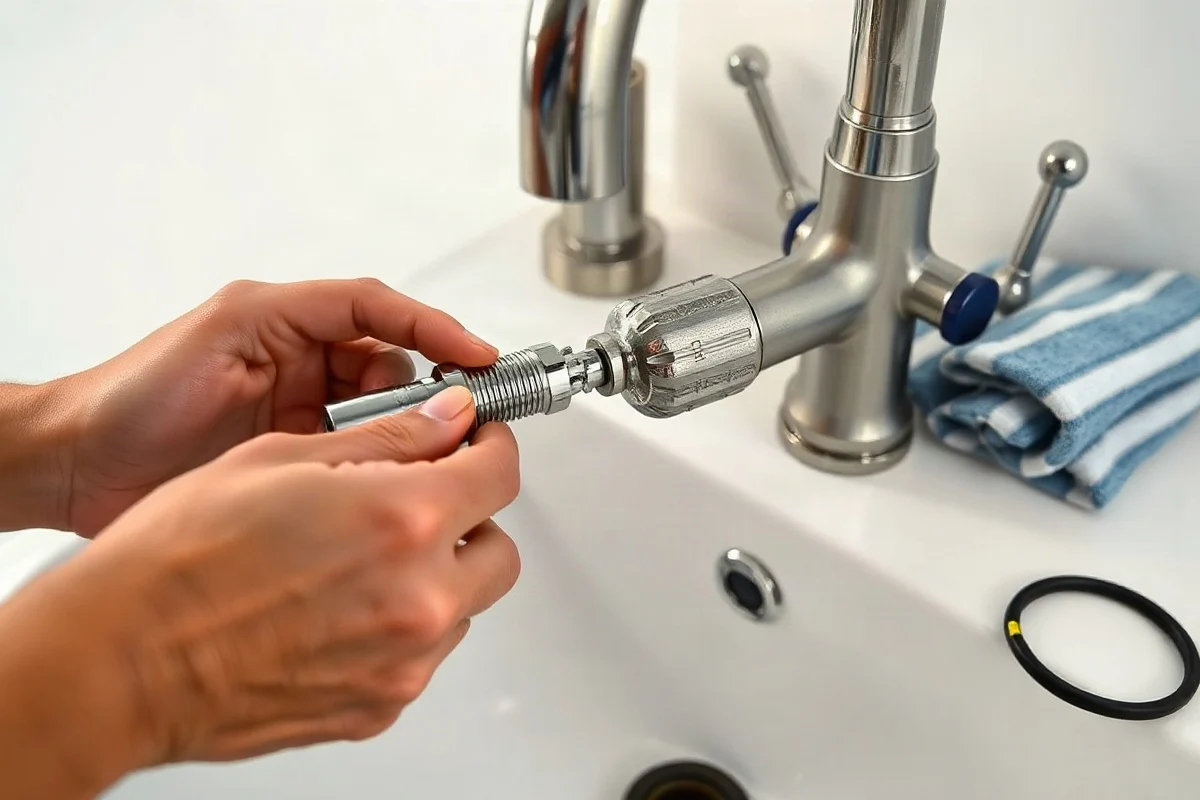
Wipe away loose debris with a soft cloth. Do not scrape sealing surfaces with a sharp metal tool. Compare the new part with the old one, including the stem position and alignment tabs. Install it in the same orientation. If the replacement instructions call for compatible plumber’s grease on an O-ring, use only an appropriate product and a small amount. Do not coat ceramic discs or apply random lubricants.
6. Reassemble and test gradually
Reinstall the retaining clip, nut, sleeve, and handle in the reverse order. Tighten firmly but do not overtighten. Open the shutoff valves slowly while watching the faucet and supply connections. Test both hot and cold positions, then turn the handle off and wait several minutes to see whether the spout drips. Wipe everything dry and check again for moisture around the handle and base.
When replacing the faucet is better than repairing it
A new cartridge may solve the leak, but a complete faucet replacement can be more sensible when the faucet body is cracked, heavily corroded, difficult to identify, or damaged during previous repairs. Replacement may also be worth considering when several internal parts are failing or when the mounting hardware and supply connections are in poor condition.
Do not assume that a replacement cartridge will fix every leak. Water beneath the sink may come from a supply hose, shutoff valve, faucet mounting gasket, or drain connection. Those problems require different parts and procedures. If the leak is inside a wall, cabinet floor, ceiling, or other concealed location, treat it as a hidden leak and arrange qualified local help rather than opening finished surfaces without a clear plan.
Cost factors to consider
The cost of this repair depends on more than the small part itself. Important factors include the faucet brand and design, whether the correct cartridge is readily available, the condition of the shutoff valves, access beneath the sink, corrosion, seized fasteners, and whether the work is performed during a standard appointment or an urgent service call. A professional may also find that the supply hoses, mounting hardware, or faucet body need attention.
Ask for an explanation of the suspected failure, the proposed repair, and whether the estimate includes diagnostic time, parts, labor, and cleanup. Because prices and service policies vary by location and company, request a written estimate before authorizing additional work. For broader planning information, see the plumbing costs guide.
When to call a qualified plumber
A homeowner can often handle a straightforward cartridge replacement when the shutoff valves work, the faucet is accessible, and the correct part is known. Professional help is the safer choice when the water cannot be shut off, connections are corroded, the faucet body is twisting, the cartridge is seized, or a leak continues after reassembly.
Call a qualified local professional promptly for major flooding, sewage exposure, concealed leaks, water near electrical equipment, or any condition that could damage the structure. Faucet work normally does not involve gas or electrical systems, but nearby wiring, disposal connections, or other equipment can create hazards under a wet sink. Never work around energized electrical components.
When choosing a plumber, look for clear contact information, relevant faucet repair experience, transparent estimates, and proof of any credentials required in your area. Ask who will perform the work, whether the quoted part matches your faucet model, and what happens if the first repair does not resolve the leak. A reputable professional should be willing to explain the diagnosis instead of replacing parts by guesswork. For more guidance, visit the hiring a plumber resource.
The key point is that a single-lever faucet usually does not have a traditional washer to change. Identify the mechanism first, shut off the water, replace the matching cartridge or seal when the repair is within your skill level, and stop for professional help when the water supply, connections, or faucet body present a risk.
Comments
0No comments yet. Be the first to share a helpful note or question.
Leave a Comment
Your email address will not be published. Comments are reviewed before appearing on the site.