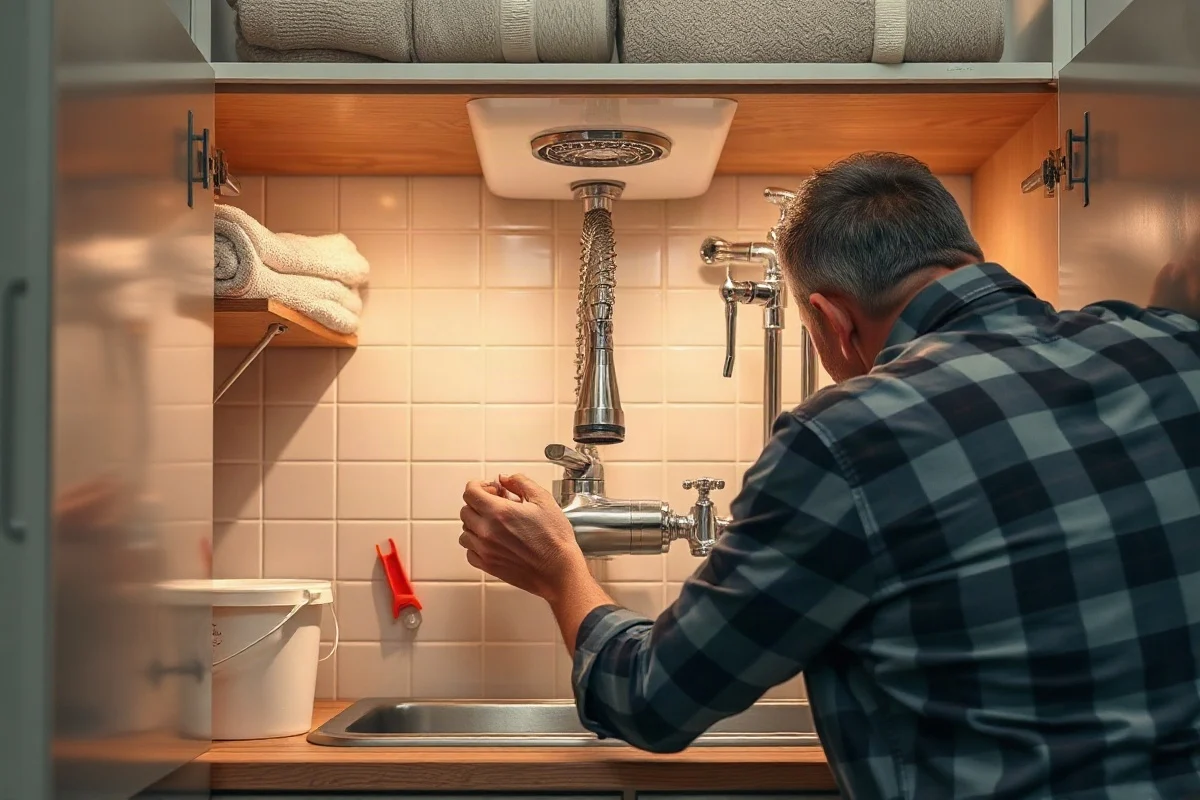
Yes, many homeowners can replace a standard kitchen or bathroom faucet themselves if the shutoff valves work, the connections are accessible, and the sink cabinet is in reasonable condition. The job usually involves turning off the water, disconnecting the supply lines, removing the old faucet, installing the new one, and checking carefully for leaks. However, a faucet replacement is not a good DIY project when a valve will not close, pipes are badly corroded, water is leaking inside the wall or cabinet, or the installation involves electrical, gas, sewage, or other unsafe conditions.
Before you begin, identify whether you are dealing with a simple fixture replacement or a larger plumbing problem. A dripping faucet may need a cartridge, stem, washer, or aerator rather than a complete replacement. If the faucet body is cracked, the finish is badly damaged, parts are no longer available, or the fixture has repeated internal problems, replacement may be more practical. For related guidance, see our faucet repair resources.
When Replacing a Faucet Is a Reasonable DIY Project
A faucet replacement is often manageable when all of the following are true:
- The faucet is a common residential model with accessible mounting hardware.
- The hot and cold shutoff valves are under the sink and turn normally.
- The supply lines are flexible, intact, and not heavily corroded.
- You can reach the mounting nuts without forcing tools into a cramped space.
- The replacement faucet matches the number and spacing of the sink openings.
- There is no sign of a concealed leak, active flooding, or damaged piping.
Basic hand tools may be enough, although a basin wrench can make it easier to reach faucet mounting nuts in a tight cabinet. You may also need an adjustable wrench, a bucket, towels, a flashlight, and the parts supplied with the new faucet. Read the manufacturer’s installation instructions before removing the old fixture, and do not assume every faucet uses the same mounting system.
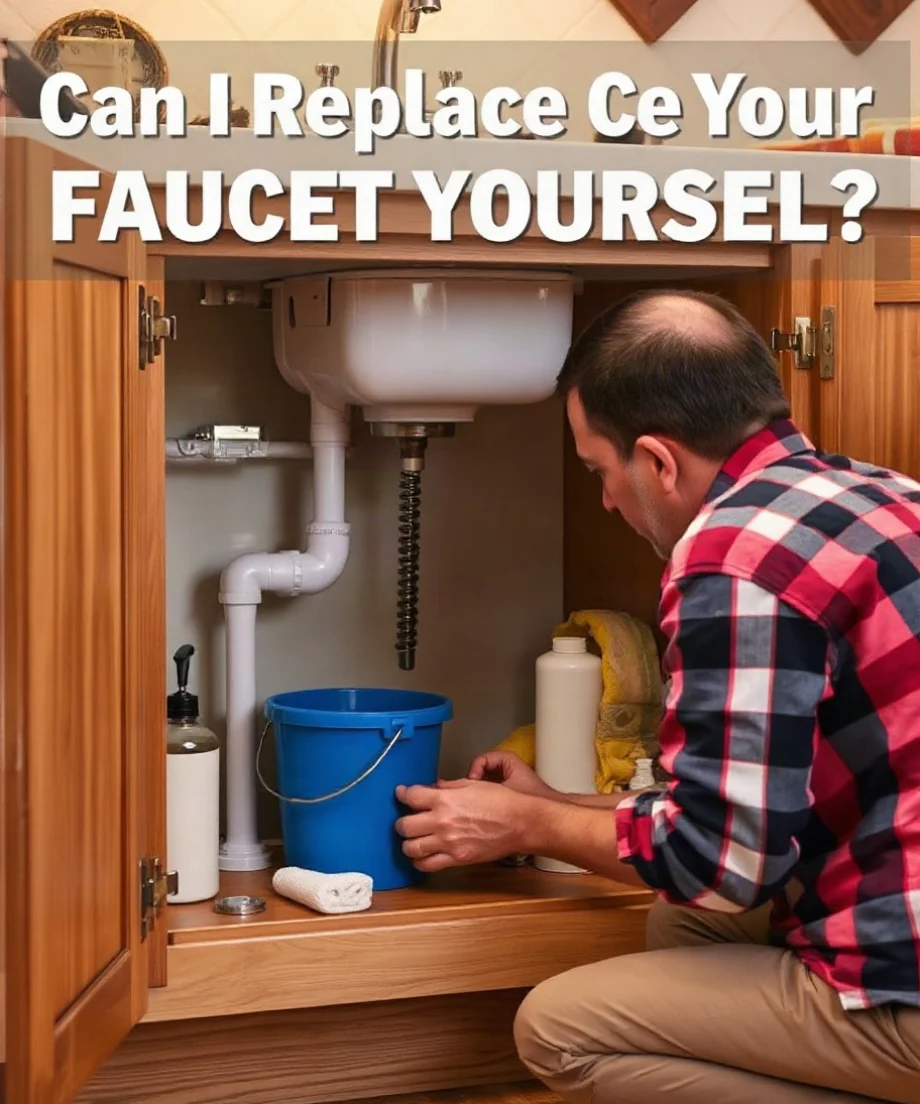
Check the Faucet and Sink Before Buying Parts
Confirm the sink configuration
Look at the number of holes in the sink or countertop and compare them with the new faucet. Some faucets use one opening, while others are designed for separate hot and cold handles or a wider, multi-piece arrangement. A deck plate may cover extra openings, but it cannot correct every compatibility problem. Measure the available space around the sink, backsplash, cabinet, and handles so the new fixture can operate without hitting another surface.
Look for signs of a larger plumbing issue
Open the cabinet and inspect the shutoff valves, supply lines, drain connections, and the underside of the countertop. White or green buildup, rust, damp wood, staining, swollen particleboard, or a musty odor can indicate past or active water damage. Dry everything with a towel, place a dry paper towel beneath the connections, and check again after running the faucet. This low-risk check can help identify a leak without disassembling the plumbing.
If water appears to come from inside the wall, through the countertop, or from a pipe that is not part of the faucet connection, stop and arrange qualified local help. Replacing the fixture will not solve a concealed supply-pipe leak.
Safe Checks Before You Start
Turn on the faucet briefly and identify which valve controls hot water and which controls cold water. Then close both shutoff valves by turning them gently in the appropriate direction. Do not use excessive force. If a valve spins without stopping, leaks around its stem, is seized, or cannot fully shut off the water, do not continue with the replacement. You may need to shut off the home’s main water supply, and a qualified plumber should evaluate a defective valve.

After closing the valves, open the faucet to relieve pressure. A small amount of water remaining in the supply lines is normal, so place a bucket and towels below the connections. If water continues flowing strongly after the valves are closed, close the main supply if you can do so safely and contact a plumber. Do not loosen a pressurized connection just to see what happens.
How a Standard Faucet Replacement Works
1. Protect the cabinet and organize the parts
Remove items from beneath the sink and place a towel or shallow container below the valves. Take a photo of the existing connections before disconnecting anything. Keep the new faucet’s washers, nuts, clips, and instructions together. Small mounting components can look similar but may have different purposes.
2. Disconnect the supply lines
Use a wrench to loosen the connections at the faucet or shutoff valves, while supporting the valve and the other fitting as needed. Do not twist a shutoff valve or rigid pipe while turning the supply-line nut. If the connection is frozen, badly rusted, or begins to move the valve or pipe, stop. Applying more force can damage the valve or create a leak that is more difficult to control.
3. Remove the old mounting hardware
From beneath the sink, loosen the nuts, brackets, or mounting plate holding the faucet in place. A basin wrench can help when the hardware is recessed. Once the hardware is removed, lift the faucet from above. Clean old sealant, mineral deposits, and grime from the sink surface without scratching it.
4. Install the replacement faucet
Set the new faucet and any gasket or deck plate in the correct position. From below, install the mounting hardware according to the instructions, keeping the faucet aligned as you tighten it. Tighten firmly, but avoid overtightening. Excessive force can distort a gasket, damage the sink, or strip a mounting nut.
Connect the hot and cold supply lines to the correct sides. Make sure the connections are straight and not cross-threaded. Follow the faucet instructions for any required seals or adapters. Do not add random tape or sealant to a connection unless the instructions or fitting design calls for it; some connections seal with an internal washer rather than with thread tape.
5. Flush and test the faucet
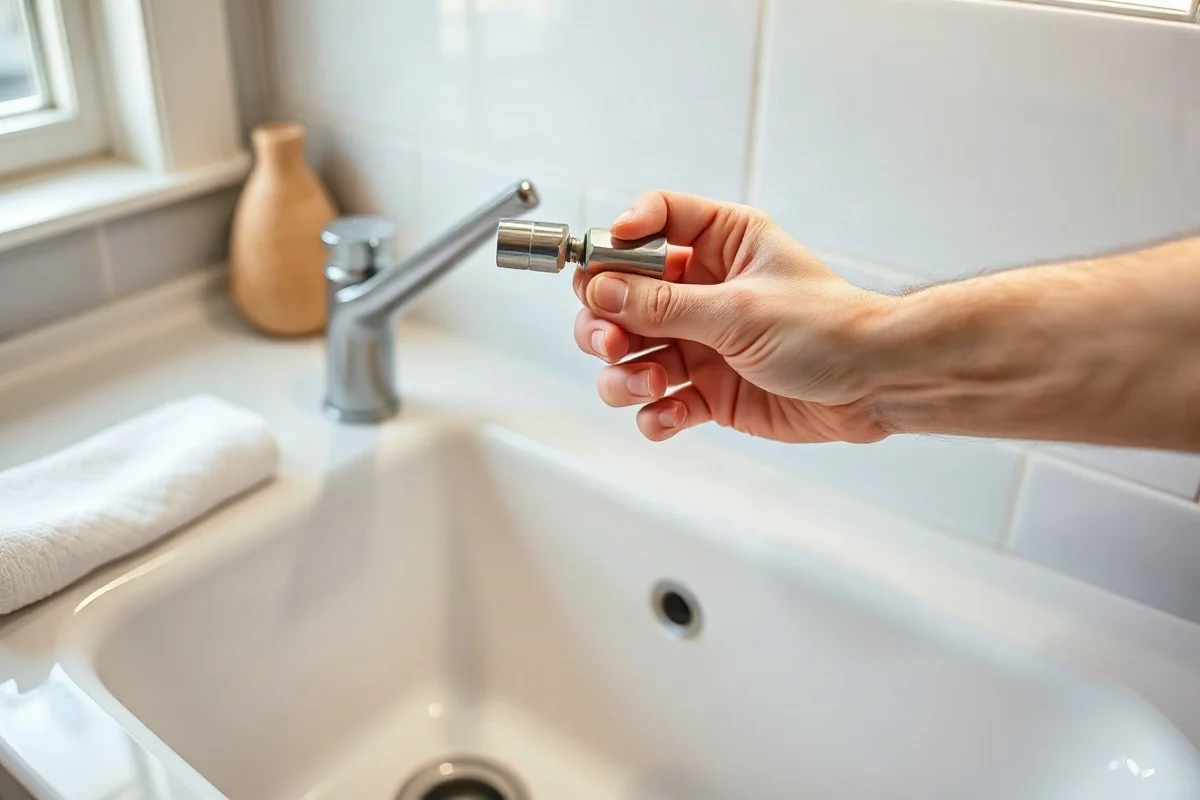
Remove the aerator if the instructions allow it, then open the shutoff valves slowly. Look and feel for leaks at every connection. Run the faucet briefly to flush debris from the lines, then reinstall the aerator. Test hot and cold water separately, check the spray hose if the faucet has one, and inspect below the sink while the water is running and again after the cabinet has remained dry for several minutes.
Never rely only on a quick visual check. A slow leak may appear around a supply-line nut, faucet base, or mounting gasket after the water has been running. Dry the area completely, place a paper towel beneath the connections, and check again later.
When Repairing the Existing Faucet Makes More Sense
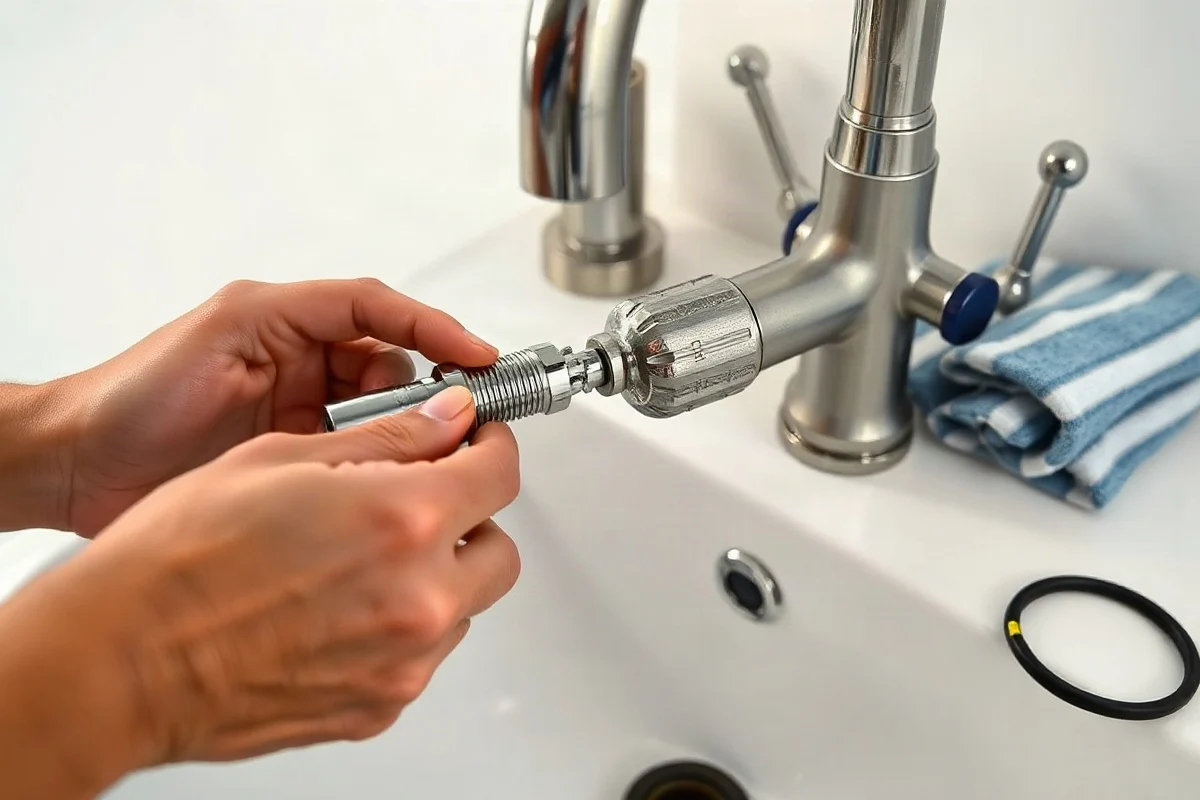
Replacement is not always necessary. A faucet that drips from the spout may have a worn cartridge, stem, washer, or valve seat. A weak stream may result from a clogged aerator or a partially closed shutoff valve. Water around the handle may point to a worn seal, while water around the faucet base may come from a failed gasket or loose mounting hardware.
Cleaning an aerator and checking that the shutoff valves are fully open are generally low-risk homeowner tasks. Internal faucet repairs can also be reasonable when the model is identifiable and replacement parts are available. Turn off the water first and follow the manufacturer’s instructions. If the faucet is seized, the parts are corroded, or disassembly may damage the supply connection, a professional can help determine whether repair or replacement is the better choice.
When to Hire a Qualified Plumber
Contact a qualified local plumber instead of forcing the job when:
- A shutoff valve will not close, leaks, or is damaged.
- Supply lines, threaded fittings, or pipes are heavily corroded.
- You find water damage, mold-like odors, or a leak inside a wall or cabinet.
- The faucet is connected to rigid piping that may crack or move when loosened.
- The sink, countertop, or mounting area is cracked or unstable.
- The replacement requires changes to concealed plumbing or unusual connections.
- Water continues flowing after the available shutoff valves are closed.
- You cannot identify the hot and cold connections or safely access the hardware.
Stop work immediately if the situation involves sewage exposure, major flooding, electrical equipment near water, or another unsafe condition. For a serious active leak, use an emergency plumber or other qualified local professional. Do not work on gas lines or electrical connections as part of a faucet project.
What Affects the Cost of Faucet Replacement?
The total cost depends on more than the price of the new faucet. Important factors include the fixture type, the accessibility of the connections, the condition of the shutoff valves, the age of the supply lines, and whether the sink or countertop needs modification. A straightforward replacement is different from a job involving seized hardware, corroded piping, water damage, or a valve that must be repaired first.
The faucet itself may also vary substantially in design and features. Pull-down sprayers, touch or motion controls, filtered-water components, side sprays, and specialty finishes can require additional parts or more involved installation. Ask for a written estimate that separates labor, materials, removal, disposal, and any repairs that may be needed after the existing faucet is removed. For broader planning information, review our guide to plumbing costs.
How to Choose the Right Professional
When DIY replacement is not appropriate, look for a local plumber with experience in faucet and sink work. Describe the faucet type, sink configuration, visible corrosion, shutoff-valve condition, and any active leaking before scheduling the visit. Photos of the connections can help the plumber understand the situation, but they do not replace an on-site inspection when piping is hidden or damaged.
Ask what the service includes, whether the plumber will inspect the shutoff valves and supply lines, and how unexpected problems will be handled before additional work begins. Verify the professional’s qualifications and insurance where applicable, and check references or reviews without relying on unsupported claims. More general advice is available in our guide to hiring a plumber.
Make the Decision Based on Risk, Not Confidence
If the faucet is accessible, the shutoff valves work normally, and the plumbing is in good condition, replacing it may be a reasonable weekend project. Work slowly, keep the area dry, and test every connection before putting items back in the cabinet. If the job requires force, exposes corroded or hidden piping, or leaves you unable to control the water, stop rather than turning a fixture upgrade into a flooding problem. A qualified local plumber can repair the underlying issue and install the faucet safely.
Comments
0No comments yet. Be the first to share a helpful note or question.
Leave a Comment
Your email address will not be published. Comments are reviewed before appearing on the site.