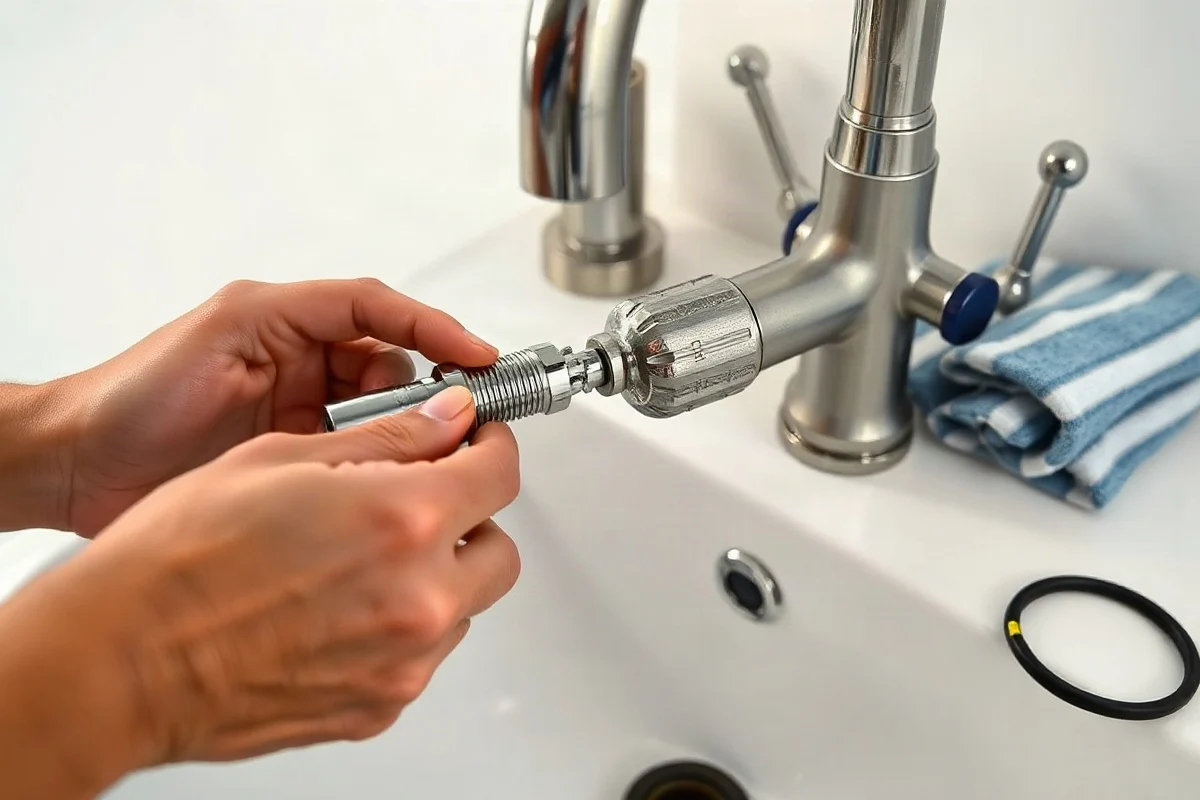
To change a washer in a single-handle faucet, first identify the faucet design because many single-handle models do not use a traditional rubber washer. A dripping single-handle faucet usually has a worn cartridge, ball assembly, ceramic disc cartridge, O-ring, or valve seal. Shut off the water, remove the handle and trim carefully, identify the internal part, and replace the matching repair component. If the valve is corroded, the shutoff will not close, or water is leaking inside the cabinet or wall, stop and contact a qualified local plumber.
Why “washer” may not be the right repair part
Two-handle compression faucets commonly use rubber washers that press against valve seats. Single-handle faucets usually control temperature and flow with one internal mechanism. Depending on the design, that mechanism may be a cartridge, ball, or ceramic disc assembly.
This distinction matters because buying a generic washer may not solve the leak. A single-handle faucet can continue dripping after a washer replacement if the actual problem is a scratched cartridge, damaged valve seat, worn O-ring, mineral buildup, or a loose retaining nut. The faucet brand and model, the number and shape of the internal components, and the way the handle moves can help identify the correct repair.
Common single-handle faucet designs
- Cartridge faucets: The handle often moves up and down and may move from side to side to adjust temperature. A removable cartridge controls water flow.
- Ball faucets: A rounded metal or plastic ball sits beneath the handle. Small springs, rubber seats, and O-rings may be located beneath or around the ball.
- Ceramic disc faucets: Two smooth ceramic discs regulate water. These faucets may be durable, but damaged discs or worn seals can still cause dripping or poor temperature control.
Symptoms and likely causes
The location and behavior of the water can provide useful clues, although symptoms alone cannot confirm which part has failed.
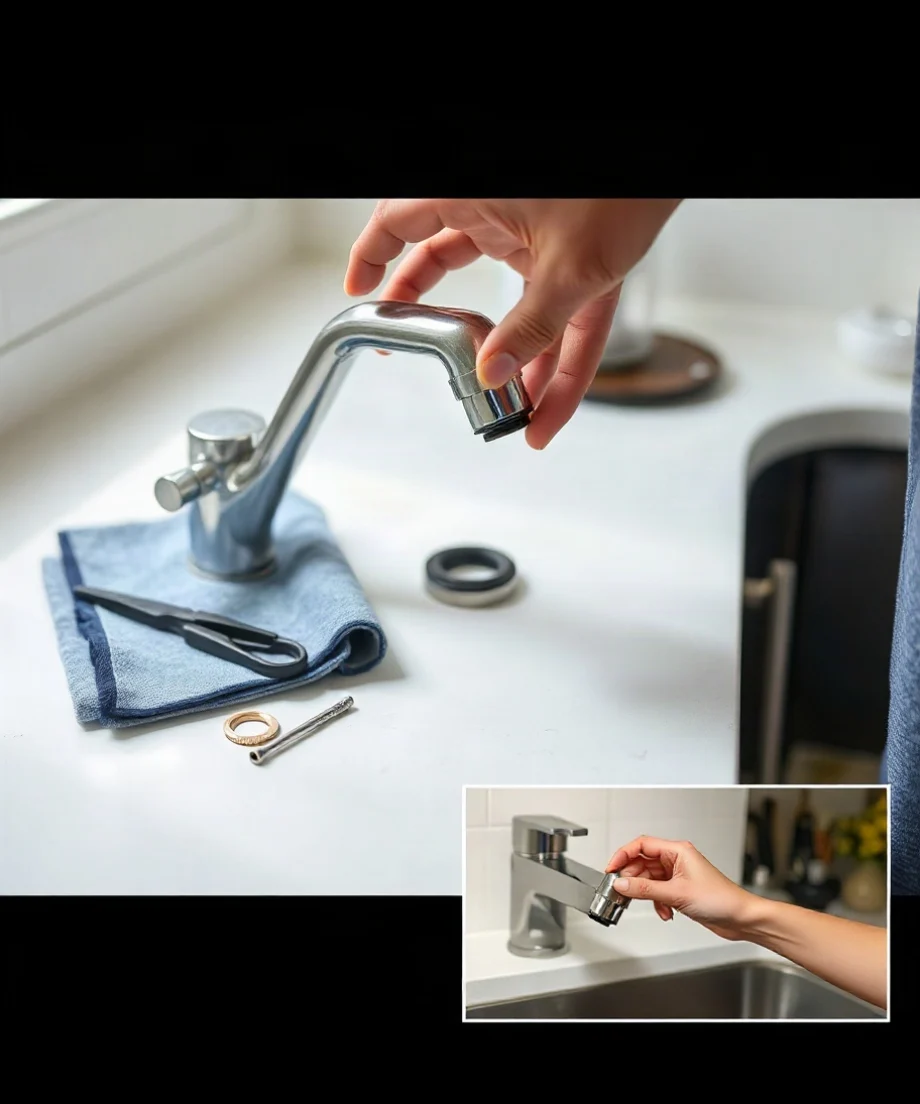
- Water drips from the spout when the handle is fully off: A worn cartridge, valve seat, ball seal, disc assembly, or internal O-ring may be allowing water through.
- Water leaks around the handle: A damaged cartridge seal, stem O-ring, retaining nut, or loose handle connection may be responsible.
- The handle is stiff or difficult to move: Mineral deposits, a damaged cartridge, or a worn ball mechanism may be restricting movement.
- Water flow is weak: The aerator may be clogged, or the faucet cartridge, supply line, or shutoff valve may have a restriction.
- Water appears under the sink: The supply connections, faucet mounting area, flexible hoses, or shutoff valves may be leaking rather than the faucet’s internal valve.
A clogged aerator is a low-risk check. Unscrew the aerator by hand or with a protected wrench, rinse away debris, and reinstall it. If the faucet still drips with the handle closed, the internal valve assembly is more likely to need service.
Tools and replacement parts
Gather a Phillips screwdriver, a flat-head screwdriver, an Allen wrench set, adjustable pliers, a small pick or needle-nose pliers, a flashlight, a cloth, and a small container for loose screws. A strap wrench can help protect polished finishes. Plumber’s silicone grease may be appropriate for certain faucet O-rings, but use only a product that is labeled for plumbing components and compatible with the manufacturer’s materials.
Do not purchase the replacement part based only on a photograph or a general description such as “single-handle washer.” Remove the existing cartridge, ball seals, or disc assembly only after shutting off the water, then compare the part carefully. If possible, record the faucet brand and model number before disassembly. Some model information is printed on the faucet body, handle, supply line, or installation documents.
Safe steps for replacing the internal seal or cartridge
1. Shut off the water and protect the work area
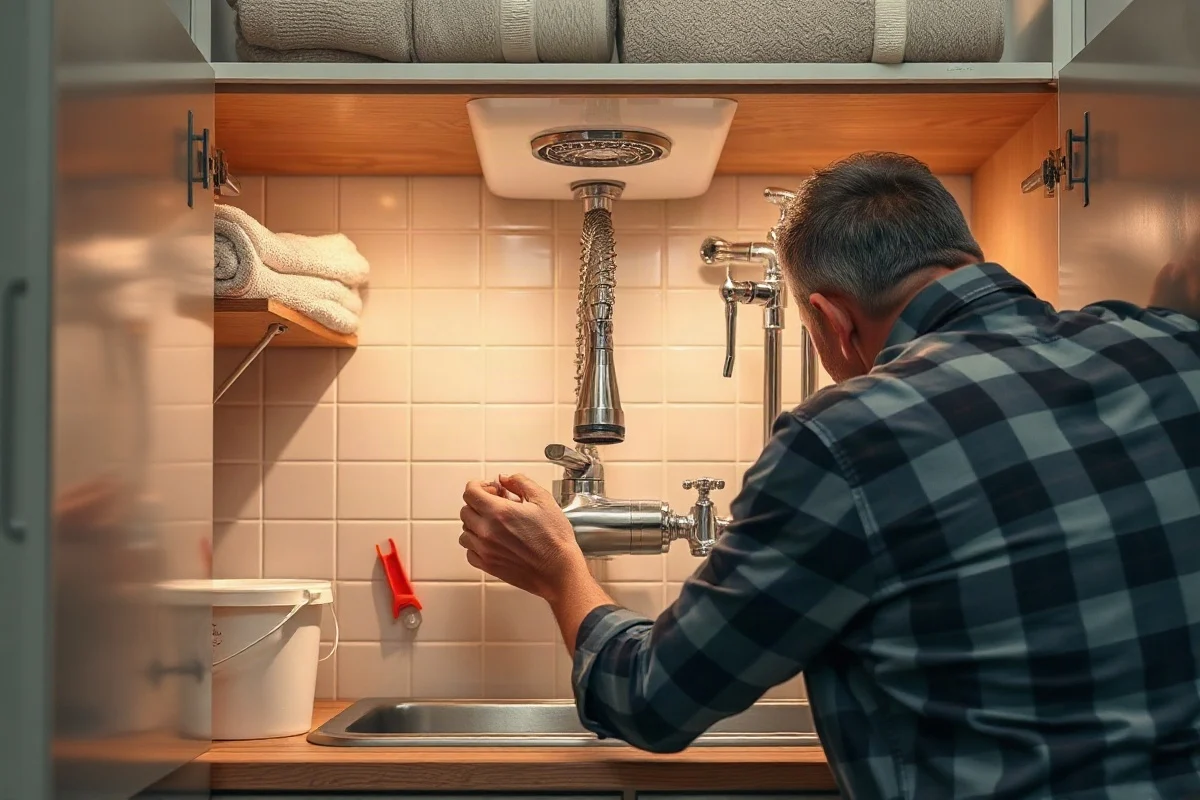
Close the hot and cold shutoff valves beneath the sink by turning them clockwise, without forcing them. If the valves are missing, seized, damaged, or leaking around the stem, use the home’s main water shutoff only if you know its location and can operate it safely. Open the faucet to release pressure, and place a towel or shallow container beneath the connections.
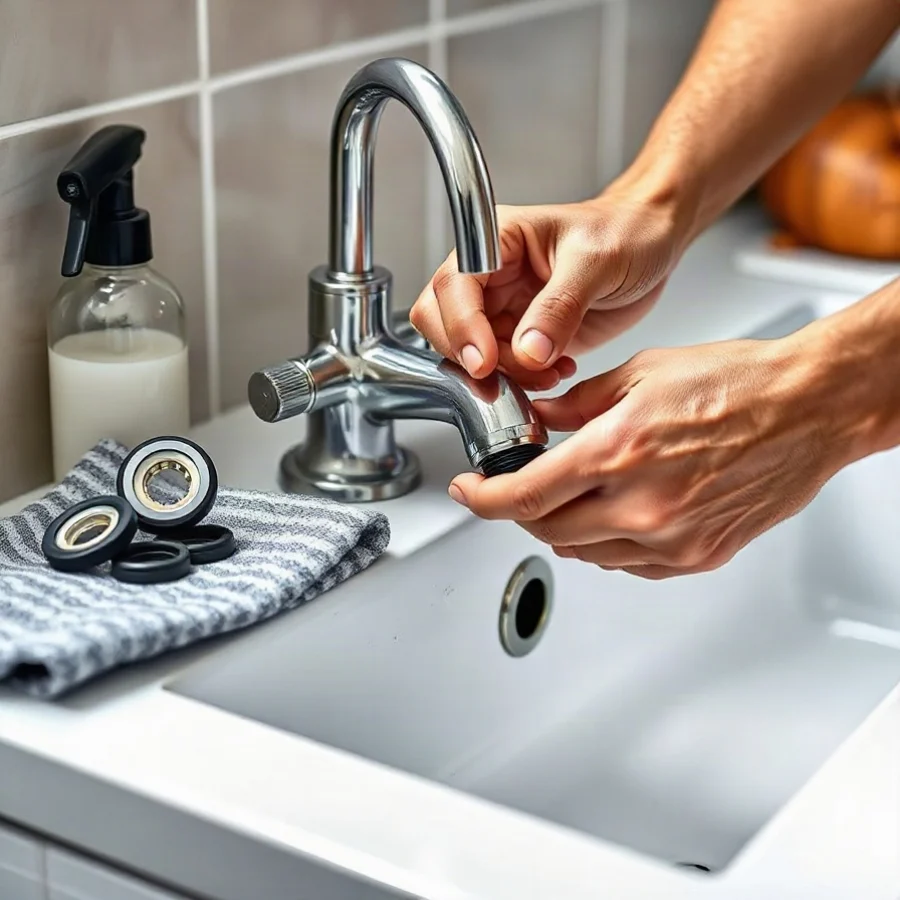
Before removing any part, confirm that water has stopped. If the shutoff valve will not close, do not continue with the repair. A faucet disassembly can release pressurized water unexpectedly, and a failed shutoff may need professional replacement.
2. Remove the handle
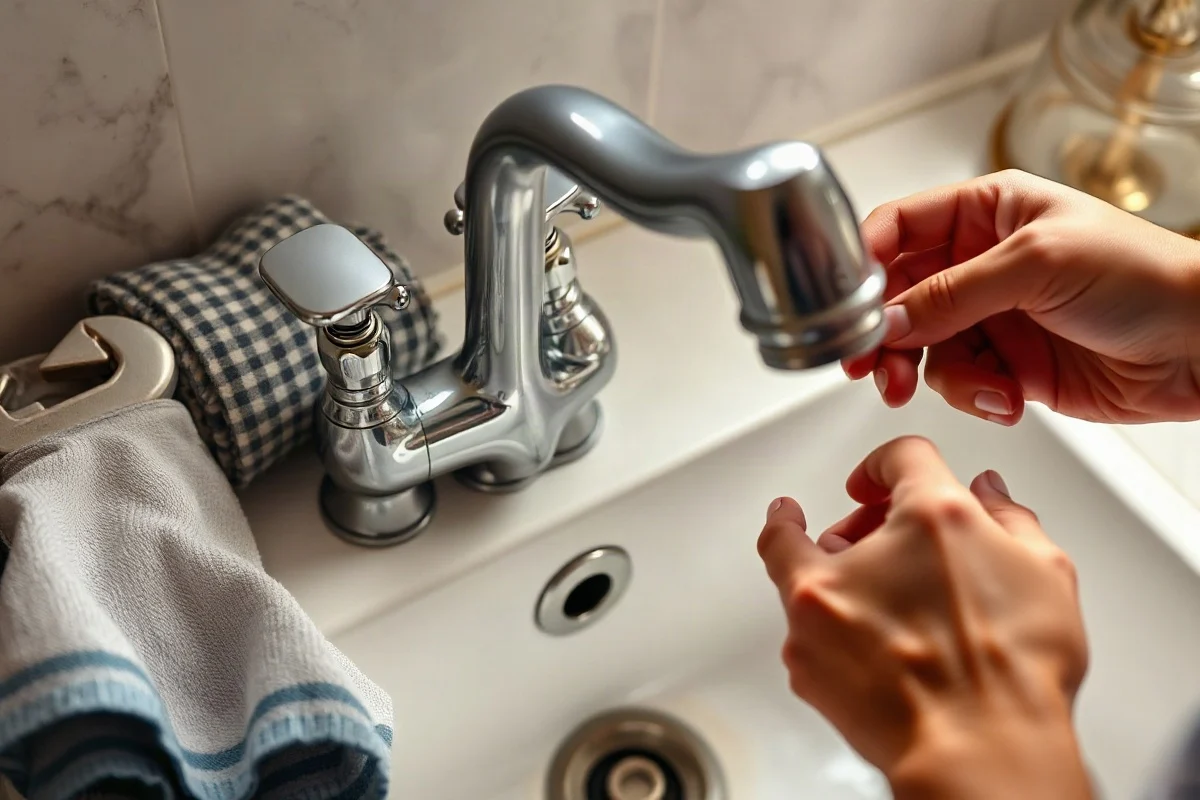
Look for a small set screw beneath a cap, behind the handle, or along the side of the handle. Pry off a decorative cap gently with a plastic tool or a protected screwdriver, then loosen the set screw with the correct bit or Allen wrench. Pull the handle straight up or away from the faucet body according to its design. Avoid twisting aggressively, because a stuck handle can damage the stem or faucet body.
3. Expose the valve mechanism
Once the handle is removed, you may see a decorative dome, retaining nut, clip, or collar. Remove these parts carefully and place them in order so they can be reinstalled correctly. Take a photo before removing the valve assembly. If the faucet contains a cartridge, note its orientation. If it contains a ball, observe how the slot or alignment tab faces. If it contains ceramic discs, avoid dropping or scratching the assembly.
4. Remove the worn component
Cartridges may pull straight out, but mineral buildup can make them difficult to remove. A cartridge-pulling tool may be safer than pliers. Grip only the portion intended for removal and avoid crushing the faucet body.
Ball faucets usually contain small rubber seats and springs beneath the ball. Keep track of their position and orientation. A pick can remove the seats carefully, but do not gouge the valve openings. Disc cartridges may be held in place by screws or a retaining mechanism. If the ceramic surfaces are cracked, chipped, or heavily damaged, replacing the complete cartridge is usually more practical than attempting to rebuild it.
5. Clean and inspect the valve body
Wipe away loose mineral deposits and debris with a clean cloth. Look for corrosion, deep scratches, cracks, damaged threads, or a distorted valve opening. Do not sand or file precision valve surfaces casually. An imperfect repair surface can create another leak or damage a replacement cartridge.
6. Install the matching replacement
Install new O-rings, seats, springs, a cartridge, or another manufacturer-compatible component in the same orientation as the original. A light coating of compatible silicone grease may help O-rings seat without tearing, but excess grease can collect debris. Tighten retaining hardware firmly but not excessively. Over-tightening can crack plastic parts, distort seals, or make the handle difficult to operate.
7. Reassemble and test slowly
Replace the trim and handle, then open the shutoff valves gradually. Check beneath the sink and around the handle for leaks. Turn the faucet on slowly and move the handle through its range. Flush the faucet for a short time to clear loose debris, then inspect the spout and connections again. If the leak remains, shut off the water and reassess the part, orientation, and valve condition rather than repeatedly tightening components.
When replacement is better than repair
Replacing a cartridge, seal kit, or ball faucet seats can be reasonable when the faucet body is sound and the correct part is available. A complete faucet replacement may make more sense when the body is cracked, the finish is severely corroded, the valve mechanism is no longer supported, or the repair parts cost nearly as much as a suitable new fixture.
Do not ignore a leak simply because it is small. Water around the handle can travel beneath the counter and damage the cabinet or surrounding materials. A leak below the sink may also come from a supply connection or shutoff valve, which requires a different repair. For broader faucet guidance, see our faucet repair resources.
Checks homeowners can safely perform
- Identify whether the leak comes from the spout, handle, supply connection, or beneath the sink.
- Clean a removable aerator and check whether water flow improves.
- Confirm that both shutoff valves are accessible and appear dry.
- Record the faucet brand, model, and part orientation before disassembly.
- Replace a clearly identifiable cartridge or seal only if the water can be shut off completely and the repair can be performed without force.
When to call a qualified local plumber
Use a qualified local professional if the shutoff valves will not close, the faucet body or supply piping is corroded, the repair requires cutting or altering piping, or the leak may be concealed behind a wall or cabinet. Call promptly for active flooding, water near electrical equipment, sewage exposure, or a leak that cannot be controlled. Electrical hazards, major water damage, hidden leaks, and code-related work are not good situations for trial-and-error faucet repair.
A plumber can also help when the faucet has an unfamiliar design, the handle is seized, the cartridge is stuck, or a replacement part is unavailable. Ask what was found, whether the repair involves a component replacement or a complete faucet replacement, and whether any additional water damage was identified. For general guidance on comparing service options, review our information about hiring a plumber.
What affects the repair cost
The total cost depends on the faucet’s design, the availability of the correct repair part, the condition of the valve body, access beneath the sink, and whether the problem is limited to the faucet or includes supply valves and connections. A simple seal or cartridge replacement is different from replacing a corroded shutoff valve or installing a new faucet.
Before work begins, request a clear explanation of the suspected cause, the recommended repair, the parts involved, and any service or diagnostic charges. Prices vary by location and by the condition of the plumbing, so avoid relying on a generic online estimate as a guaranteed local price. More general information is available in our guide to plumbing costs.
The key is to match the repair to the faucet’s actual mechanism. A single-handle faucet may look simple from the outside, but its internal cartridge, ball, or ceramic disc assembly determines the correct repair. Shut off the water, work carefully, and stop when corrosion, flooding, or an uncertain valve condition makes the job unsafe.
Comments
0No comments yet. Be the first to share a helpful note or question.
Leave a Comment
Your email address will not be published. Comments are reviewed before appearing on the site.