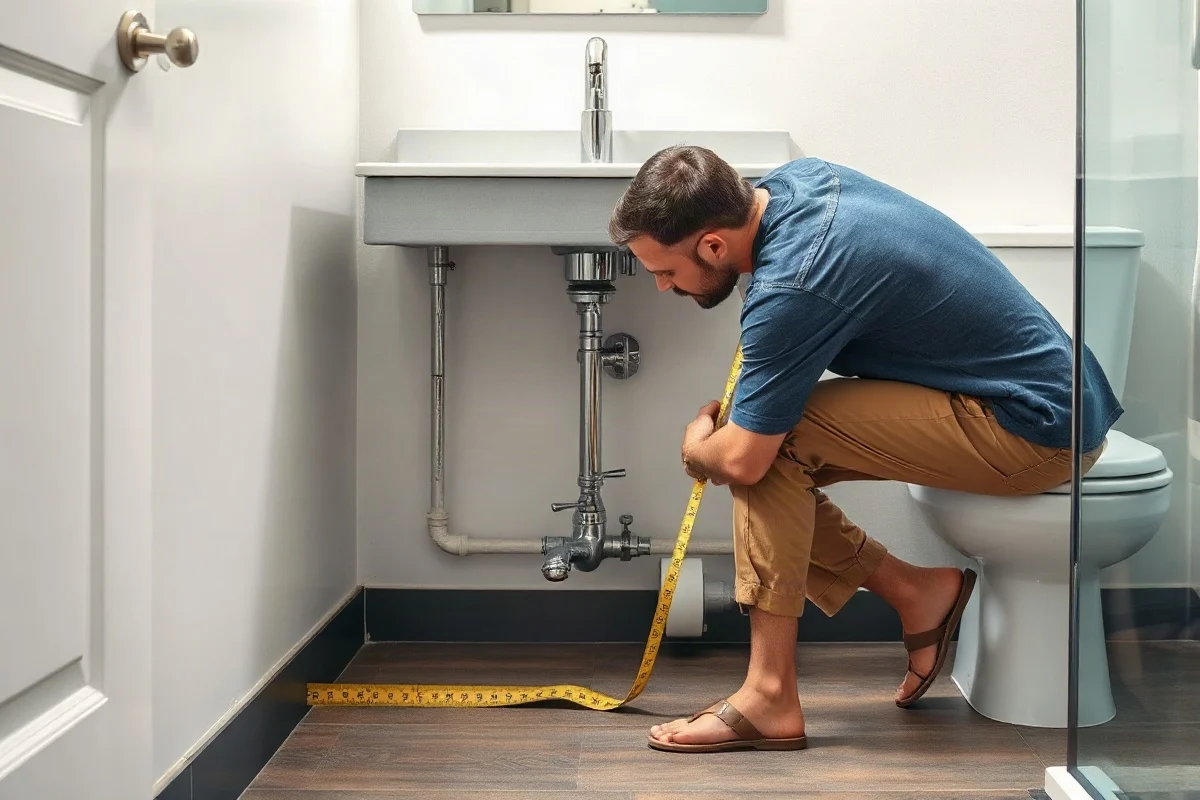
Bathroom plumbing measurements should include the room dimensions, fixture locations, drain positions, water supply points, clearances, and the distance between finished surfaces and rough plumbing. Measure from finished walls and floors, not unfinished framing, and record every dimension twice. These measurements can help you choose a compatible toilet, vanity, sink, faucet, tub, or shower, but they do not replace a professional assessment when pipes are hidden, leaks are involved, or a fixture must be relocated.
Why bathroom measurements matter
A bathroom fixture may look like it will fit until the doors, drawers, supply lines, drain, or shutoff valves are considered. A vanity can fit along a wall but block a door swing. A toilet can fit in the available space but fail to align with the existing drain. A new sink may need a different faucet-hole arrangement, while a shower replacement may expose walls or plumbing that need repair.
Good measurements reduce surprises by showing what can remain in place and what may need to change. They also give a plumber useful information when you request an estimate or discuss a replacement. Take photographs of the existing setup, label each measurement, and note whether a dimension was taken to a finished surface, trim edge, centerline, or fixture edge.
Measurements to take before buying a fixture
Room and access dimensions
Measure the bathroom’s length and width, ceiling height, doorway width, and the width of the path from the entrance to the installation area. Record door-swing direction and the location of baseboards, built-in cabinets, windows, vents, and electrical devices. Large fixtures may fit the bathroom but still be impossible to carry through a narrow hallway or turn through a doorway.
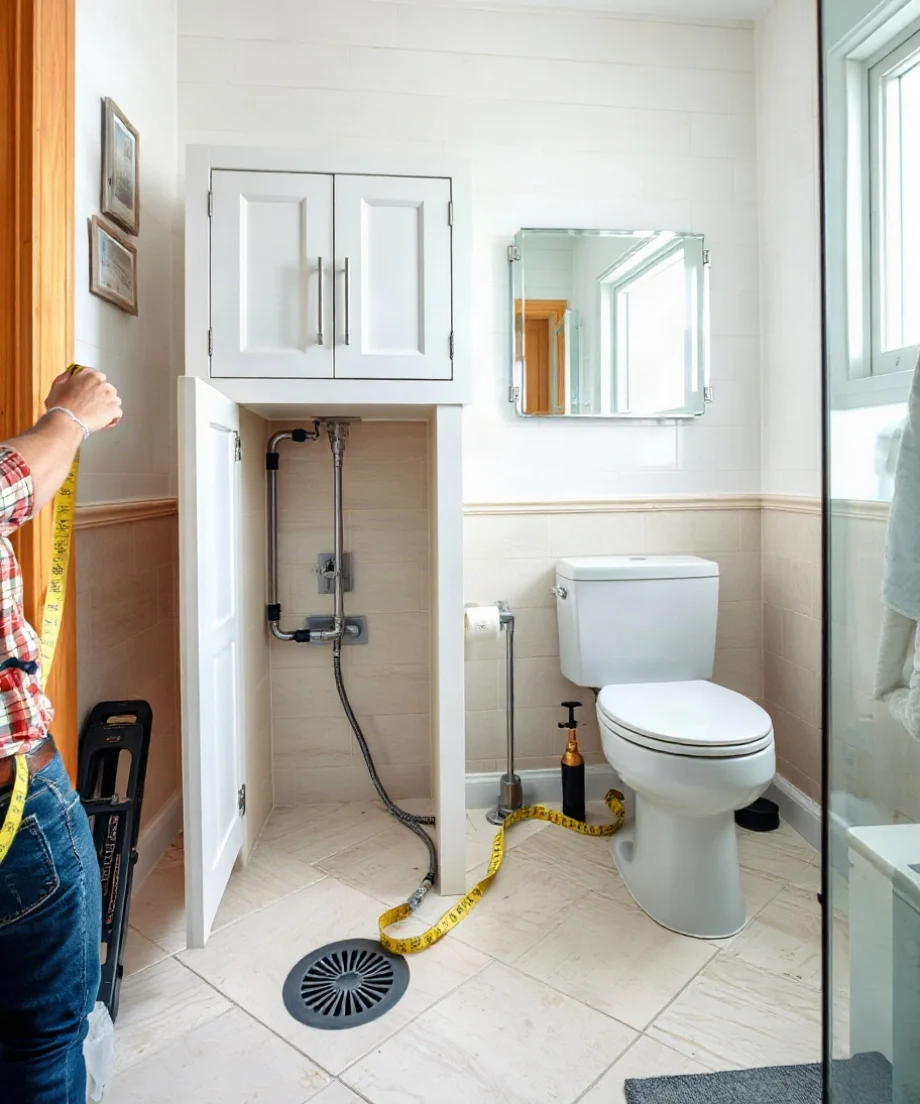
Also measure the distance from the floor to windowsills, mirrors, shelves, and wall cabinets. These details matter when a new vanity, medicine cabinet, shower wall, or backsplash will be taller or deeper than the existing one.
Fixture footprint and clear space
Measure the existing fixture’s width, depth, and height. For a vanity or sink cabinet, include the countertop overhang, side splashes, doors, and drawers. Check how far drawers and doors open, especially near a toilet, shower enclosure, or wall.
For a toilet, measure the available space from the back wall to the front edge of the bowl and from each side wall or cabinet to the toilet’s centerline. Measure the distance from the finished back wall to the center of the floor drain or toilet bolts. This drain location is often called the rough-in measurement. Measure from the finished wall, not from the baseboard or unfinished framing. If the wall will be remodeled, tell the installer how thick the planned wall finish will be, because that can affect the final position.
Toilet shapes and tank designs vary. A compact bowl may solve a space problem, while an elongated model may need more room. Do not assume that a replacement toilet will match the existing drain position simply because it has the same general appearance.
Sink and vanity measurements
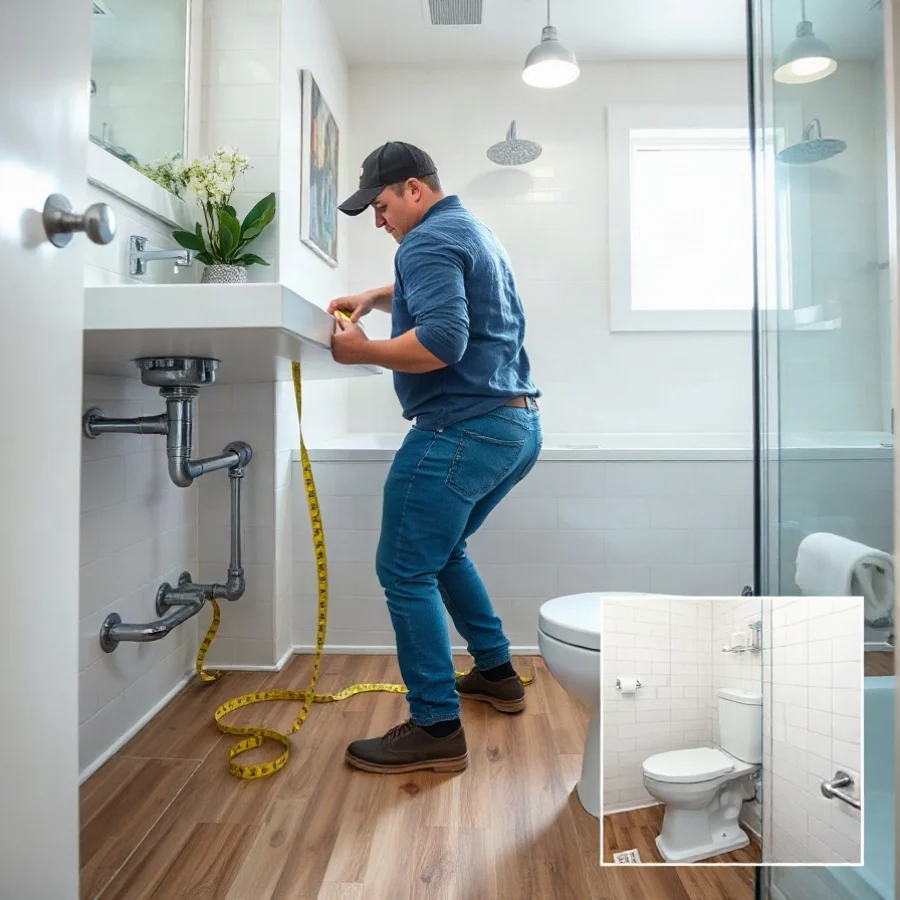
Measure the vanity opening, countertop width and depth, sink cutout, and the distance from the countertop to the backsplash or wall. For a wall-mounted sink, locate the wall support area and measure the position of the drain and supply lines relative to the finished floor.
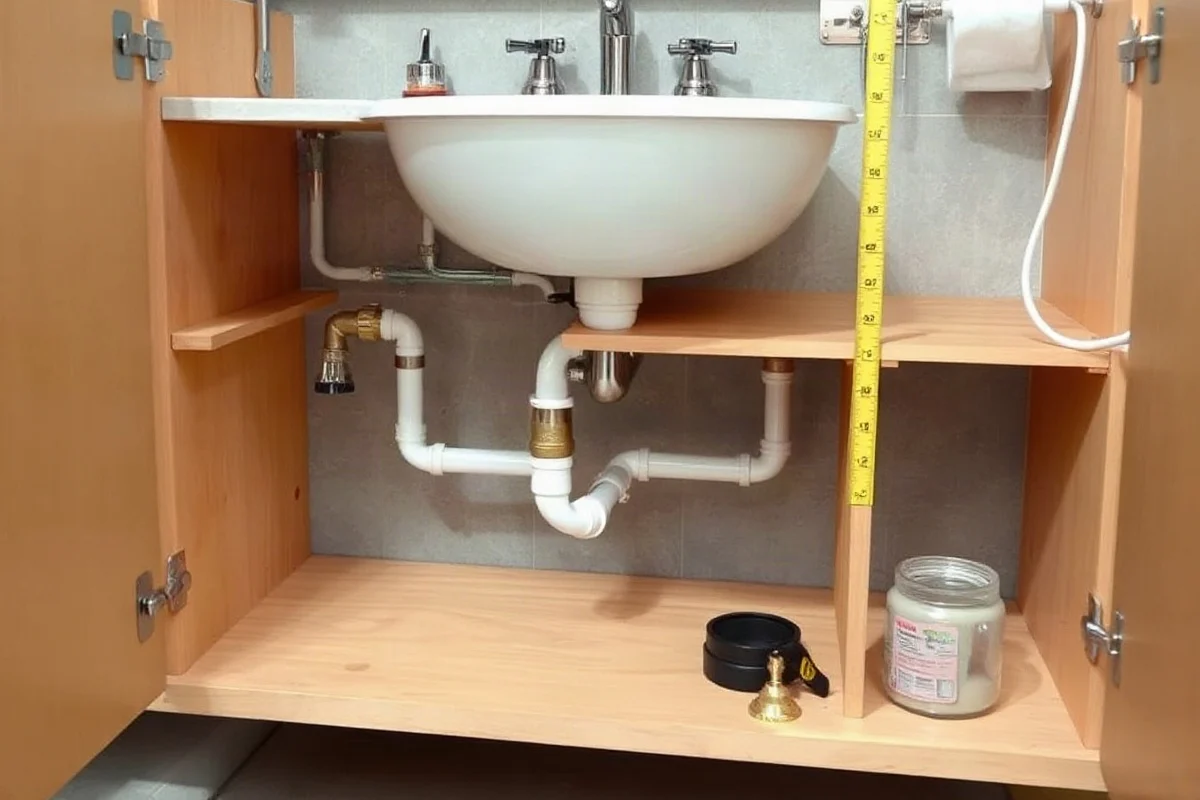
Under the sink, measure the distance between the hot and cold supply lines, the drain centerline, and the available space around shutoff valves. Look for obstructions such as drawers, shelves, a garbage-like storage bin, or a structural member. A supply line that appears close to the cabinet wall may interfere with a drawer or prevent a new trap from lining up correctly.
When replacing a faucet, count the holes in the sink or countertop and measure the distance between them if the holes are separate. Also record whether the faucet is mounted through the sink, countertop, or wall. A single-hole faucet may not cover old openings, and a widespread faucet may require more countertop space than a compact center-set design.
Tub and shower measurements
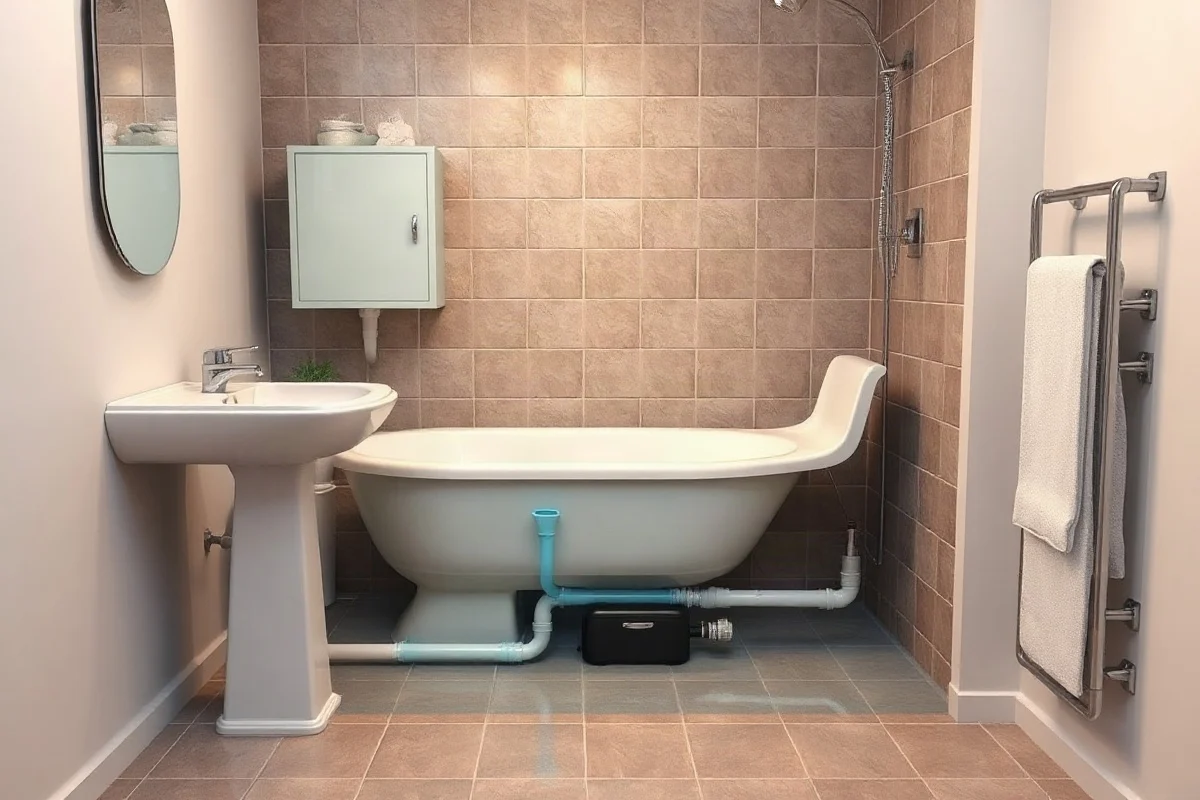
For a tub, measure the length, width, and height of the opening, along with the location of the drain and overflow. Measure from the finished walls to the drain center and note whether the drain is near the left, right, or center of the tub. Check the direction of the tub’s apron and the location of the valve and spout.
For a shower, record the finished interior width, depth, threshold height, ceiling height, and door opening. Measure the positions of the shower valve, showerhead, handheld connection, drain, and any built-in shelves. If you plan to change the shower layout, the job may involve opening walls and modifying water lines or the drain. That work is better handled by a qualified local plumber, particularly when the piping is concealed or the shower is above a finished ceiling.
How to measure water supplies and drains
Measure the location of each visible supply line from two fixed reference points, such as the finished floor and the side wall. Use the center of the pipe or valve as the reference point. For a sink, record the height and horizontal position of both shutoff valves and the drain opening. For a toilet, record the drain centerline and the location of the water supply connection.
Do not rely only on the apparent outside diameter of a pipe. Plumbing materials and connection types can make visual identification uncertain, and the usable connection may be different from the pipe size inside the wall. A professional can identify the existing material and determine whether an adapter, replacement valve, or new connection is appropriate.
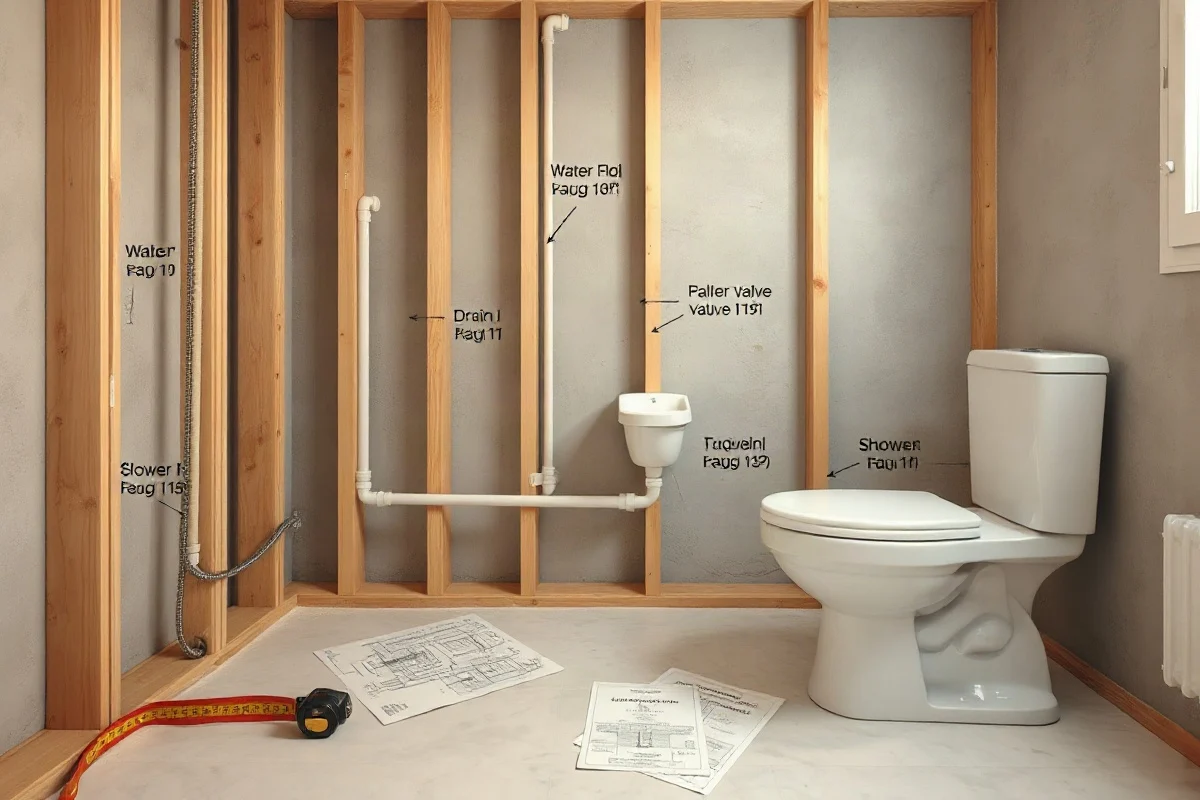
When measuring a drain, check whether the pipe enters through the wall or floor and whether the trap is visible. A drain that disappears into a wall or slab may require access work to relocate. Never cut into a wall or floor based only on a measurement if you do not know where electrical wiring, structural members, or other plumbing is located.
Low-risk homeowner checks
Homeowners can safely take most visible measurements with a tape measure, pencil, paper, and camera. Turn off the water only if necessary and only when you know how to restore it. Keep cabinet doors open while measuring, and do not force shutoff valves that are stuck, corroded, or leaking.
Before ordering a fixture, compare the manufacturer’s installation drawing with your measurements. Confirm the fixture footprint, connection locations, drain position, door or drawer clearance, and required access space. Use a level to check whether a visible countertop or wall is noticeably out of alignment, but do not treat a small visual difference as proof of a plumbing defect.
While inspecting, look for water stains, swollen cabinet material, soft flooring, corrosion, mold-like growth, sewer odors, slow drainage, or a toilet that moves when gently touched. These symptoms may indicate a leak, failed seal, drainage problem, or damaged supporting surface. You can document the signs, but avoid dismantling the fixture unless you understand the risks and have a reliable way to stop the water.
When measurements point to a repair
Measurements alone do not identify the cause of a plumbing problem. A toilet that rocks may have a loose connection, an uneven floor, or a failed seal. A sink cabinet that is damp may have a leaking supply connection, drain joint, faucet, or countertop seam. A shower with low flow may have a fixture issue, a partially closed valve, mineral buildup, or a problem deeper in the plumbing system.
If the bathroom has an active leak, first protect the area and use the nearest accessible shutoff valve if it operates normally. If water is spreading, the shutoff will not work, or the leak is inside a wall or ceiling, contact a qualified local professional. For more guidance on leak symptoms and repair decisions, see this leak repair guide.
Do not work on sewage-contaminated water, exposed electrical components, major flooding, or hidden piping yourself. Keep people away from contaminated areas, avoid contact with the water, and arrange qualified help. A concealed leak can damage framing, flooring, insulation, and ceilings even when the visible drip appears small.
Repair or replacement: what the measurements can tell you
Keep an existing fixture when it is structurally sound, fits the space, and the problem involves a serviceable part such as a washer, cartridge, supply hose, fill valve, flapper, trap, or seal. Replacement may make more sense when the fixture is cracked, badly corroded, repeatedly leaking, difficult to source parts for, or incompatible with the planned remodel.
For toilets, compare the rough-in measurement and bowl shape before purchasing. For faucets, compare the hole pattern and countertop thickness. For sinks and vanities, compare the drain and supply locations with the cabinet interior. For tubs and showers, compare not only the opening size but also the drain, valve, access, and wall conditions.
If a new fixture requires moving a drain, extending concealed water lines, opening a finished wall, changing a shower configuration, or repairing damaged subfloor, get an evaluation before buying materials. A plumber can determine whether the proposed fixture is practical and whether additional trades may be needed.
What affects bathroom plumbing costs
The final cost depends on more than the fixture’s purchase price. Important factors include the type and quality of the fixture, removal and disposal, access to existing connections, condition of shutoff valves and drains, pipe material, concealed damage, wall or floor repairs, and whether the layout changes. Difficult access and unexpected damage can increase labor and materials.
Local prices vary, so ask for a written scope that explains what is included. Clarify whether the estimate covers removal, new connections, testing, cleanup, finish repairs, and any work that may be discovered after the fixture is removed. Do not assume that a low initial quote includes every part of a complicated bathroom remodel. You can review broader cost considerations in this plumbing costs guide.
How to choose the right plumber
Choose a qualified local plumber with experience in the specific work, whether that is toilet replacement, faucet installation, drain repair, shower plumbing, leak detection, or a larger bathroom renovation. Ask what the plumber inspected, which measurements were used, what assumptions the estimate contains, and which parts of the work may require wall or floor access.
Confirm that the professional carries the qualifications and insurance appropriate for the work and location. Because requirements differ by jurisdiction and project, ask the local authority or the plumber which rules apply rather than relying on general online advice. Request documentation for products and work covered by the agreement, and keep records of photographs, measurements, estimates, and invoices.
For a straightforward visible fixture issue, accurate measurements may help you prepare for a repair. For hidden leaks, sewage, flooding, electrical hazards, structural damage, or layout changes, stop at documentation and call a qualified professional. Careful measurements are valuable, but safe diagnosis and proper installation matter just as much as getting the numbers right.
Comments
0No comments yet. Be the first to share a helpful note or question.
Leave a Comment
Your email address will not be published. Comments are reviewed before appearing on the site.