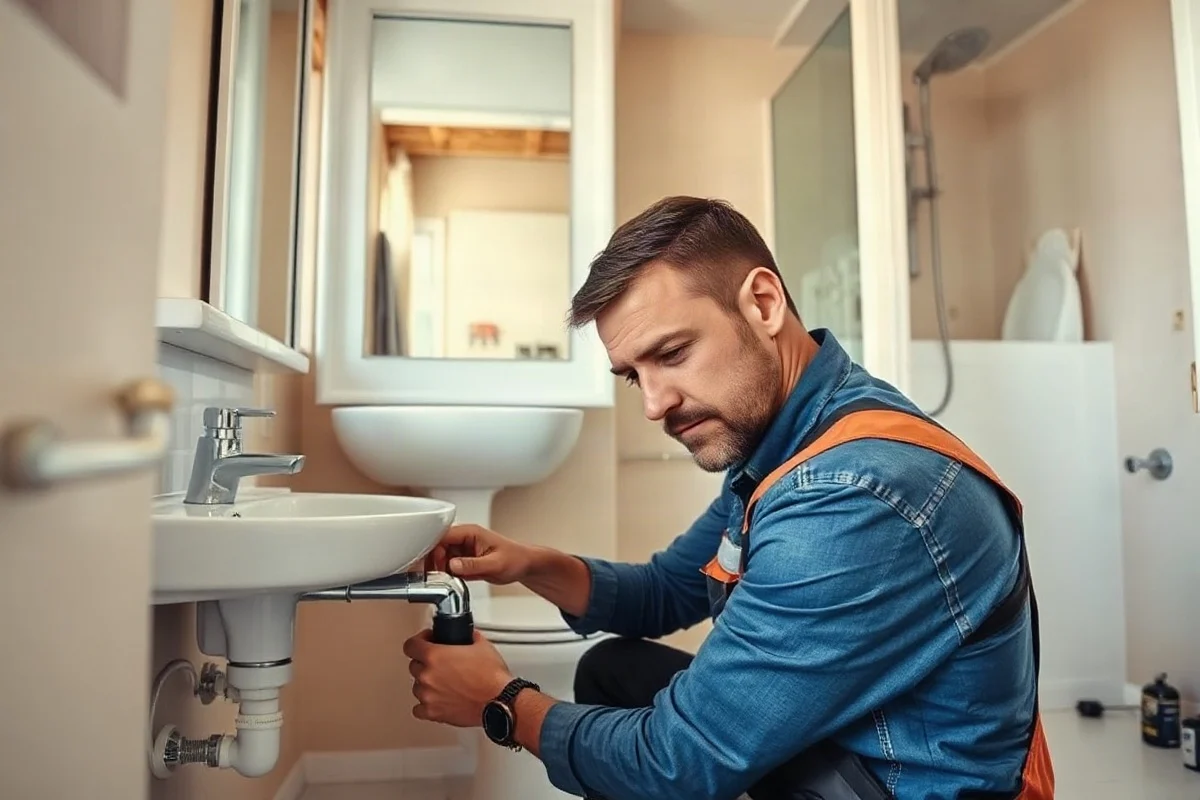
To plumb a bathroom correctly, plan the fixture layout first, route properly sized water supply and drain lines, install reliable shutoff valves and traps, protect pipes from leaks and movement, and test every connection before closing walls or floors. The exact work depends on the home’s existing plumbing, local requirements, fixture instructions, and whether the project is new construction, a remodel, or a simple replacement.
Bathroom plumbing is not just a matter of connecting a sink, toilet, and shower to the nearest pipe. Drainage, venting, water pressure, access for future repairs, and protection from water damage all matter. Small visible jobs, such as replacing a faucet or supply line, may be manageable for a careful homeowner. New drain lines, concealed piping, sewage work, electrical connections, and changes behind walls should generally be evaluated and completed by a qualified local professional.
Start with a bathroom plumbing plan
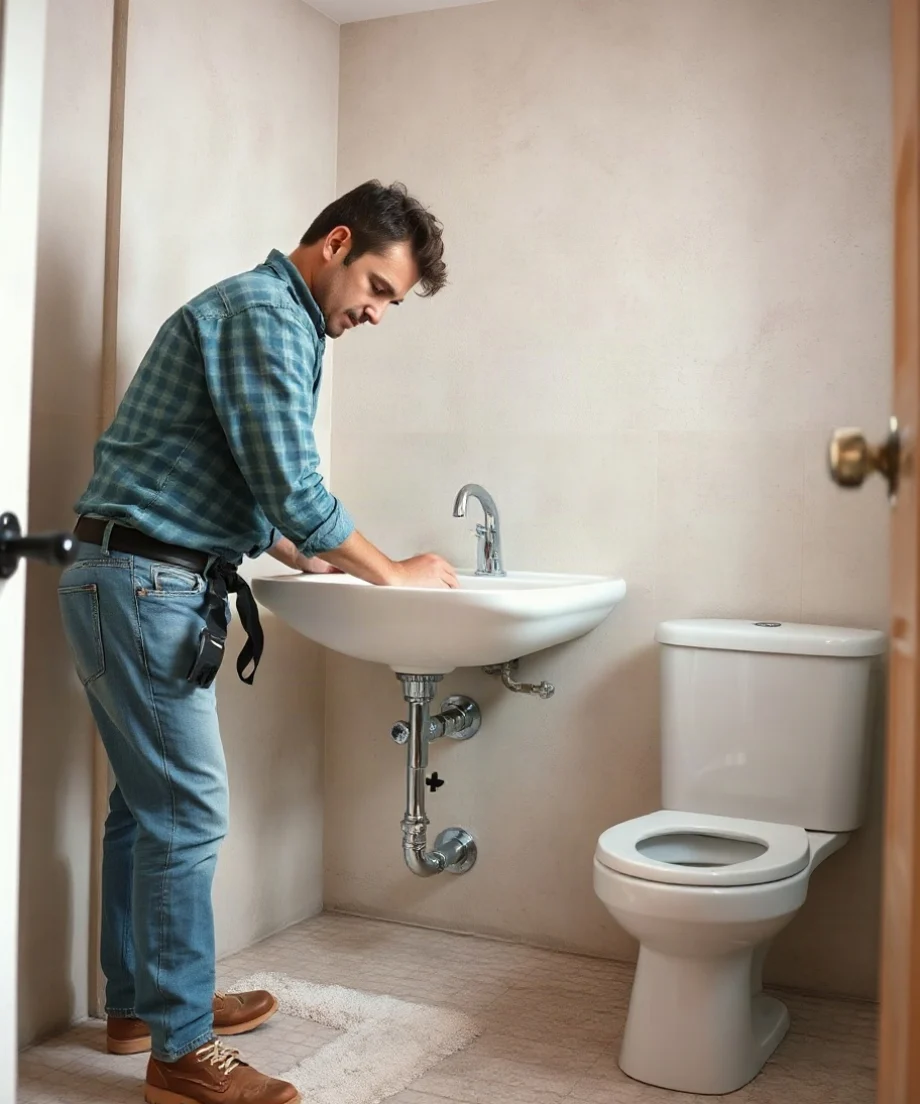
Before removing fixtures or opening a wall, make a simple plan of the room. Mark the locations of the toilet, sink, tub or shower, water heater connections if relevant, floor drain if present, and main access points. Identify where existing hot and cold supply lines, drain lines, and vent pipes are located. If you do not know what is behind a wall or below a floor, avoid cutting until the area has been investigated.
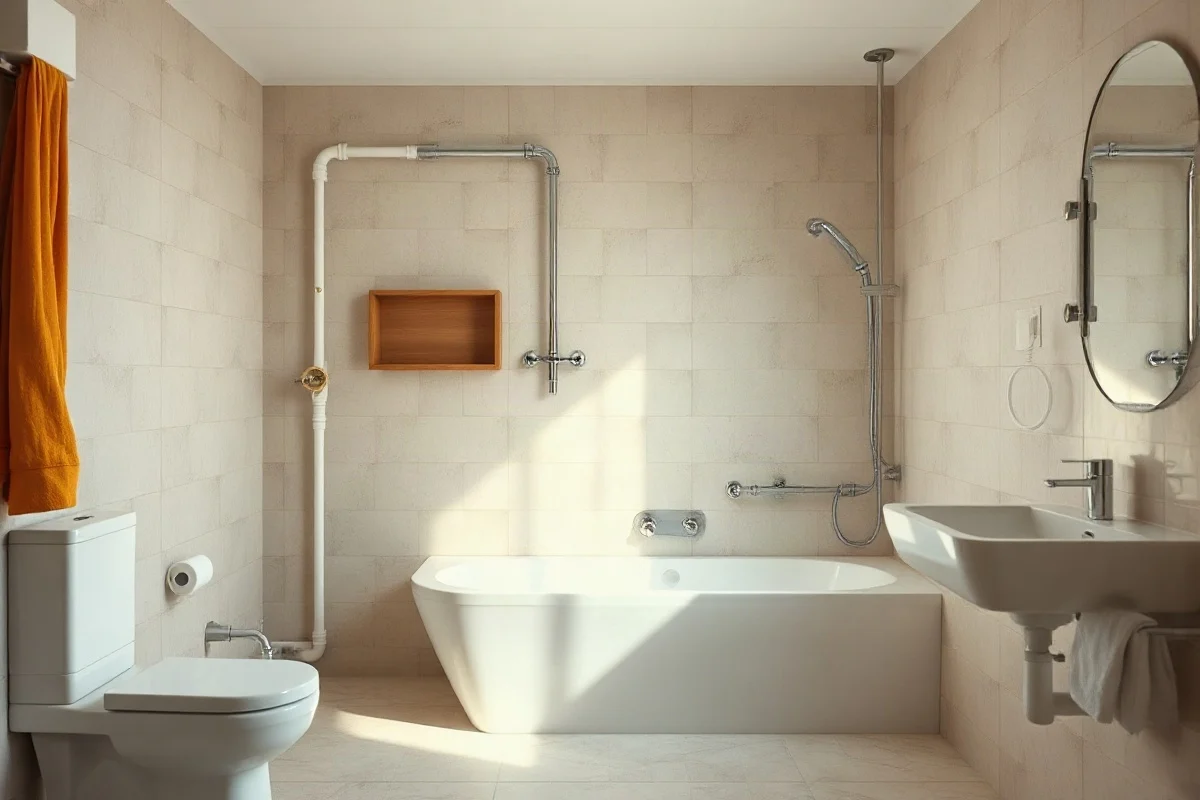
The layout should leave enough room to use and maintain each fixture. A toilet needs a stable, level base and a properly aligned waste connection. A sink needs hot and cold supplies, a drain, a trap, and an appropriate venting arrangement. A shower or tub needs water supplies, a drain connection, and careful waterproofing around the bathing area. The final arrangement must also account for doors, cabinets, flooring thickness, and access panels.
Document the existing plumbing
Photograph exposed pipes before changing anything. Label hot and cold lines, fixture shutoffs, cleanouts, and valves. Note pipe materials and sizes where visible, but do not assume that an existing pipe is suitable for a new fixture simply because it is nearby. Corrosion, damage, poor support, or an unsuitable connection may require repair before installation.
If you are estimating pipe capacity for a larger project, a pipe volume calculator can help with basic planning. It does not replace a professional assessment of drainage, venting, pressure, or local requirements.
Understand the main bathroom plumbing components
Water supply lines
Most bathroom fixtures receive separate hot and cold water supplies, although a toilet normally uses only cold water. Each fixture should have accessible shutoff valves so that a faucet, toilet, or other appliance can be isolated without turning off water to the whole home. Supply lines need firm support and should not be bent, twisted, or forced into position.
Use compatible materials and approved connection methods. Do not mix components casually, and do not reuse damaged compression nuts, washers, flexible connectors, or valves. A slow leak inside a vanity or behind a wall can cause significant damage before it becomes visible.
Drainage and traps
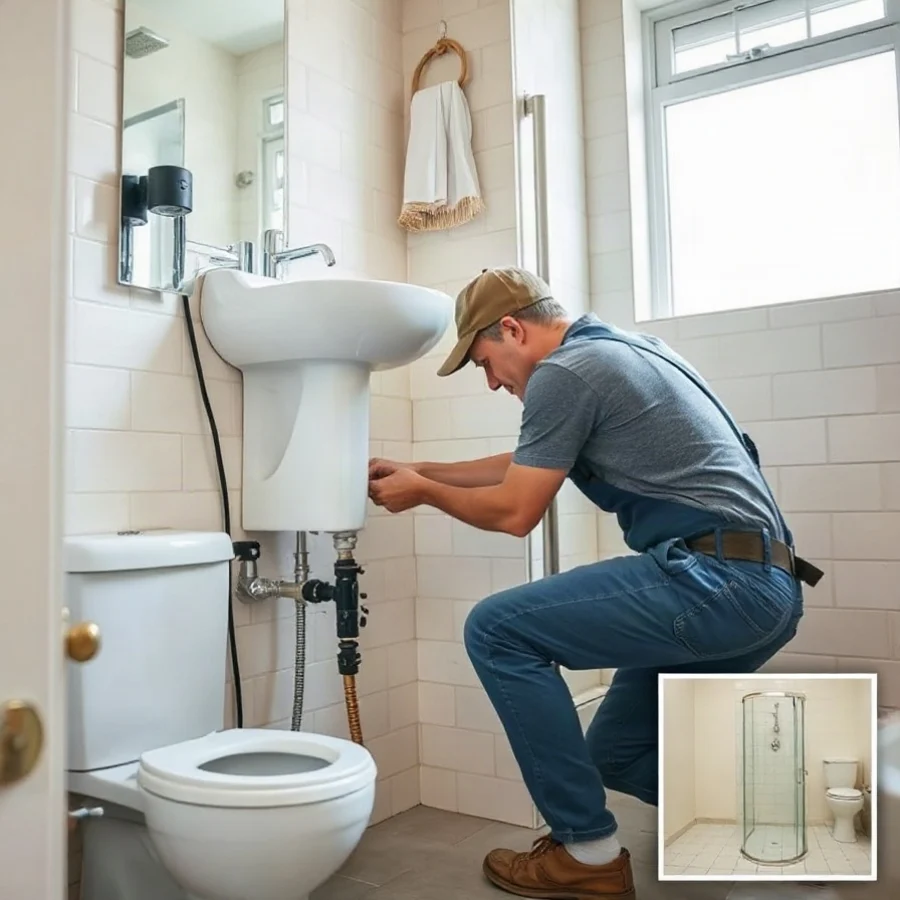
Every sink needs a trap that holds a small amount of water to help block sewer gases from entering the room. The trap must be assembled in the correct direction and should remain accessible for cleaning or replacement. A toilet uses a built-in trap and connects through a sealed base connection. Tub and shower drains also require dependable seals and proper support beneath the fixture.
Drain pipes must be arranged so wastewater flows away without repeatedly holding water in unintended areas. Poorly supported or incorrectly routed drains can contribute to slow drainage, leaks, odors, and recurring clogs. If several bathroom fixtures drain slowly at the same time, the problem may be farther down the branch line or sewer line rather than inside one trap.
Venting
Drain vents help balance air pressure in the drainage system and support proper flow. A missing, blocked, or improperly arranged vent can cause gurgling, slow drainage, trap water being pulled out, or sewer odors. Vent piping is often concealed and may connect to other parts of the home, so changes to it should be handled by a qualified plumber familiar with the property and applicable requirements.
Install fixtures in a logical order
Toilet
For a toilet installation, confirm that the floor is sound and level, the waste connection is correctly positioned, and the sealing ring or connection method is appropriate for the fixture and existing flange. Tighten fasteners evenly without over-tightening, because porcelain can crack. Connect the supply line without kinking it, open the shutoff slowly, and check around the base, valve, and tank while flushing several times.
A toilet that rocks, leaks at the base, runs continuously, or backs up repeatedly should not be ignored. A rocking toilet may need more than a cosmetic adjustment, and a leak at the base can damage flooring or the structure below. For troubleshooting guidance, see this resource on toilet repair.
Sink and vanity
Install the faucet and drain components according to the fixture instructions before placing the sink where access will become difficult. Use new seals where required, keep the drain connection aligned, and make sure the trap can be removed later. Hand-tighten plastic fittings first, then tighten only enough to create a seal. Excessive force can distort a gasket or crack a fitting.
After opening both supply valves slowly, run hot and cold water and inspect every connection with a dry paper towel. Look beneath the faucet, around the drain flange, at the trap joints, and where the supply lines connect to the shutoffs.
Tub or shower
Bathing areas require special attention because a small waterproofing failure can allow water into walls, ceilings, or subfloors. The drain assembly must be supported and sealed, and the surrounding surface must be waterproofed as a complete system. Caulk alone is not a substitute for proper waterproofing behind tile or panels.
Test the drain before the access area is closed. Fill the tub or run the shower for a controlled period, then inspect below and around nearby walls. If water appears outside the intended wet area, stop using the fixture until the source is identified.
Safe checks homeowners can perform
Low-risk checks are appropriate when the issue is visible, the water can be controlled, and no hazardous systems are involved. A homeowner can usually:
- Locate and test accessible fixture shutoff valves without forcing stuck handles.
- Look for moisture around supply lines, traps, faucets, toilets, and exposed drain connections.
- Clean a sink stopper or removable drain strainer.
- Remove and clean a sink trap if the area can be isolated and a bucket is available.
- Replace a visibly damaged faucet aerator or a straightforward, manufacturer-approved connector.
- Check whether a toilet tank continues filling after a flush.
- Run fixtures one at a time and note unusual sounds, odors, slow drainage, or changes in pressure.
Turn off the fixture shutoff, or the home’s main water supply if necessary, when a leak is active. Never force a valve that may break. Do not use chemical drain cleaner as a substitute for diagnosing a recurring blockage, especially in a home with older or damaged piping.
Work that should be left to a professional
Use a qualified local plumber for new bathroom drain lines, concealed leaks, structural pipe repairs, sewer connections, major water damage, and changes to venting or piping behind finished surfaces. Professional help is also the safer choice when pipes are corroded, the source of a leak is unclear, multiple fixtures are affected, or a repair requires opening a ceiling or floor.
Do not work on gas piping, electrical connections, sewage-contaminated areas, or unsafe flooding conditions yourself. A water heater serving a bathroom may involve gas, combustion, electrical, pressure, or venting hazards. For those systems, use a qualified professional rather than attempting an improvised connection. If wastewater is backing up into the room or a large leak cannot be controlled, move away from contaminated water and seek urgent local assistance. You can review guidance for finding an emergency plumber when immediate damage or safety concerns are present.
Test the bathroom before closing walls
Testing should happen in stages. First, inspect all visible supply connections with the water on. Then run each fixture individually and together, if practical, while watching for leaks, unusual vibration, slow drainage, or overflow. Flush the toilet several times and check the base and nearby ceiling below. Fill and drain the tub or basin if the design allows it. Run the shower and inspect the wet area and the space beneath it.
Leave accessible connections visible for a period of observation before installing cabinet panels, wall coverings, or ceiling finishes. Recheck them after the first several uses. A dry connection during a brief test can still leak when a fixture moves, a pipe warms, or a drain carries a larger volume of water.
Repair or replace?
Repair may be reasonable when the fixture is sound, the failure is limited to a replaceable part, and compatible replacement components are available. Examples include a worn faucet cartridge, a damaged supply connector, a clogged trap, or a toilet fill component. Replacement is often more practical when porcelain is cracked, a valve body is severely corroded, a fixture leaks through its structure, or repeated repairs have not resolved the problem.
For a leak, identify the source before choosing a repair. Water can travel along pipes, cabinet surfaces, floors, and framing, making the visible drip different from the actual failure point. Concealed moisture, staining, soft flooring, peeling paint, musty odors, or a ceiling mark below the bathroom justify professional inspection. More information is available in this guide to leak repair.
What affects bathroom plumbing costs?
The cost of a bathroom plumbing project depends on the scope rather than the room name alone. Important factors include the number of fixtures, accessibility of existing pipes, pipe material and condition, whether walls or floors must be opened, drain and vent changes, fixture quality, water damage, disposal of old materials, and the complexity of testing and restoration. Emergency timing and difficult access may also affect a service estimate.
Ask for a written description of the work, the parts or fixtures included, labor assumptions, areas that may require opening, and what is excluded. Avoid choosing a contractor solely from the lowest initial number if the proposal does not explain how the work will be completed. Our plumbing costs guide offers additional questions to consider without promising a universal price.
How to choose the right plumber
Look for a local professional with experience in the type of work required: fixture replacement, bathroom remodeling, leak detection, drain repair, or concealed piping. Ask how the plumber will protect finished surfaces, test the installation, handle unexpected damage, and document work that will be covered or inspected under your local requirements. Verify applicable qualifications and insurance directly, because licensing and permit rules vary by location.
Provide photos, describe the symptoms accurately, and mention whether water damage, sewage, gas, electricity, or a hidden leak may be involved. A careful plumber should be willing to explain the diagnosis and distinguish necessary repairs from optional upgrades.
Correct bathroom plumbing combines sound planning, compatible materials, secure connections, proper drainage and venting, thorough leak testing, and safe judgment about when to stop. Handle simple visible checks only when you can control the water and work safely; for concealed, hazardous, structural, sewage, or code-related work, use a qualified local professional.
Comments
0No comments yet. Be the first to share a helpful note or question.
Leave a Comment
Your email address will not be published. Comments are reviewed before appearing on the site.