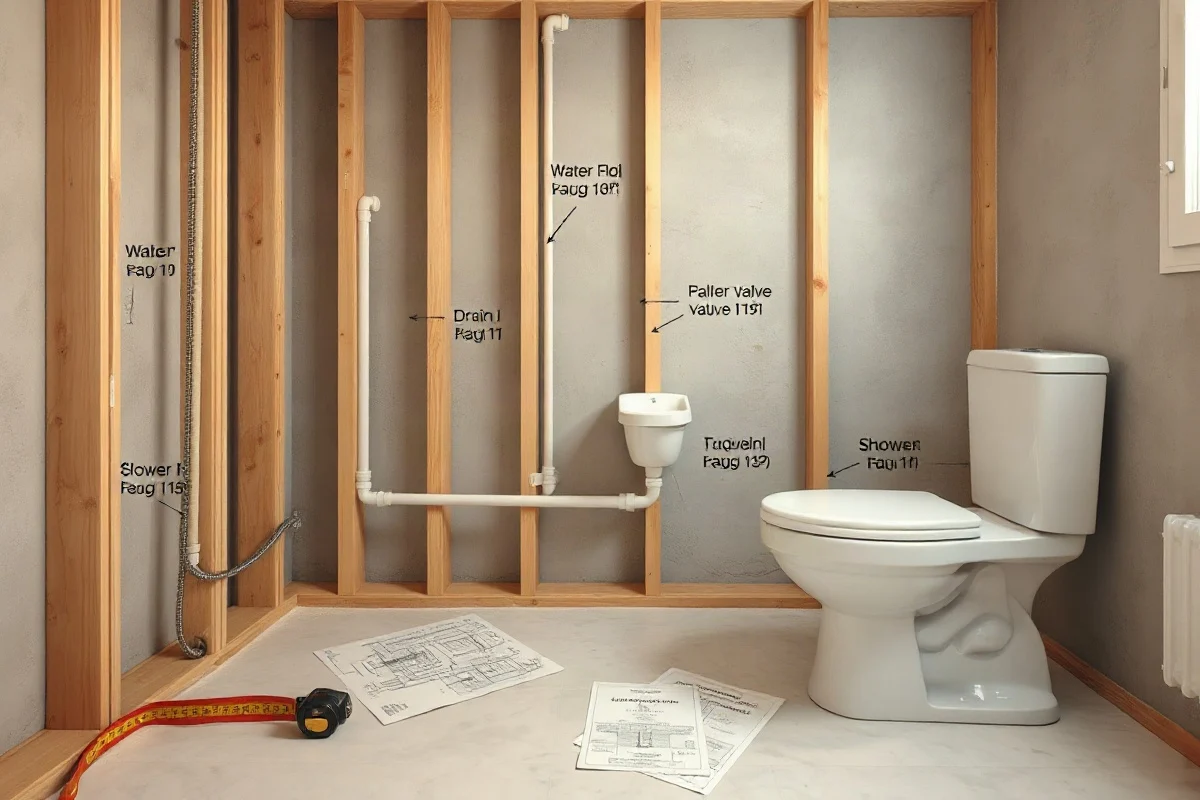
Bathroom plumbing rough-in dimensions are the measurements that determine where supply lines, drains, and fixture connections are placed before walls, floors, or finished surfaces are installed. The exact dimensions depend on the fixture, the bathroom layout, the existing drain and vent system, the manufacturer’s installation instructions, and applicable local requirements. Use a fixture’s approved specifications as the final reference rather than relying on a generic measurement chart.
Planning the rough-in correctly helps prevent common problems such as a toilet that does not fit, a sink drain that misses the cabinet opening, shower valves placed at an uncomfortable height, or supply lines that interfere with drawers and trim. Some measurements can be checked by a careful homeowner, but changes to drain, vent, water, gas, or electrical systems should generally be handled by a qualified local professional, especially when walls or floors must be opened.
What “rough-in” means in bathroom plumbing
Rough-in work happens before the visible fixtures and finished surfaces are installed. At this stage, a plumber positions piping, drains, shutoff locations, valve bodies, and other connections so they will align with the toilet, sink, shower, tub, or bidet selected for the room.
Rough-in measurements may be taken from a finished wall, a framing reference, the centerline of a fixture, or the finished floor. Confusing these reference points can create expensive installation problems. For example, a toilet’s drain location is commonly discussed as a distance from the finished wall behind the toilet, but the required space can change if the wall will receive tile, paneling, or another finish.
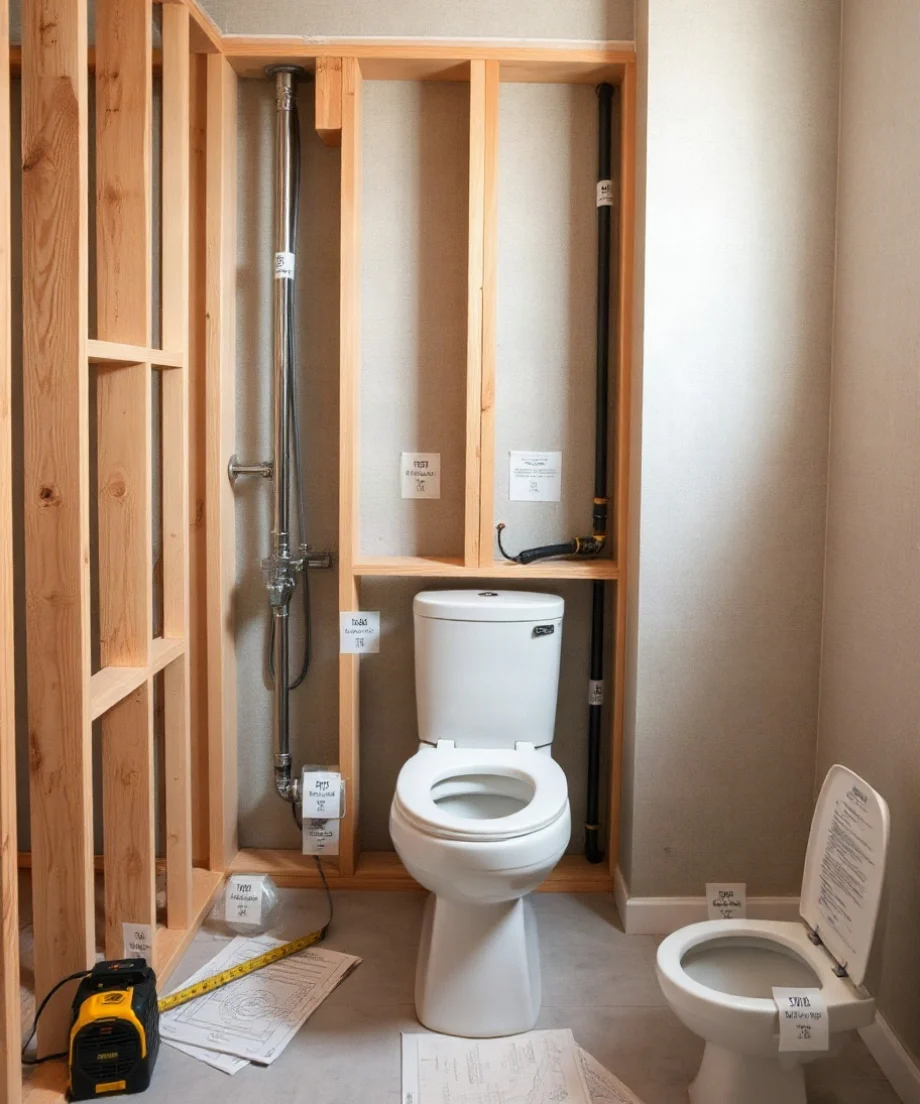
Before measuring, identify whether the bathroom is new construction, a remodel, or a fixture replacement. A replacement may need to match existing plumbing locations, while a new layout offers more flexibility but may require changes to drains, vents, framing, flooring, or access panels.
Toilet rough-in dimensions
The toilet rough-in is usually the most important bathroom measurement because the toilet drain must line up with the bowl and leave enough room for the tank, seat, door swing, and nearby fixtures. Measure from the planned finished wall behind the toilet to the center of the closet flange or drain opening. Do not assume the measurement from bare framing will remain the same after drywall, backer board, tile, or other finishes are added.
Toilet models vary. A standard floor-mounted toilet, a compact toilet, a wall-hung toilet, and a skirted toilet may use different connection arrangements or require different clearances. The toilet manufacturer’s rough-in drawing should be reviewed before the drain is placed. Also confirm the location of the water supply connection so it will not be hidden behind the tank or blocked by the bowl.
Important toilet planning checks
- Measure from the intended finished wall, not only from exposed studs.
- Confirm the toilet model before permanently locating the drain.
- Check the bowl width, tank depth, and direction of the bathroom door swing.
- Leave practical space for cleaning, maintenance, and removal of the toilet.
- Confirm that the flange, drain, and vent arrangement will comply with applicable local requirements.
A homeowner can measure the room and compare a proposed toilet’s dimensions with the layout. Moving a drain, changing a vent, cutting framing, or correcting a flange location is professional work. If the toilet rocks, leaks at the base, backs up repeatedly, or has a flange that sits too low or too high, see a qualified plumber rather than relying on a new wax ring as a permanent solution. For related troubleshooting, visit our guide to toilet repair.
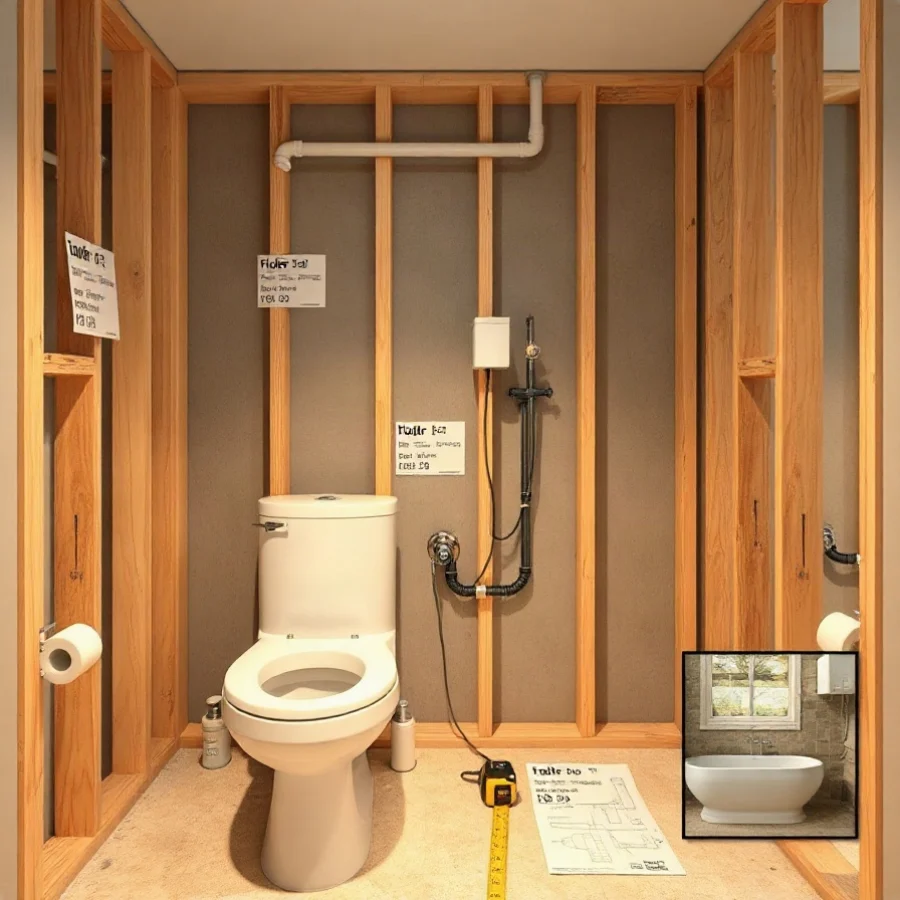
Bathroom sink and vanity rough-in dimensions
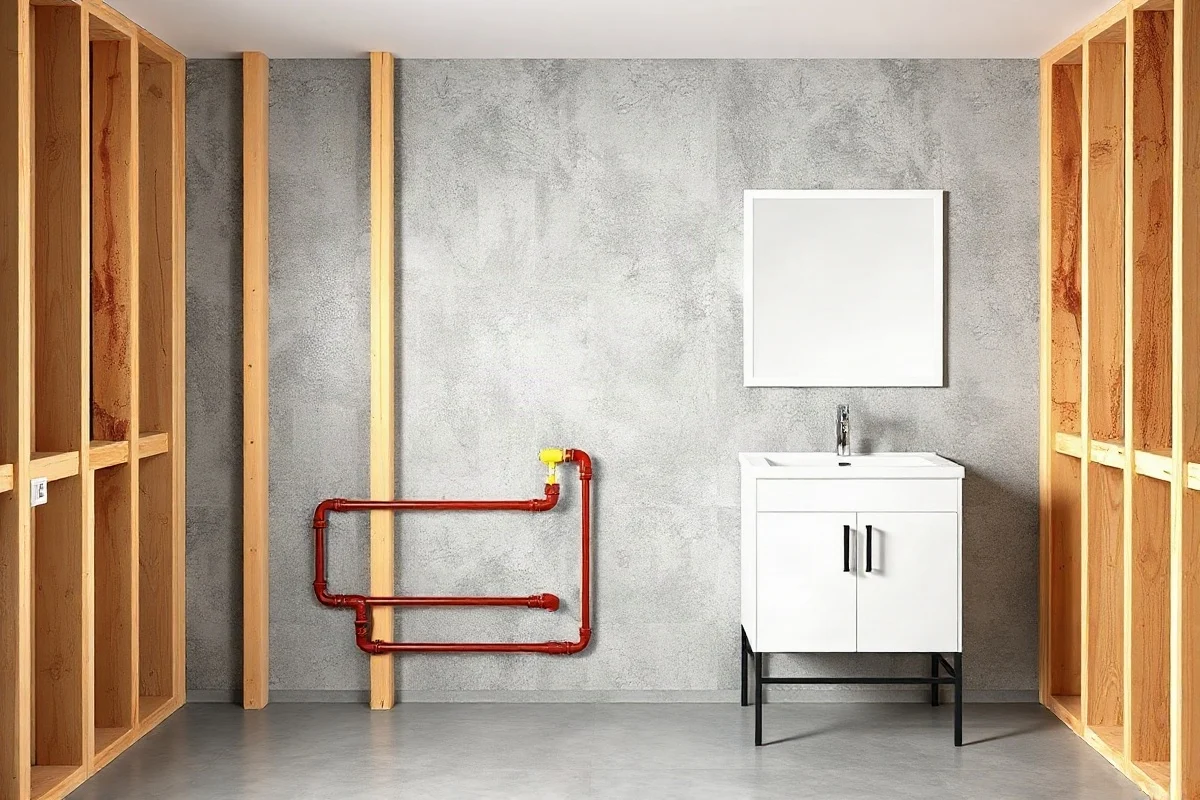
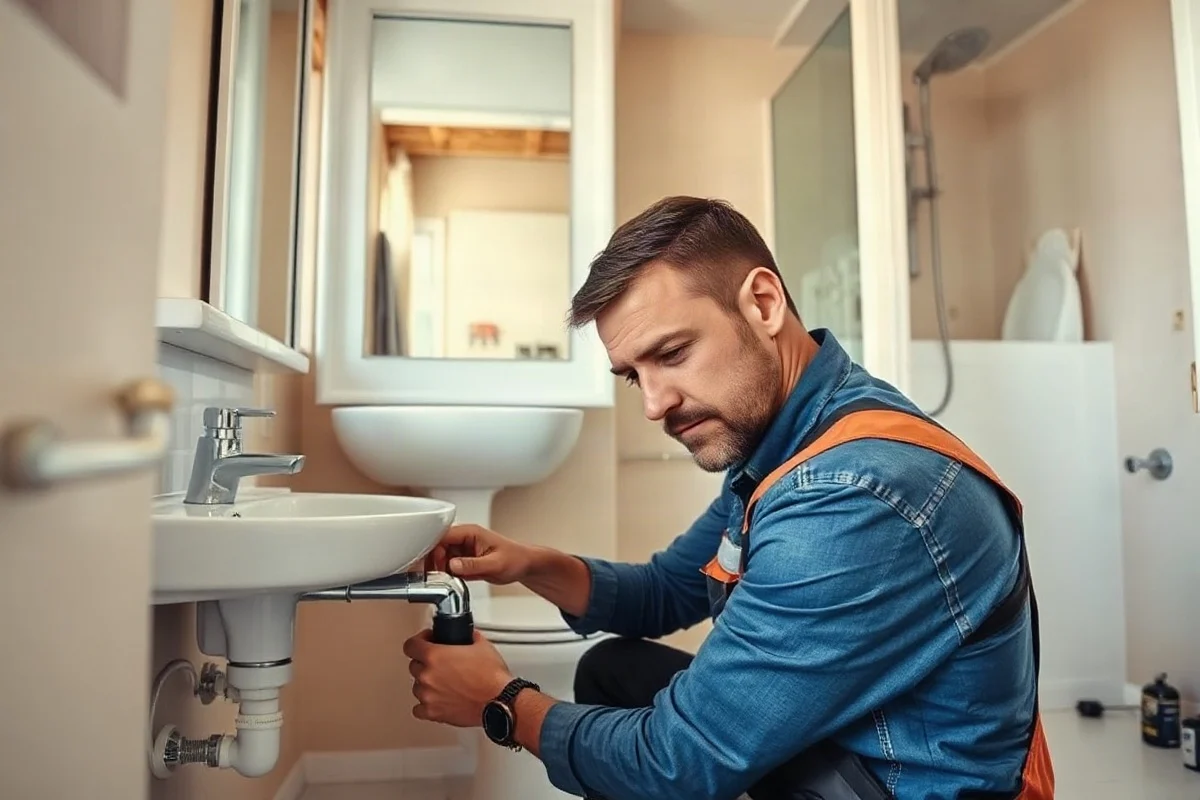
Sink rough-in planning must account for the sink, vanity, countertop, faucet, drain, hot and cold supplies, shutoff valves, and cabinet interior. The drain should align with the sink’s waste outlet and leave enough room for the trap without interfering with drawers or shelves. A wall-mounted sink may expose the plumbing, while a vanity sink usually hides it inside a cabinet.
Do not position the water supplies solely by looking at the outside width of the vanity. Open the manufacturer’s installation guide and identify the sink centerline, cabinet back, drawer locations, and required faucet holes. Vessel sinks, undermount sinks, pedestal sinks, wall-hung basins, and drop-in sinks can all require different connection arrangements.
Sink rough-in details to verify
- Locate the sink centerline relative to the vanity and mirror.
- Confirm that the drain will not collide with drawers, shelves, or a cabinet divider.
- Place shutoff valves where they can be reached without removing the vanity.
- Check whether the faucet uses one hole, multiple holes, or a wall-mounted connection.
- Protect exposed pipes from impact and make sure connections remain serviceable.
Replacing a faucet or supply line may be a manageable repair when the shutoff valves work and the connections are accessible. Installing new drain or water piping inside a wall, relocating a vent, or dealing with a corroded or seized valve should be evaluated by a qualified professional. You can compare common sink-related problems in our faucet and sink repair guide.
Shower and bathtub rough-in planning
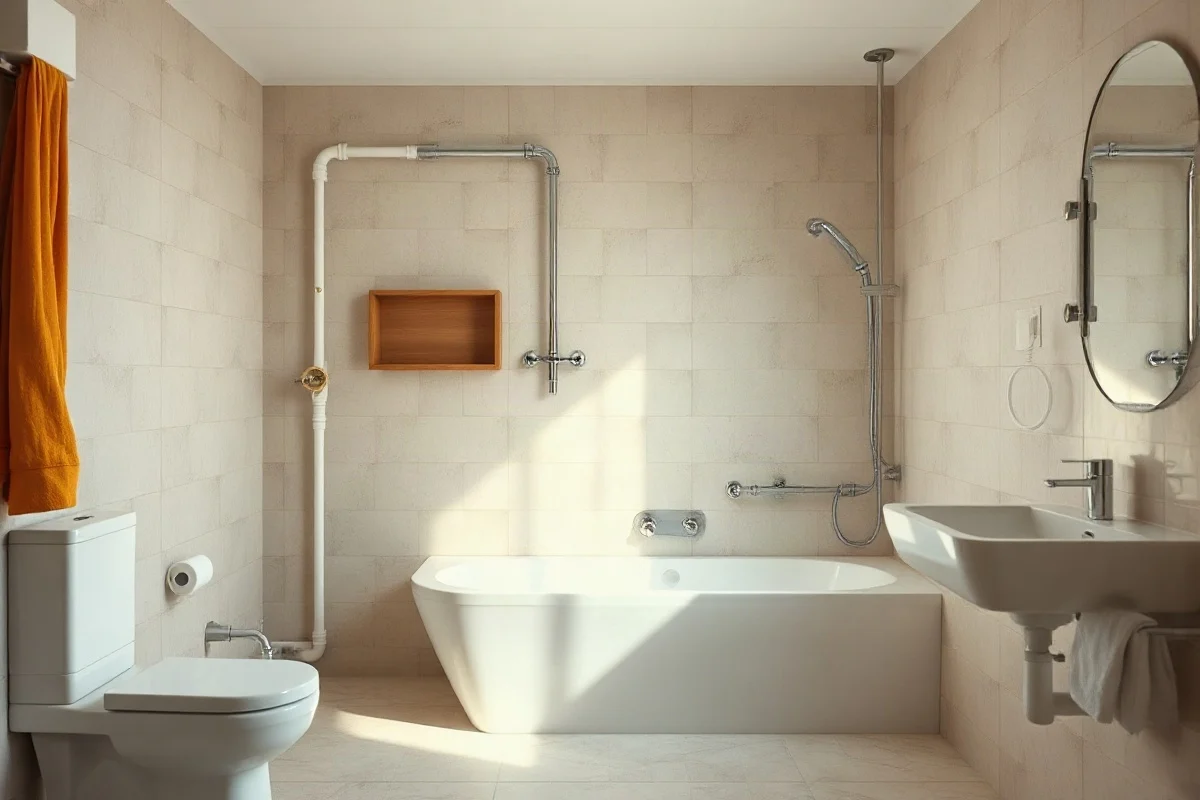
Showers and tubs require more than a drain location. The rough-in must coordinate the valve, showerhead, tub spout, hand shower, diverter, supply piping, drain, overflow, framing, waterproofing system, and finished wall thickness. The correct locations depend heavily on the selected fixture and the manufacturer’s instructions.
Before the walls are closed, verify the valve depth. A valve installed too far forward or too far back may not align with the trim plate. The finished wall can include cement board, waterproofing, mortar, tile, stone, or panels, so the plumber needs the planned wall assembly rather than only the stud position.
A tub also requires careful coordination of the waste-and-overflow assembly. The tub must be set, leveled, and supported according to its installation instructions, and the drain must line up with the tub opening. Access to the trap and connections may be important for future service. A freestanding tub can require an entirely different supply and drain arrangement from an alcove tub.
Questions to answer before shower rough-in
- Where will the finished floor and finished wall surfaces end up?
- Which valve, trim kit, showerhead, hand shower, and diverter will be installed?
- Will the shower use a centered drain, an offset drain, or a linear drain?
- Where can service access be provided if a valve or drain needs repair?
- Will benches, niches, grab bars, or glass enclosures affect pipe locations?
Waterproofing is not a cosmetic detail. Leaks behind a shower wall can remain hidden until they damage framing, flooring, ceilings, or adjacent rooms. If you see soft walls, staining, mold-like growth, loose tile, or a ceiling leak below a bathroom, stop using the fixture if necessary and arrange a professional inspection. Concealed leaks and shower waterproofing failures are not good candidates for trial-and-error repairs. Our leak repair resource covers warning signs and next steps.
Drain, vent, and supply-line considerations
Fixture placement is only one part of bathroom rough-in work. Each drain must connect to a properly designed drainage and vent system, and the water supplies must be sized and routed appropriately for the fixtures. Existing plumbing may limit where a new bathroom can be placed, particularly in a concrete slab, upper-floor remodel, or room far from the main drain stack.
Do not assume that a nearby pipe can be connected simply because it appears to be the right size. Drain and vent arrangements, pipe material, slope, support, cleanouts, fire stopping, and access requirements can all affect the work. Local rules differ, and the property’s construction may include conditions that are not visible until walls or floors are opened.
Homeowners can safely document visible pipe locations, photograph open walls before they are closed, and label the selected fixtures and installation guides. Avoid cutting into a wall or floor when you are unsure whether it contains water, sewer, gas, electrical, or structural components. If sewage is present, avoid contact and arrange qualified help because contaminated water can create a health hazard.
How to check measurements before installation
Create a scaled floor plan or mark the proposed fixture centerlines on the floor using removable tape. Account for wall finishes, trim, cabinets, doors, drawers, toilet tanks, shower doors, and access panels. Then compare the layout with every fixture’s technical drawing.
For a remodel, open an accessible area only when you understand what is behind it and can safely shut off the water. A visual inspection can reveal abandoned pipes, prior leak damage, unusual framing, or drain locations that differ from old plans. However, opening a wall does not make the plumbing changes safe or code-compliant for a homeowner to complete.
Take photos and record measurements before covering the work. Keeping a simple diagram of supply lines, shutoffs, drains, and cleanouts can help with future repairs. If the project includes a water heater relocation, gas piping, electrical work, sewage connections, or major structural changes, coordinate with the appropriate qualified professionals instead of treating the bathroom as an isolated fixture project.
Repair or replacement: what the symptoms may mean
Some bathroom problems are caused by poor rough-in alignment, but similar symptoms can result from worn seals, blocked drains, loose connections, damaged pipes, or fixture defects.
- Toilet rocks or leaks at the base: the flange, floor, seal, or toilet may need inspection.
- Sink drain leaks inside the vanity: a loose trap, damaged washer, misaligned drain, or deteriorated pipe may be responsible.
- Shower trim does not fit: the valve depth, valve model, or finished wall thickness may not match.
- Slow drainage: hair, soap buildup, a blocked trap, a deeper drain obstruction, or a venting issue may be involved.
- Water appears below the bathroom: a supply, drain, toilet, tub, shower, or concealed pipe leak should be considered.
A minor accessible seal or faucet component may be repairable, while corroded valves, damaged pipes, hidden leaks, failed shower waterproofing, or incorrectly positioned drains may justify replacement or a larger correction. Do not cover a suspected leak with new drywall or flooring until the source has been identified and the area has dried.
What affects bathroom plumbing costs
The cost of rough-in work depends on the bathroom’s location, access, fixture count, pipe materials, condition of existing plumbing, drain and vent changes, wall or floor demolition, finished-surface restoration, and the complexity of the selected fixtures. Moving a fixture a short distance can still be difficult if the drain is embedded in concrete or the plumbing is behind finished tile.
Ask contractors to separate demolition, rough-in plumbing, fixture installation, testing, waterproofing, and finish restoration in the written estimate. Confirm which fixtures and materials are included, who will coordinate access, and how changes discovered after opening the wall will be handled. Avoid choosing a quote based only on the lowest initial number when the scope is unclear. For general planning, see our information on plumbing costs.
How to choose the right plumber
Look for a plumber or plumbing contractor with experience in bathroom remodels and rough-in work, not only fixture swaps. Ask whether the company can explain drain, vent, valve, access, and finished-wall coordination in plain language. Request references or examples of comparable projects when appropriate, and verify that the professional is qualified to perform the work in your area.
A reliable contractor should inspect the existing system before promising an exact layout. The written scope should identify the fixtures, connection points, testing steps, demolition responsibilities, and exclusions. If the work involves sewage, gas, electricity, major flooding, concealed leaks, structural access, or local code requirements, use qualified local professionals and follow the applicable approval process rather than relying on generic internet dimensions.
Good rough-in planning is less about memorizing one universal measurement than about coordinating the room, the selected fixtures, the finished surfaces, and the existing plumbing. Measure from the correct reference points, keep manufacturer documentation on site, protect future service access, and have a qualified professional verify any work that changes drains, vents, water lines, or concealed systems.
Comments
0No comments yet. Be the first to share a helpful note or question.
Leave a Comment
Your email address will not be published. Comments are reviewed before appearing on the site.