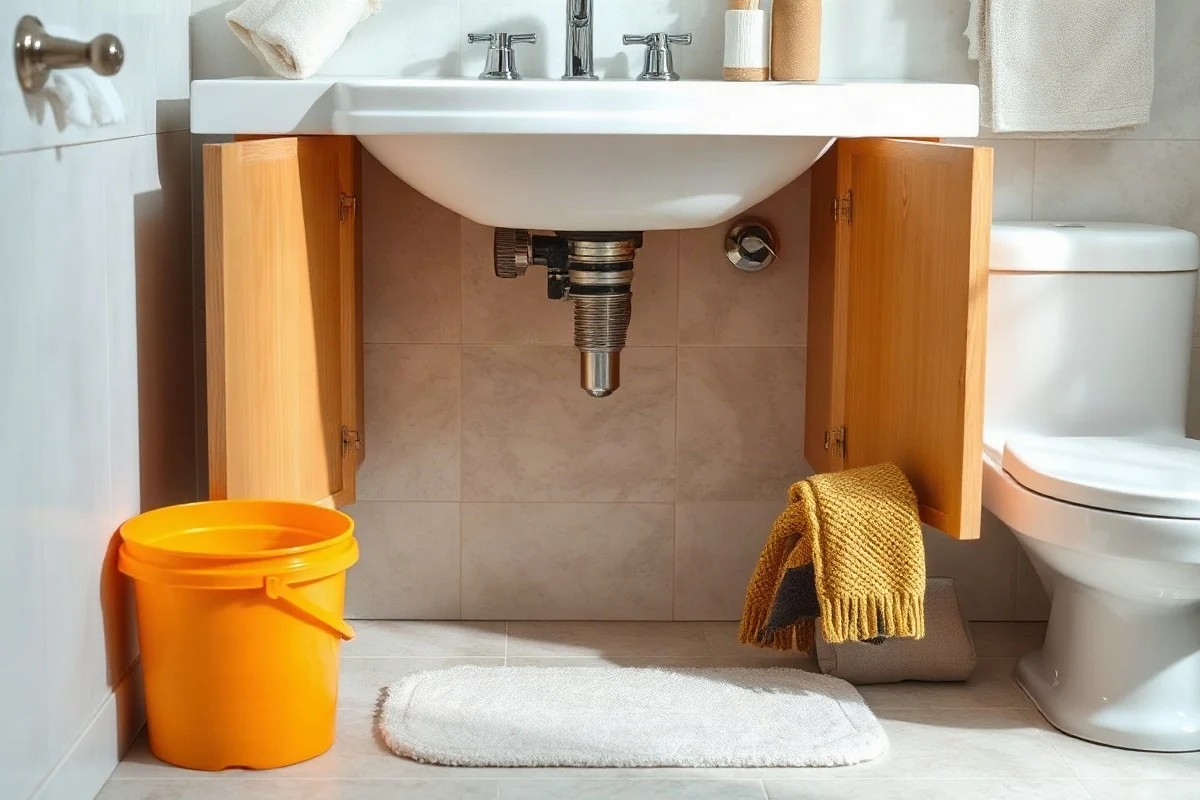
If your bathroom sink remains clogged after you remove the stopper, the blockage is probably below the stopper rather than in the visible basin opening. Hair, soap residue, toothpaste, and sediment commonly collect in the drain tailpiece or P-trap. You can safely inspect and clean some accessible parts, but a clog that remains deeper in the wall or returns quickly may require professional drain cleaning.
Why Removing the Stopper Did Not Clear the Clog
The stopper is only one part of a bathroom sink drain assembly. Even when you pull it out and remove hair from the opening, material may still be packed farther down the drain. A typical sink has a short tailpiece beneath the drain, a curved P-trap, and a horizontal drain connection leading into the wall. Any of these sections can restrict water flow.
Some clogs also form gradually. A sink may drain slowly at first, then stop almost completely after additional hair and soap collect on the existing buildup. If water drains while the stopper is removed but backs up when the stopper is reinstalled, the stopper mechanism may be positioned incorrectly or may be blocking the drain opening.
Common causes
- Hair caught below the drain opening
- Soap scum and toothpaste residue coating the inside of the pipe
- Debris trapped in the P-trap
- A stopper rod or lift mechanism installed too low
- A partially blocked drain line inside the wall
- A venting or larger drainage problem affecting more than one fixture
Start With Safe, Low-Risk Checks
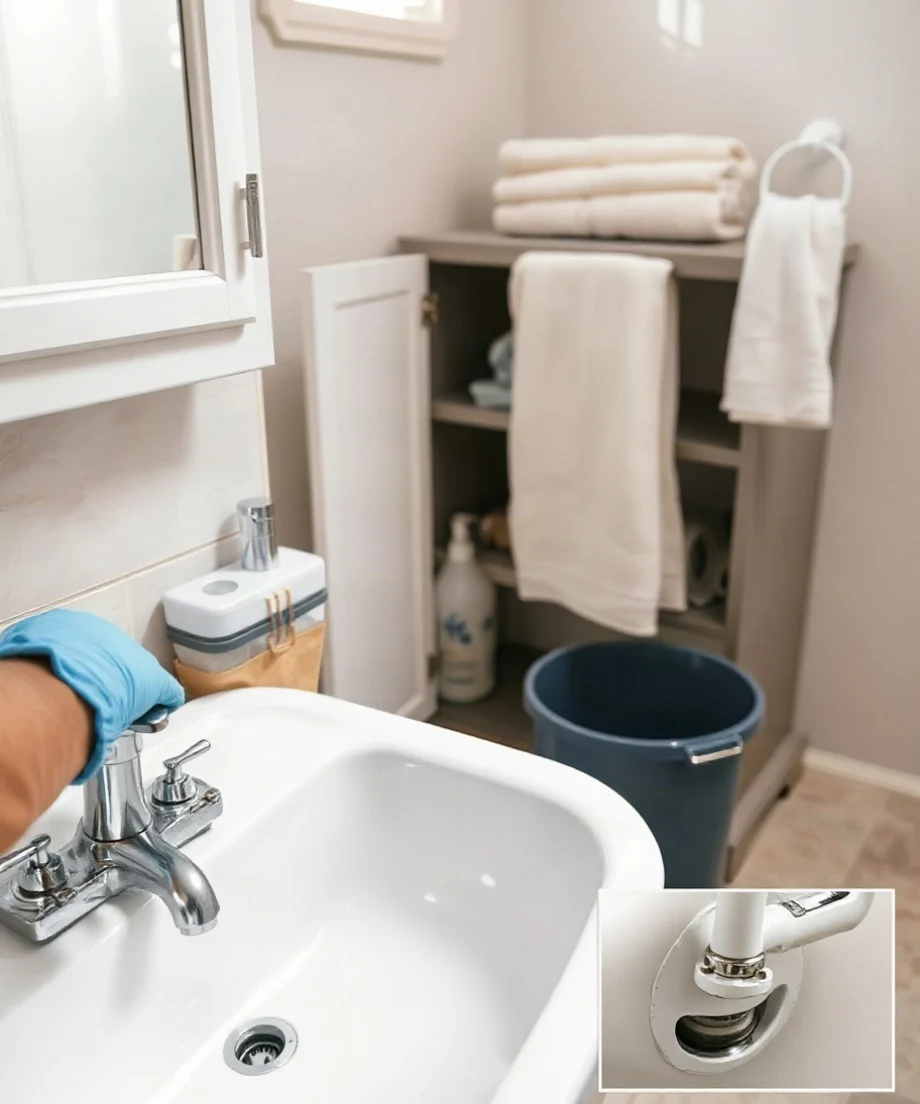
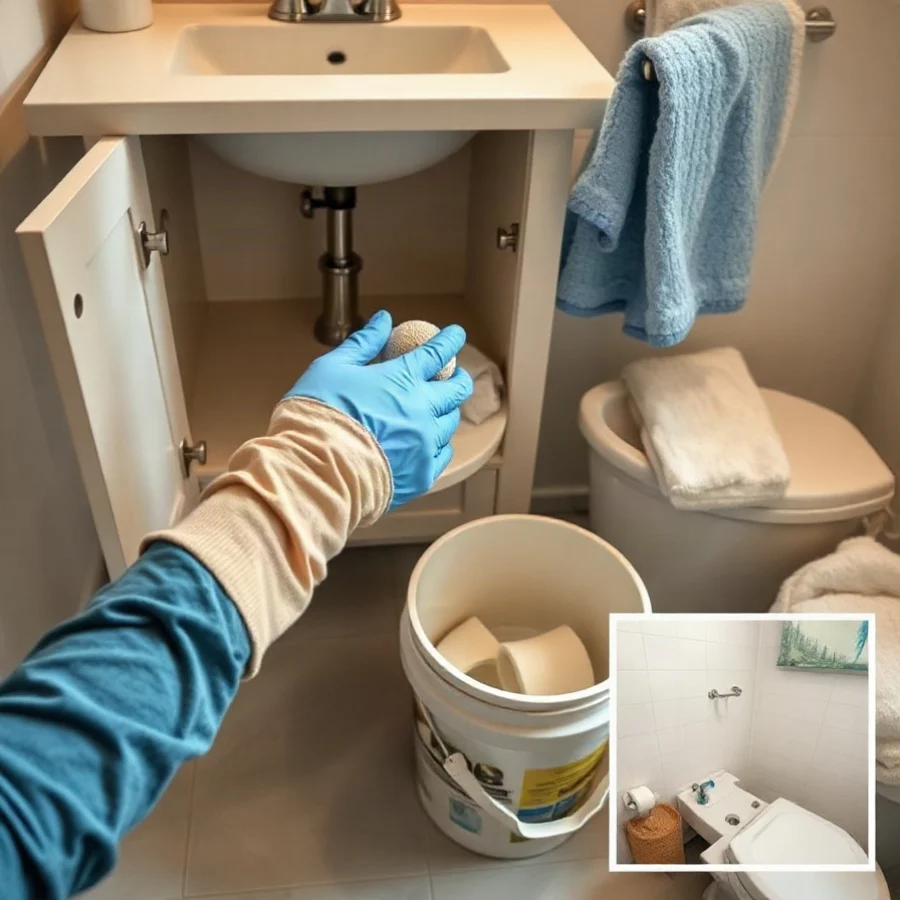
Before taking apart the plumbing, remove standing water from the basin with a cup or small container and place it in a bucket. Wear gloves and protect the cabinet floor with towels. Do not mix chemical drain cleaners with other products, and avoid using them before opening the trap. Residual chemicals can splash onto your skin or eyes when the pipe is disconnected.
Inspect the drain opening
Use a flashlight to look into the drain opening. If you can see hair or soft debris near the top, pull it out with needle-nose pliers or a plastic drain-cleaning tool. Work slowly so you do not push the material deeper. Do not force a sharp tool through a drain if you cannot see where it is going, especially if the sink has a pop-up linkage or a drain screen that could be damaged.
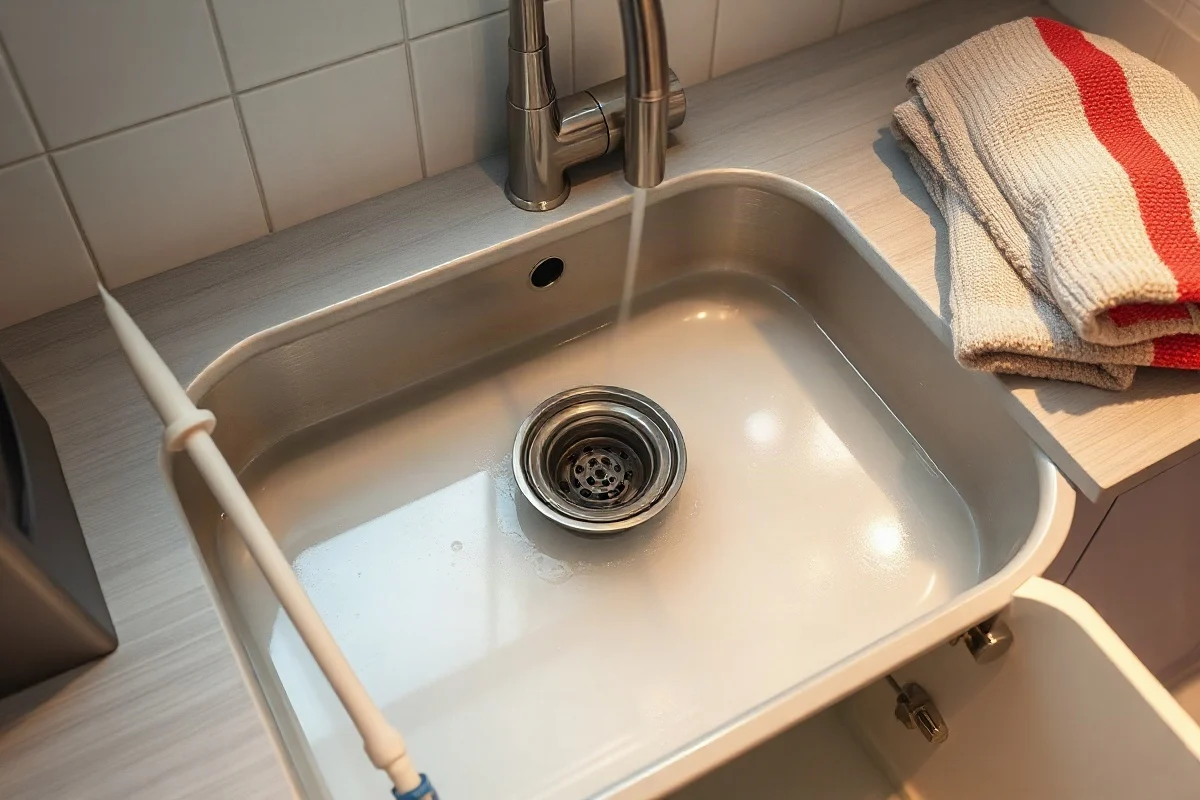
After removing visible debris, run a small amount of warm water. If the water still stands in the basin, the restriction is likely farther down. Very hot water may soften some soap residue, but it is not a reliable solution for a solid clog and can create a burn hazard. Use warm water rather than handling boiling water around a porcelain or glass sink.
Check whether the stopper is causing the problem
If the sink drains normally with the stopper removed but clogs when the stopper is installed, examine the stopper and its linkage. The stopper should move freely and open enough to leave a clear passage. A bent rod, loose retaining nut, or incorrectly adjusted lift rod can hold the stopper too low.
Clean residue from the stopper and the drain rim. If the stopper is cracked, badly corroded, or no longer fits the drain correctly, replacement may be more practical than continued adjustment. Shut off the faucet before working under the sink, and keep small clips and nuts in a container so they do not fall into the cabinet or drain.
Try a Plunger Carefully
A small sink plunger can sometimes clear a clog below the drain opening. Add enough water to cover the rubber cup, then block the overflow opening with a damp cloth. Blocking the overflow helps pressure reach the obstruction instead of escaping through the small opening near the top of the sink.
Center the plunger over the drain and press down gently at first. Use several controlled strokes rather than aggressive force. Remove the cloth and test the drain with warm water. If the sink has an overflow channel, keep water and debris from spraying into the cabinet or onto nearby electrical equipment.
Stop if the sink, drain, or trap begins to move, leak, or make unusual cracking sounds. Excessive force can loosen connections or damage older components. If plunging does not improve drainage after a few careful attempts, continuing to force it is unlikely to solve a deeper obstruction.
Inspect and Clean the P-Trap
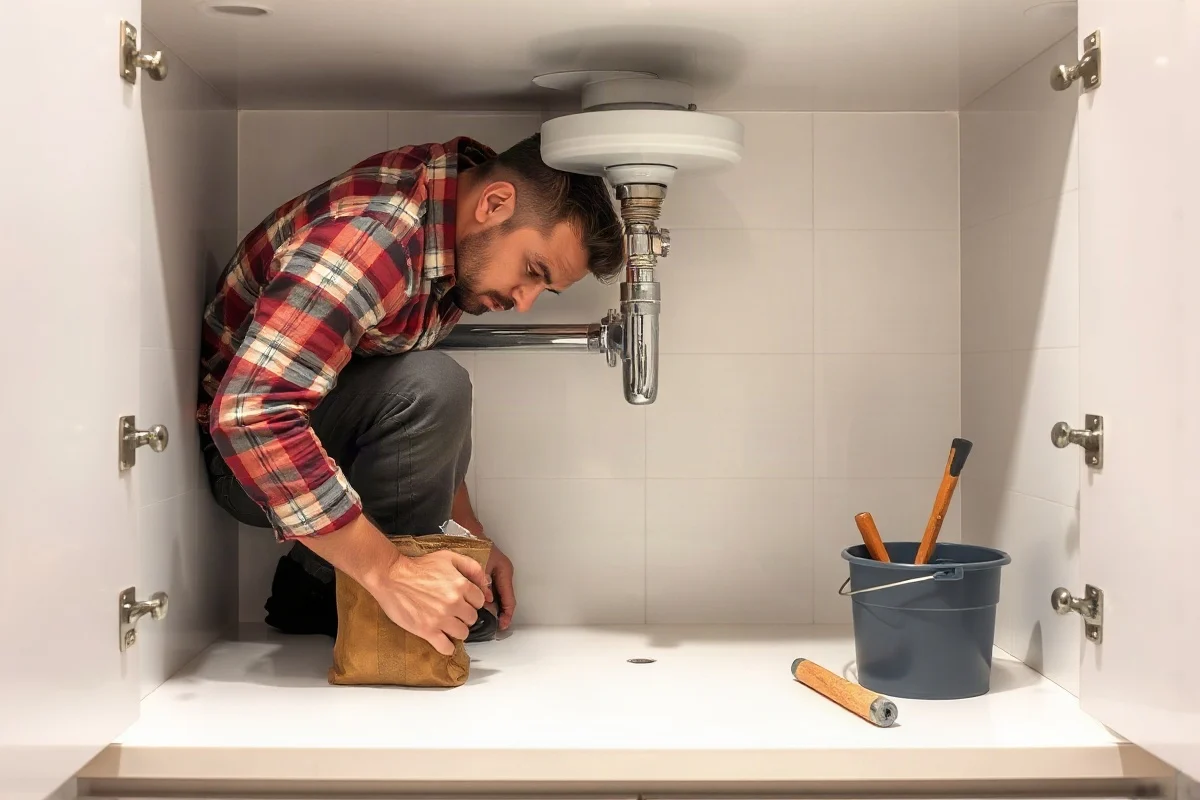
The P-trap is the curved section of pipe beneath the sink. It holds a small amount of water to help block sewer gases, but it can also collect hair, sludge, and small objects. Cleaning it is a reasonable homeowner task when the connections are accessible and in good condition.
Place a bucket beneath the trap and loosen the slip nuts by hand. If a nut will not move, do not apply excessive force with a wrench; older plastic or metal fittings may crack. Remove the trap carefully because it contains standing water and debris. Empty it into the bucket, clean the inside, and inspect the washers for damage or distortion.
Reinstall the trap in its original position and tighten the slip nuts firmly by hand. They generally do not need to be forced tight. Turn on the faucet slowly and check every connection for drips. If a leak appears, turn the water off and reseat the washer rather than repeatedly tightening the nut.
Do not open the trap if the water may contain sewage, chemical drain cleaner, or other hazardous material. If wastewater is backing up from multiple fixtures, use a qualified local professional instead of treating the sink as an isolated clog.
When the Clog Is Deeper in the Drain Line
If the stopper, drain opening, and P-trap are clear but the sink still drains slowly, the obstruction may be in the pipe running into the wall. A hand-operated drain auger may reach some shallow blockages, but using one incorrectly can damage fittings, scratch finished surfaces, or push debris farther into the line.
A professional can select an appropriate cable, inspect the drain path, and determine whether the problem is a localized buildup or a recurring branch-line restriction. If the blockage returns soon after cleaning, ask the plumber what was found and whether a camera inspection is justified. A camera may be useful when there is suspected pipe damage, repeated buildup, or uncertainty about the location of the obstruction.
Multiple symptoms deserve more attention. Call a qualified plumber if the bathroom sink, tub, shower, or toilet backs up at the same time; if you hear bubbling from another fixture; or if wastewater appears in the sink. These signs may indicate a larger drainage or sewer problem rather than a simple stopper clog. You can learn more about professional drain cleaning options when basic checks do not restore flow.
Repair or Replace the Stopper and Drain Assembly?
A stopper can often be cleaned or adjusted when the metal or plastic parts are intact. Replacement makes more sense when the stopper is corroded, the linkage is bent, the drain flange is damaged, or the assembly will not seal or open reliably. A new stopper will not solve a clog located in the trap or wall, so identify the actual restriction before replacing parts.
When the drain body or tailpiece is cracked, leaking, or heavily corroded, repair may involve removing more of the assembly. Water damage inside the vanity can remain hidden, so inspect the cabinet floor, supply connections, and the area around the drain after testing. A persistent leak beneath the sink is a separate problem from slow drainage and may need prompt attention. For related fixture work, see this guide to faucet and sink repair.
What Affects the Cost of Professional Help?
The final cost depends on the cause and location of the clog, how accessible the plumbing is, the equipment required, and whether damaged parts must be repaired or replaced. A simple accessible blockage may involve less work than a restriction inside a wall, a recurring branch-line clog, or a problem affecting several fixtures.
Before authorizing work, ask what diagnostic steps are included, whether the plumber expects to remove the P-trap or use an auger, and what could change the estimate. Request a written explanation of recommended repairs and any separate charges for additional work. Avoid choosing solely on the lowest initial quote if the scope is unclear. More general information about plumbing pricing is available in this plumbing costs guide.
How to Choose the Right Local Plumber
Look for a local plumbing professional who regularly handles clogged drains and bathroom sink repairs. Ask whether the person performing the work is appropriately qualified for the job in your area, and verify any required credentials through the relevant local or state authority rather than relying only on an advertisement.
A dependable plumber should explain the likely cause, protect the surrounding cabinet and floor, test the drain after service, and identify any leaks or damaged fittings discovered along the way. Be cautious of anyone who recommends aggressive chemical treatment without inspecting the drain or who cannot clearly describe the proposed work.
Preventing Another Bathroom Sink Clog
Keep hair, cotton swabs, dental floss, wipes, and other solid materials out of the drain. Clean the stopper regularly and rinse away residue before it accumulates. Do not pour grease, paint, harsh chemicals, or thick products into a bathroom sink. If the drain repeatedly slows despite routine cleaning, have the line evaluated instead of relying on repeated chemical treatments.
The safest approach is to begin with visible debris removal, a careful stopper inspection, gentle plunging, and—when appropriate—P-trap cleaning. If the clog persists, returns quickly, affects other fixtures, involves sewage, or leaves you unsure about the plumbing connections, stop the DIY work and contact a qualified local plumber.
Comments
0No comments yet. Be the first to share a helpful note or question.
Leave a Comment
Your email address will not be published. Comments are reviewed before appearing on the site.