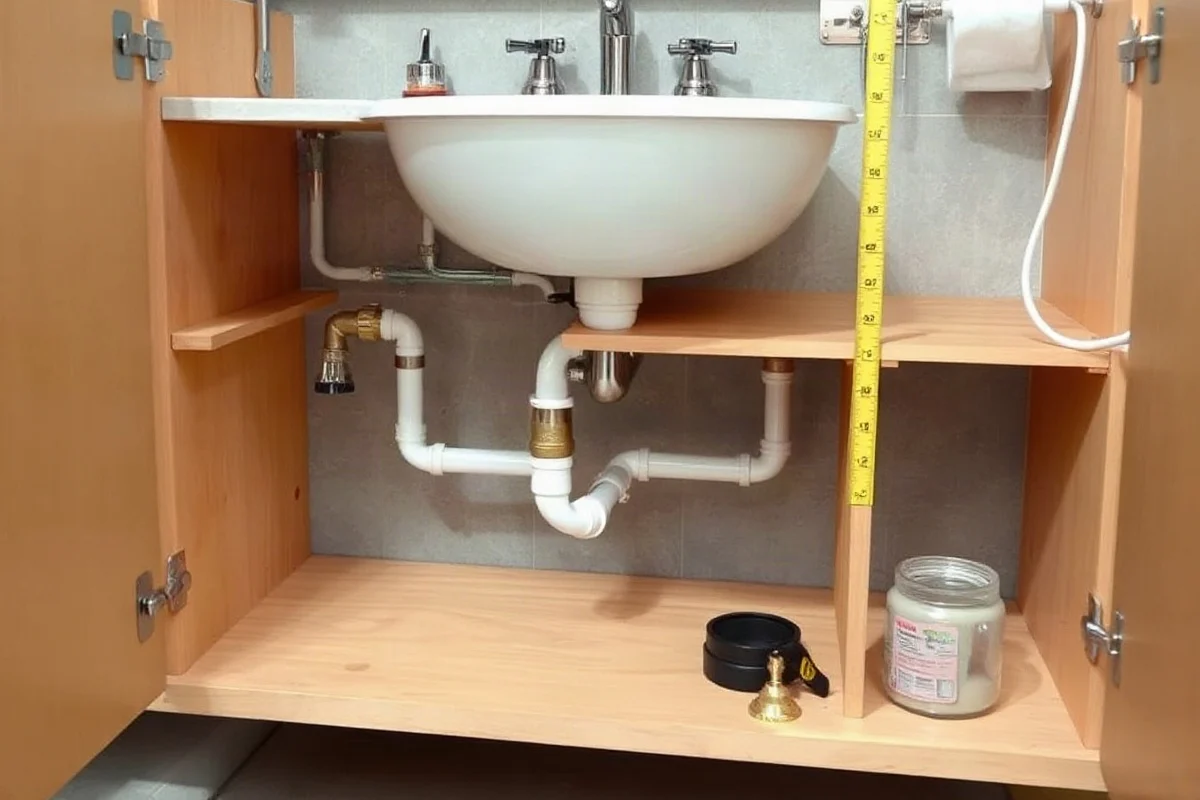
Bathroom vanity plumbing rough-in dimensions commonly place the drain opening about 18 to 20 inches above the finished floor and center it within the vanity, while the hot and cold water supplies are often positioned about 20 to 22 inches above the floor and spaced several inches apart. These are useful planning ranges, not universal requirements. The exact locations depend on the vanity size, sink design, countertop, wall construction, existing pipe layout, and applicable local requirements.
Before cutting a wall or installing a new vanity, measure the actual cabinet and sink rather than relying only on general dimensions. A small difference in cabinet height, drawer placement, or sink depth can affect whether the trap, shutoff valves, and supply lines fit properly.
What “rough-in” means for a bathroom vanity
Rough-in plumbing is the portion installed before the wall is closed, the vanity is set in place, or the finished fixtures are connected. For a bathroom vanity, rough-in work usually includes the hot and cold water lines, shutoff valves or stub-outs, the drain line, and the connection point for the sink’s trap.
At this stage, the pipes do not have to look like the final visible installation. They do, however, need to be placed where the vanity, sink, drawers, and backsplash will not interfere with them. The finished connection normally includes flexible supply connectors, shutoff valves, a tailpiece, a P-trap, and the drain connection entering the wall.
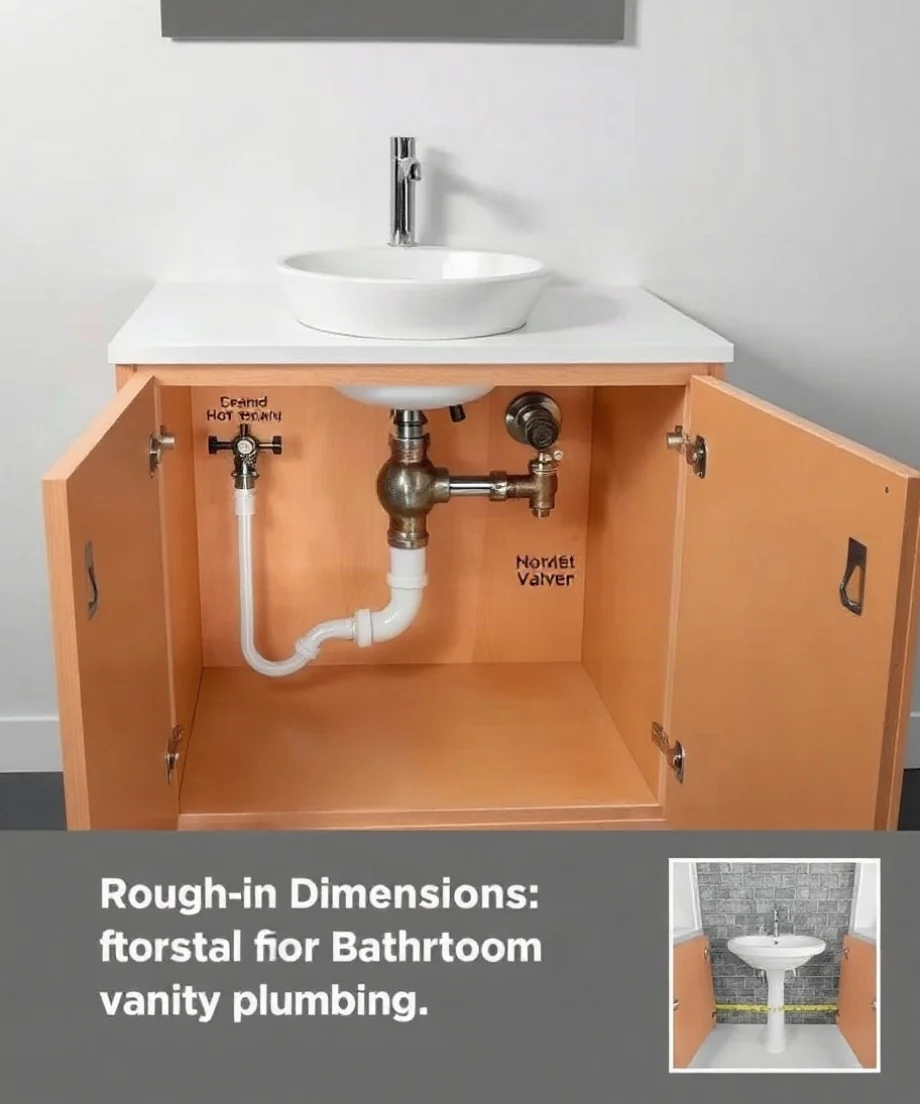
Common bathroom vanity rough-in dimensions
Drain height
A bathroom sink drain is frequently roughed in with the center of the opening approximately 18 to 20 inches above the finished floor. This range often leaves room for the sink tailpiece and P-trap beneath the basin while keeping the connection inside the vanity.
Drain height may need to change when the vanity has drawers, a very shallow cabinet, a wall-mounted design, or a vessel sink that sits above the countertop. A vessel sink can place the basin much higher than an undermount or drop-in sink, but the drain still needs to align with the sink outlet and trap without creating an awkward or obstructed layout.
Water supply height
Hot and cold water supplies are often positioned approximately 20 to 22 inches above the finished floor. The two supplies are commonly placed on either side of the drain or near the center area of the cabinet, depending on the vanity interior and faucet connections.
There is no single spacing arrangement that works for every vanity. The supplies should be far enough apart to connect easily but not so far outward that they end up behind cabinet sides or drawers. They should also remain accessible after installation. If the shutoff valves will be hidden behind a fixed panel, future maintenance may become unnecessarily difficult.
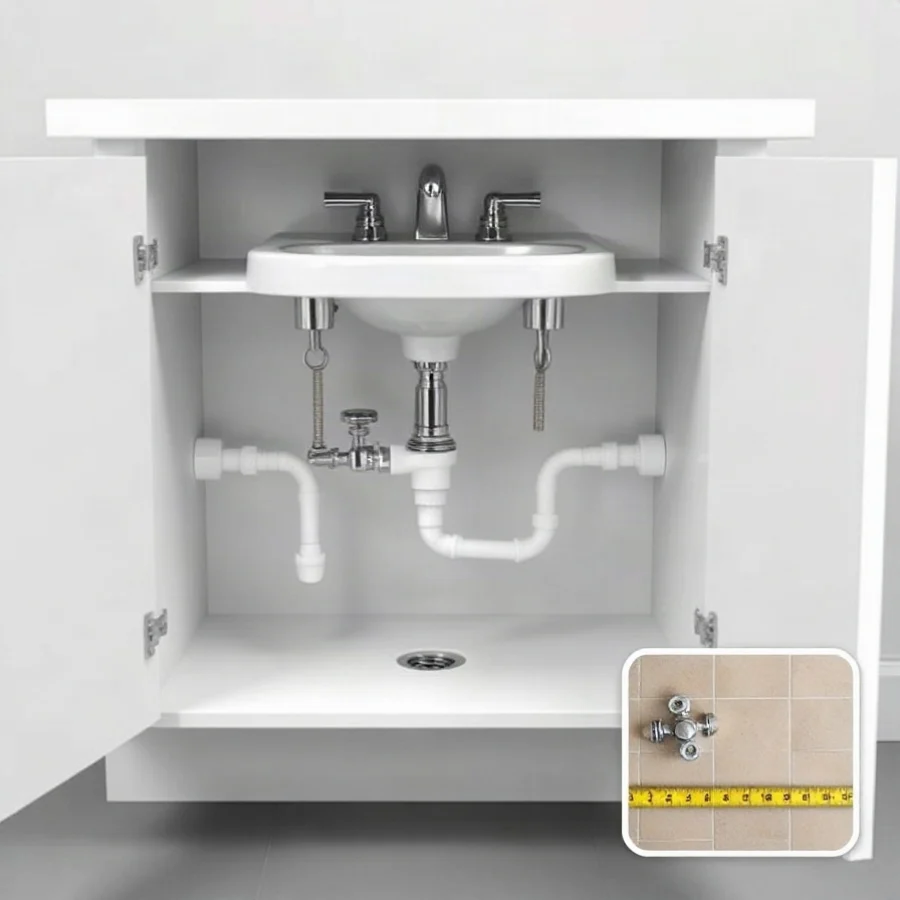
Horizontal placement
For a centered sink, the drain is usually aligned with the sink’s drain opening and the centerline of the vanity. The supply lines can be placed a few inches to either side of that centerline, provided they do not interfere with the cabinet structure or the sink bowl.
For a double vanity, do not assume that one drain in the exact center is the correct layout. Two sinks may need separate drain and supply arrangements, or the design may use a shared drainage configuration. Use the manufacturer’s cabinet and sink drawings when available, and confirm the layout before opening the wall.
Why the measurements vary
Standard dimensions are only starting points because bathroom vanities are not all built the same way. Common variables include:
- Cabinet height: A taller or shorter vanity changes the relationship between the countertop, basin, drain, and finished floor.
- Sink type: Undermount, drop-in, pedestal-style, integrated, and vessel sinks place their outlets at different heights.
- Drawer configuration: Drawers may occupy the space where the drain or shutoff valves would normally sit.
- Wall-mounted vanities: These require careful planning because the drain and supplies may be visible or located inside a shallow cabinet.
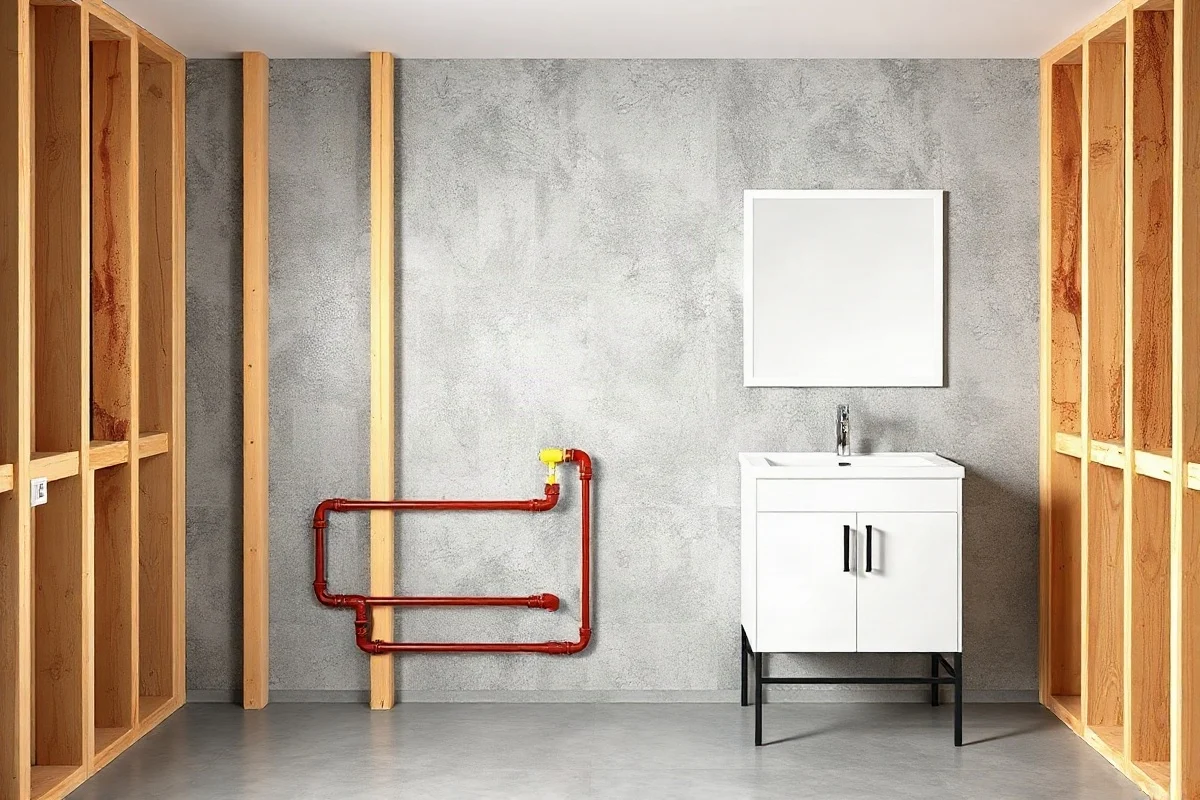
- Back wall construction: Studs, masonry, insulation, and existing pipes can limit where new lines can be routed.
- Faucet design: A widespread faucet, single-handle faucet, or wall-mounted faucet may require different connection locations.
Because of these differences, the most reliable reference is the installation drawing for the specific vanity, sink, and faucet. If you are replacing only the cabinet but keeping the sink and faucet, measure the existing connections first. If you are changing all three, plan the rough-in from the new components together.
How to measure a vanity plumbing layout
Start by identifying the finished floor height. Measure from the surface that will remain exposed after flooring is installed, not from a subfloor that may later be covered. Mark the vanity’s finished centerline on the wall and note the cabinet’s outside width, inside width, depth, and rear openings.
Next, measure the sink drain location from the sink or countertop drawing. Transfer that centerline to the wall. Mark the hot and cold supply locations only after checking where the sink bowl, drawers, shelves, and cabinet dividers will sit.
Dry-fitting the cabinet before final connections can reveal conflicts early. If possible, place the cabinet in position without forcing it against the wall, then check whether the planned pipe locations fall within the cabinet’s rear clearance. Do not permanently alter a cabinet until you know the final plumbing layout will work.
Safe homeowner checks
Homeowners can safely perform several planning and observation steps without modifying the plumbing:
- Measure the vanity, countertop, sink, and faucet components.
- Locate the existing drain and water supplies before ordering a replacement cabinet.
- Check whether drawers, shelves, or cabinet braces overlap the pipe locations.
- Look for signs of active leakage, such as damp drywall, staining, warped flooring, or musty odors.
- Confirm that the main water shutoff is accessible before planned work begins.
- Read the installation instructions for the specific sink and vanity.
Do not remove wall coverings, cut framing, relocate pipes, or disconnect water lines unless you understand the risks and are prepared to restore the area safely. If you find a wet wall, unexplained moisture, or a pipe that disappears into an inaccessible space, stop and arrange a professional assessment. More information about identifying plumbing problems is available through bathroom plumbing resources.
Work that usually requires a qualified plumber
Moving a vanity drain or water supplies often involves opening the wall, drilling through framing, securing pipes, making watertight connections, and testing for leaks. The work may also affect the drain slope, venting arrangement, or other fixtures connected to the same system. These are reasons to use a qualified local plumber, especially when the layout is concealed or the existing installation is difficult to access.
Professional help is particularly important when the project involves sewage exposure, a concealed leak, significant water damage, structural framing, electrical wiring near wet areas, or work that must meet local plumbing requirements. Do not work on electrical components near standing water. If a pipe has burst or water is actively spreading, shut off the water if it is safe to do so and seek urgent local assistance. You can also review guidance for finding an appropriate plumbing professional.
Repair, adjustment, or replacement?
If the existing drain and supply lines are sound and align with the new vanity, replacement may require only new connection parts and careful installation. A plumber may be able to adjust minor alignment issues without replacing the entire system.
Relocation is more likely when the drain is centered behind a drawer, the supplies are too far apart, the sink outlet does not align with the wall opening, or the existing pipes show corrosion or damage. Reusing old valves or connectors is not always practical when they no longer operate smoothly or cannot be accessed after the cabinet is installed.
A leaking trap, supply connection, or faucet may be repairable. However, repeated leaks, brittle piping, extensive corrosion, or damage inside the wall can make replacement a more reliable long-term option. A professional can inspect the condition of the accessible components before recommending repair or replacement.
What affects the cost of vanity plumbing work?
Local service costs vary, so a dependable estimate should be based on the actual conditions rather than a generic price. Factors that commonly affect the total include:
- Whether the wall must be opened and repaired afterward
- The distance the drain and water supplies must be moved
- Accessibility of the existing pipes
- Cabinet, drawer, or countertop modifications
- Pipe material and the condition of existing valves and fittings
- Whether a drain, vent, or supply problem is discovered during the work
- The number of sinks and connections in the vanity
- Whether water damage, mold concerns, or structural repairs are present
Ask for a written description of the proposed work, the parts included, likely wall-access requirements, and how the finished connections will be tested. Avoid choosing a contractor solely on the lowest initial quote if the scope is vague.
How to choose the right plumber
Look for a local professional who regularly handles bathroom fixture installation, drain and supply relocation, and leak diagnosis. Ask whether the plumber has inspected similar vanity layouts and whether the estimate includes testing the drain, supply connections, and shutoff valves.
Before work begins, show the plumber the vanity specifications, sink model, faucet model, and any concerns about drawers or cabinet clearance. A careful installer should be willing to explain the planned rough-in locations and identify uncertainties before cutting into the wall.
When measurements are based on the actual fixtures rather than a general diagram, the installation is more likely to be accessible, leak-free, and easy to maintain. Treat the common 18-to-20-inch drain range and 20-to-22-inch supply range as planning references, then verify the final layout against the specific vanity and local professional guidance.

Comments
0No comments yet. Be the first to share a helpful note or question.
Leave a Comment
Your email address will not be published. Comments are reviewed before appearing on the site.