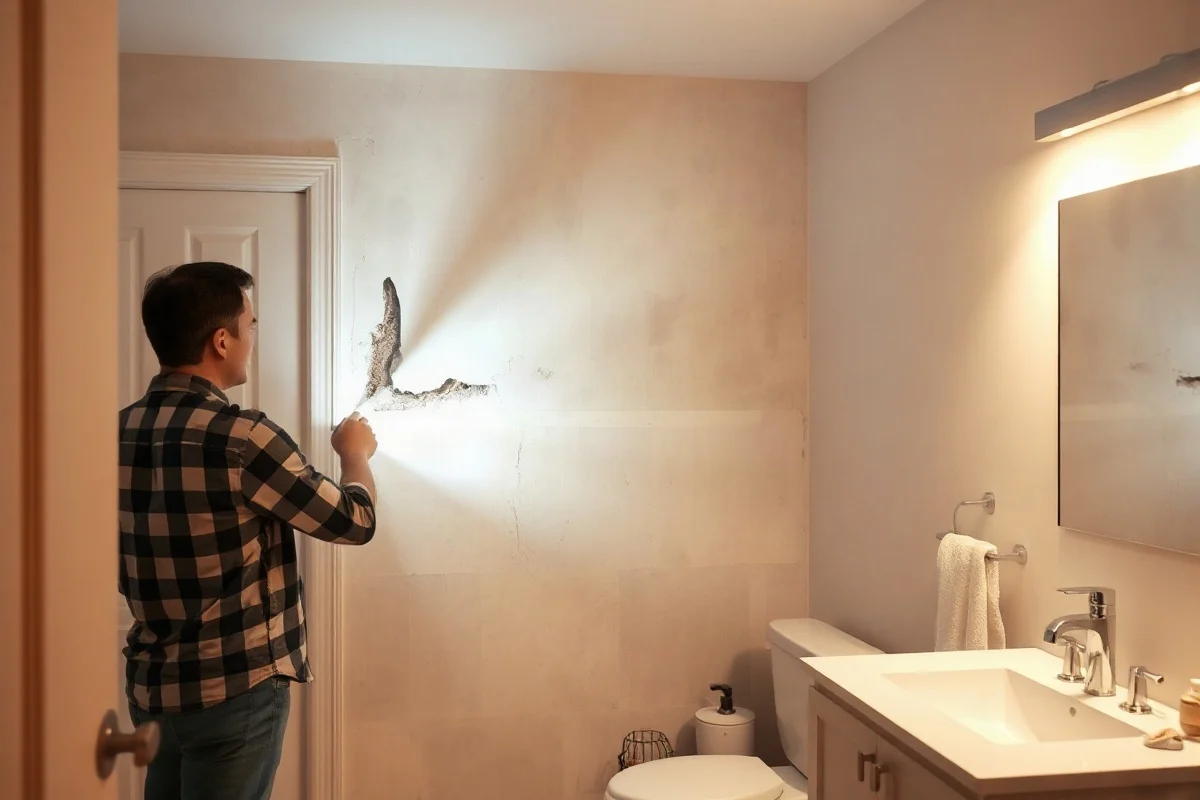
To find a hidden water leak behind a wall, look for moisture stains, bubbling paint, musty odors, warped trim, or unexplained changes in your water meter, then shut off the water if damage is active and contact a qualified plumber. Do not cut into the wall or handle nearby electrical components unless you know the area is safe. A concealed leak can damage framing, insulation, flooring, and drywall long before water becomes visible.
Signs of a Water Leak Behind a Wall
Hidden leaks do not always produce a steady stream of water. Some release a small amount only when a fixture is used, while others are inside a wall cavity and spread along framing before appearing somewhere else. The visible damage may be several feet away from the actual failed pipe or connection.
Common warning signs
- Yellow, brown, or gray discoloration on drywall, ceilings, or baseboards
- Paint that blisters, bubbles, peels, or develops a soft texture
- Wallpaper that loosens or develops raised areas
- Drywall that feels swollen, crumbly, or unusually cool
- Musty or earthy odors that persist after cleaning
- Warped flooring, trim, cabinets, or door frames
- Visible mold or mildew that keeps returning
- A hissing, dripping, or running-water sound when fixtures are off
- Lower water pressure without an obvious plumbing problem
- An unexplained increase in water use
A stain that remains dry and does not grow may come from an old incident, but it still deserves attention if there is an odor, soft drywall, or repeated discoloration. A fresh, expanding stain is more urgent because continuing water exposure can make structural and finish damage worse.
Likely Causes of a Concealed Wall Leak
The location of the damage can provide clues, but it does not prove where the leak began. Plumbing lines may run through floors, ceilings, cabinets, and wall cavities, and water can travel along pipes or framing.
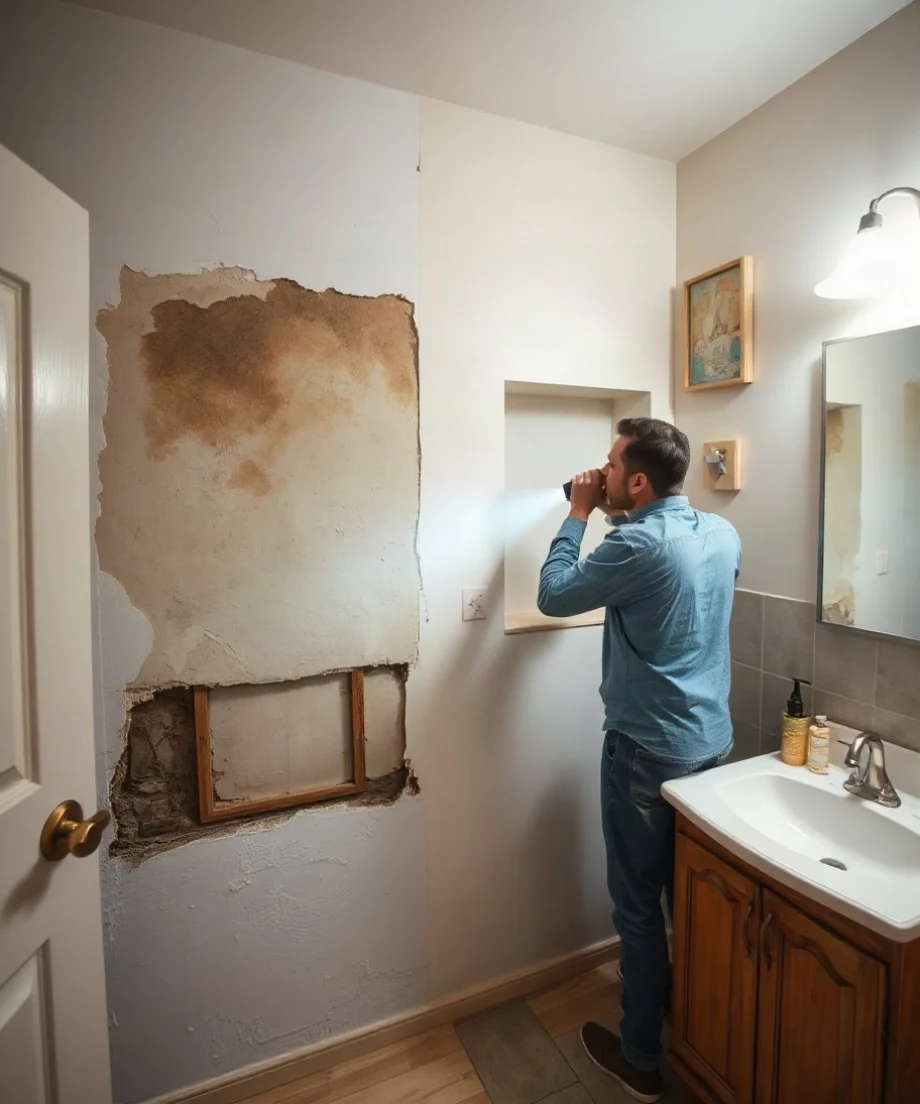
- Supply pipe failure: Pressurized hot or cold water lines can leak at a fitting, joint, valve, or damaged section of pipe.
- Drain or waste pipe leakage: A drain connection may leak only while a sink, tub, shower, washing machine, or other fixture is draining.
- Shower or tub seepage: Failed caulking, grout, a damaged shower pan, or a plumbing connection can allow water into the wall or floor assembly.
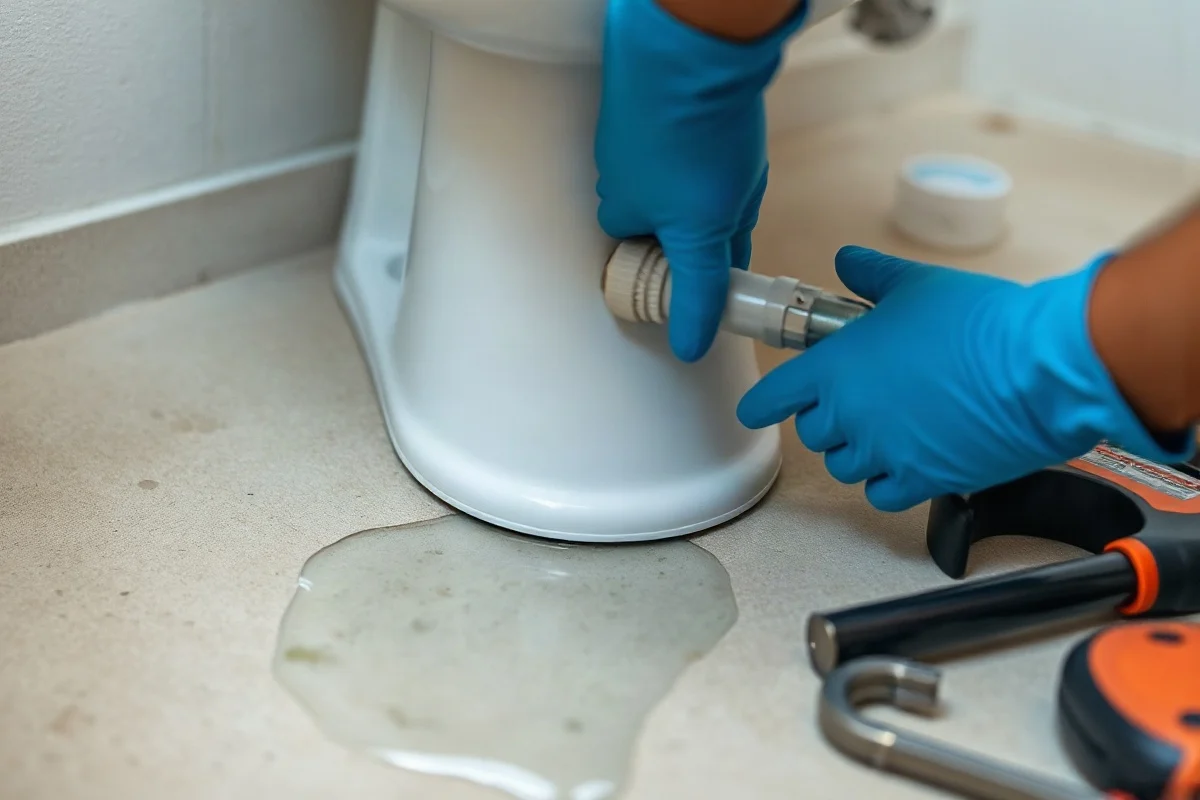
- Toilet or sink connections: Loose supply connections, failed shutoff valves, drain seals, or cabinet plumbing can send water behind finished surfaces.
- Appliance connections: Refrigerator ice makers, dishwashers, washing machines, and water heaters can leak near walls and floors.
- Roof or exterior intrusion: A ceiling or upper-wall stain may be caused by rain, flashing, siding, or window problems rather than plumbing.
- Condensation: Cold pipes in humid spaces can collect moisture, especially when insulation is missing or damaged.
If the leak involves sewage, contaminated water, major flooding, or a water heater, keep people and pets away from the affected area and arrange qualified local help. Sewage exposure creates health risks, while a leaking water heater can release a large volume of water and may involve gas or electrical connections.
Safe Checks Homeowners Can Perform
Homeowners can gather useful information without opening a wall. The goal is to confirm whether water is active, identify which fixtures may be involved, and reduce additional damage. Stop if you encounter electrical hazards, extensive water, structural concerns, or contaminated water.
Inspect nearby fixtures and exposed plumbing
Check the rooms on both sides of the wall, as well as the floor above and below it. Look inside sink cabinets, around toilet bases, behind accessible appliances, under tubs where access panels are provided, and around exposed shutoff valves. Use a dry paper towel around accessible connections to detect small drips. Do not remove sealed panels or disturb wiring.
Test fixtures one at a time
Have one person operate a nearby faucet, shower, toilet, or appliance while another listens and watches the suspected area. A leak that appears only when a fixture drains may point to a drain line or connection. A sound that continues when all fixtures are unused may suggest a pressurized supply line.
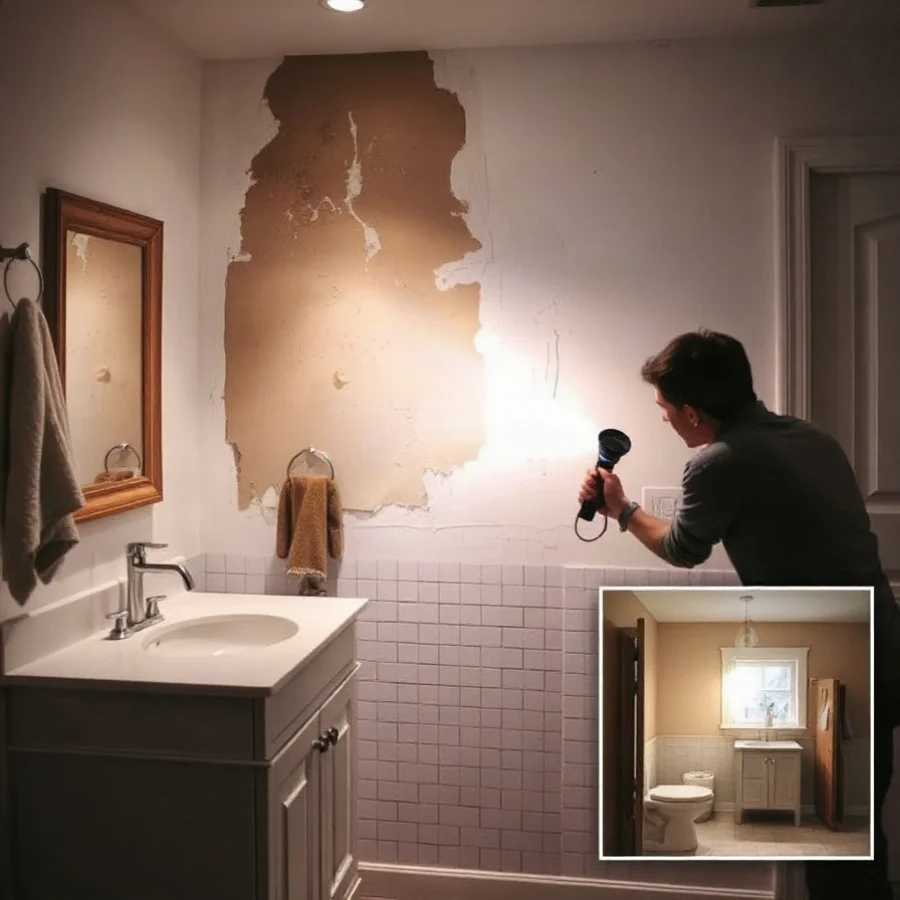
Do not deliberately run a fixture if water is already entering the wall rapidly or if the test could worsen damage. In that situation, shut off the appropriate valve or the home’s main water supply if you can do so safely.
Check the water meter
Turn off faucets and water-using appliances, make sure toilets are not refilling, and observe the meter. Some meters show a small flow indicator that moves when water is passing through the system. If the indicator continues to move during a period when no water should be used, a leak may be present. This test cannot identify the leak’s location and may be affected by automatic equipment or other water use, so treat the result as a clue rather than a diagnosis.
Use a moisture meter carefully
A consumer moisture meter may help compare a suspicious area with a nearby dry section of wall. It cannot reliably identify the source, determine how long the wall has been wet, or prove that a wall is safe to open. Follow the tool’s instructions, avoid probing near suspected wiring, and do not rely on a reading as a substitute for a professional inspection.
When to Shut Off Water and Call a Professional
Shut off the water supply if a leak is active, spreading, or close to electrical equipment. If you cannot isolate the affected fixture, use the home’s main shutoff only if it is accessible and you can operate it safely. Move furniture and belongings away from the area, place containers under visible drips, and photograph the damage for your records. Do not use electrical devices in standing water.
Call a qualified local plumber when the leak may be inside a wall, the source is unclear, water pressure is changing, or the problem returns after a temporary adjustment. Professional leak detection may involve pressure testing, acoustic equipment, thermal imaging, camera inspection, or carefully opened access points. The appropriate method depends on the plumbing system, wall construction, and suspected source.
Professional help is especially important for gas lines, electrical connections, sewage, major flooding, suspected structural damage, and work that may involve local code requirements. Do not cut through drywall near a suspected pipe or cable simply to search for the leak. An incorrect opening can increase damage and create a safety hazard.
Repair or Replace the Damaged Section?
The correct repair depends on the failed component, its condition, accessibility, and the cause of the failure. A plumber may repair a fitting, replace a valve, renew a short section of pipe, or replace a larger run if the material is deteriorated or multiple failures are likely.
Replacement may be more sensible when the pipe has corrosion, repeated leaks, poor previous repairs, or damage across several connections. A single repair may be reasonable when the surrounding system is in good condition and the failed part is clearly isolated. The plumber should explain what failed, whether other sections are at risk, and how the repair will be accessed.
Fixing the pipe is only part of the project. Wet drywall, insulation, cabinets, flooring, and framing may require separate drying, cleaning, or restoration work. Do not seal, paint, or close the wall until the leak has been stopped and the materials are adequately dry. Trapping moisture can encourage mold growth and conceal continuing damage.
What Affects Hidden Leak Repair Costs?
The final cost varies because concealed leaks differ substantially from one home to another. Important factors include:
- Whether the source is a supply line, drain, fixture, appliance, roof, or exterior opening
- How difficult it is to locate and access the failed component
- Wall, ceiling, floor, cabinet, or tile construction
- How much drywall, flooring, insulation, or trim must be removed
- Whether the pipe can be repaired or needs a longer replacement section
- Water damage, mold concerns, drying, and restoration needs
- Access to shutoff valves and the condition of the existing plumbing
- Whether the work requires specialized leak-detection equipment or coordination with another trade
Ask for a written explanation of the suspected source, the proposed access method, the plumbing repair, and any work that is excluded, such as drywall replacement or water-damage restoration. A low initial quote may not include detection, wall opening, drying, finish repair, or replacement of damaged materials. For general planning information, see our guide to plumbing costs.
How to Choose the Right Plumber
Look for a qualified local professional with experience locating and repairing concealed leaks. Before work begins, ask:
- How will you confirm the leak’s source?
- Will you perform a pressure, drainage, or other diagnostic test?
- Where do you expect to open the wall or ceiling?
- Will you protect nearby finishes and clean the work area?
- Does the estimate separate detection, plumbing repair, access, and restoration?
- What signs would indicate that more of the piping should be replaced?
- What documentation will I receive about the completed repair?
Verify that the professional is appropriately qualified for the work in your area, and ask about insurance and written terms before authorizing the job. Local licensing, permit, and code requirements can vary, so the plumber should explain which requirements apply rather than making unsupported promises.
A hidden leak should not be ignored because the visible stain looks small. Early investigation can limit damage, clarify whether the problem is plumbing-related, and prevent a minor connection failure from affecting a larger part of the home. If you need help comparing repair options, start with our leak repair resources or guidance on hiring a plumber.
Comments
0No comments yet. Be the first to share a helpful note or question.
Leave a Comment
Your email address will not be published. Comments are reviewed before appearing on the site.