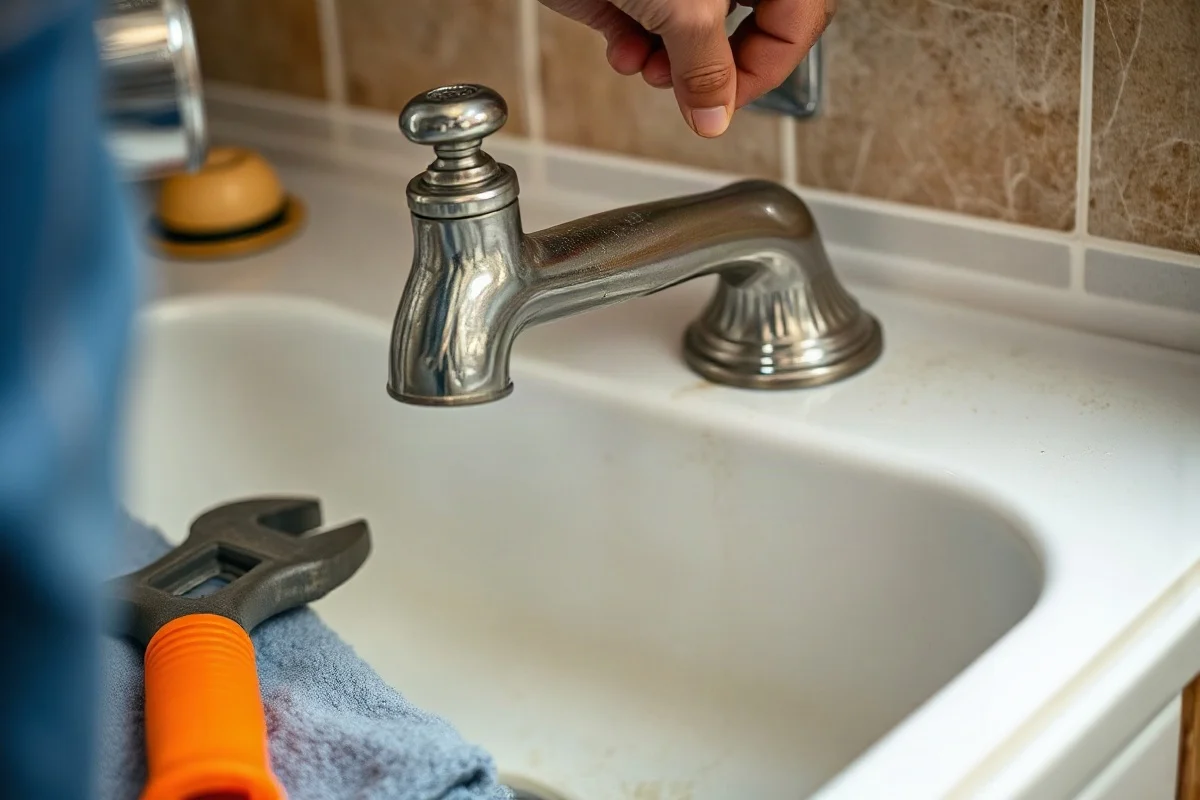
To fix a dripping tap with a traditional compression-style design, shut off the water supply, remove the handle and valve stem, replace the worn rubber washer, and reassemble the tap without overtightening. A drip that continues after a washer replacement may point to a damaged valve seat, worn stem, loose connection, or a different faucet design that uses cartridges or ceramic discs instead of a simple washer.
Before starting, confirm that the leak is coming from the spout and not from beneath the handle, around the base, or under the sink. The repair is usually manageable for a careful homeowner when the shutoff valves work properly and the faucet is accessible. Stop and use a qualified local plumber if you cannot shut off the water, the fitting is badly corroded, water is entering a wall or cabinet, or the repair involves electrical equipment, sewage, major flooding, or another unsafe condition.
What a dripping tap can tell you
A slow drip is more than a minor annoyance. It can waste water, stain a sink, create mineral buildup, and become a larger leak if the underlying part continues to deteriorate. The sound and location of the water can help identify the likely cause.
- Water drips from the spout when the handle is closed: A worn washer, damaged valve seat, failing cartridge, or defective ceramic-disc assembly may be responsible.
- Water appears around the handle: The stem packing, O-ring, cartridge seal, or retaining nut may be leaking.
- Water collects around the faucet base: A base gasket, mounting connection, or supply connection may need attention.
- Water leaks below the sink: Check the supply lines, shutoff valves, and drain connections. This is not necessarily a washer problem.
- The handle is difficult to turn: Mineral deposits, corrosion, a damaged stem, or a cartridge problem may be restricting movement.
Knowing the faucet type matters because a washer replacement will not correct every dripping tap. Compression faucets generally use separate hot and cold handles and close by pressing a washer against a valve seat. Many newer single-handle faucets use a cartridge or ceramic disc assembly instead.
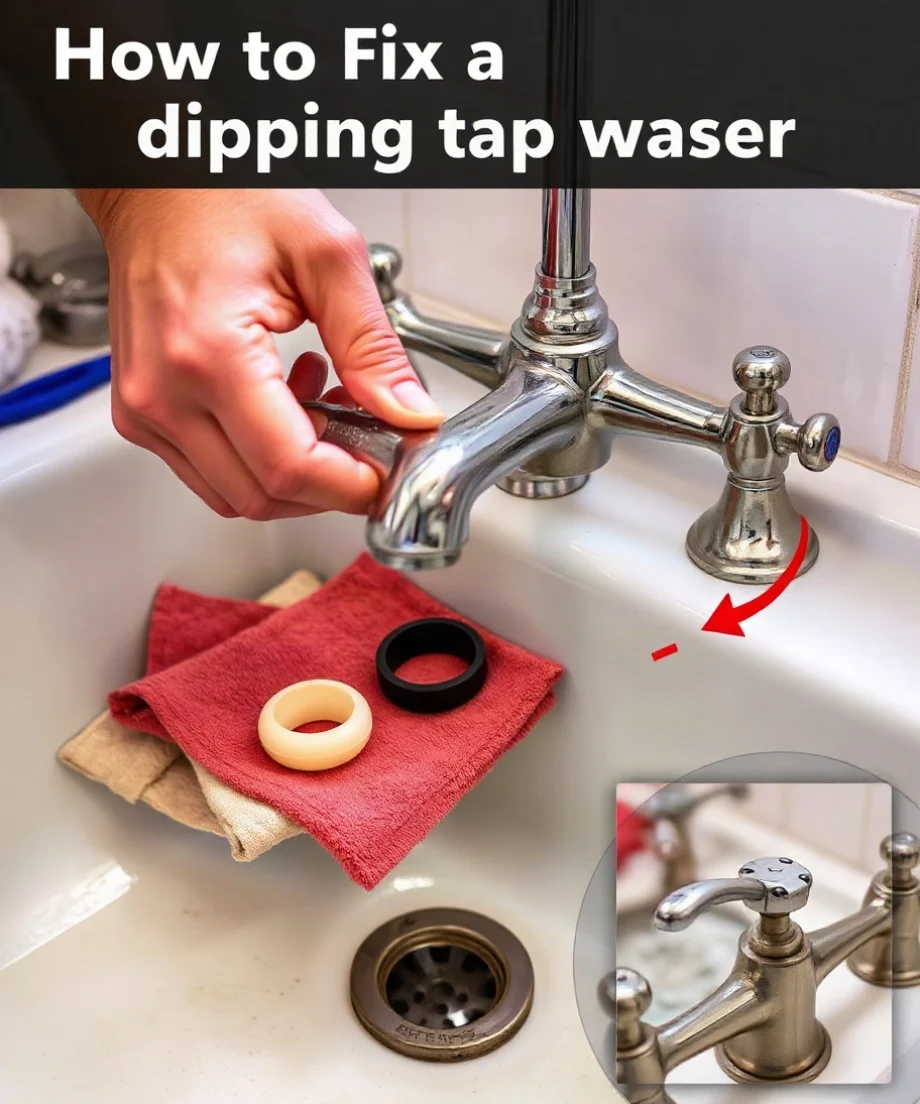
Safe checks before you take the faucet apart
Start with low-risk checks. Dry the faucet and surrounding area with a towel, then open and close the handle normally. Do not force it. Look for the source of the water using a flashlight, especially beneath the sink. If the faucet has hot and cold handles, test each side separately so you know which valve is leaking.
Locate the shutoff valves beneath the sink. Turn the appropriate valve clockwise by hand, then open the faucet to release pressure. If the valve will not turn, begins leaking around its stem, or does not stop the water, do not apply excessive force. The main water shutoff may be needed, and a professional should handle a stuck or leaking shutoff valve.
Protect the drain with a stopper or cloth so small screws and clips cannot fall inside. Keep a towel or shallow container nearby. Take a photograph before removing parts; it can help you remember the order and orientation during reassembly.
Tools and replacement parts
A basic compression-faucet repair may require a flathead or Phillips screwdriver, an adjustable wrench, tongue-and-groove pliers, a faucet handle puller if the handle is stuck, and a replacement washer. Some faucets also use a small screw, retaining nut, O-ring, or packing material that should be replaced if damaged.
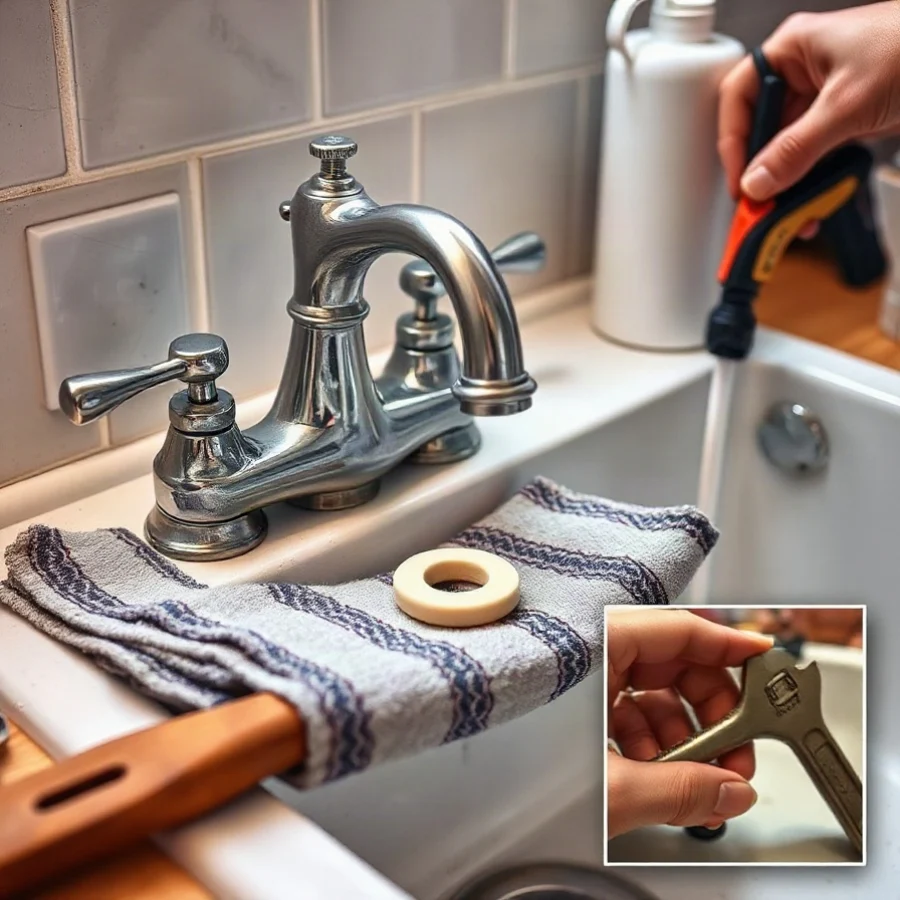
Remove the old washer before buying a replacement when possible. Washers differ in diameter, thickness, shape, and material. Bring the old part to a hardware or plumbing supply store, or identify the faucet model from its markings and documentation. Do not assume that a washer that looks similar will seal correctly.
Use only a small amount of plumber-approved lubricant on parts where the faucet manufacturer permits it. Do not use household oils or products that can damage rubber. Avoid pipe thread sealant or tape on parts that seal with a washer, gasket, or O-ring; adding the wrong material can interfere with the connection.
How to replace a tap washer
1. Shut off the water and open the faucet
Close the sink’s supply valve for the leaking side. If the faucet has one shared supply or the local valves are unreliable, shut off the home’s main water supply if you know where it is. Open the faucet to confirm that the water has stopped and pressure has been released.
2. Remove the handle
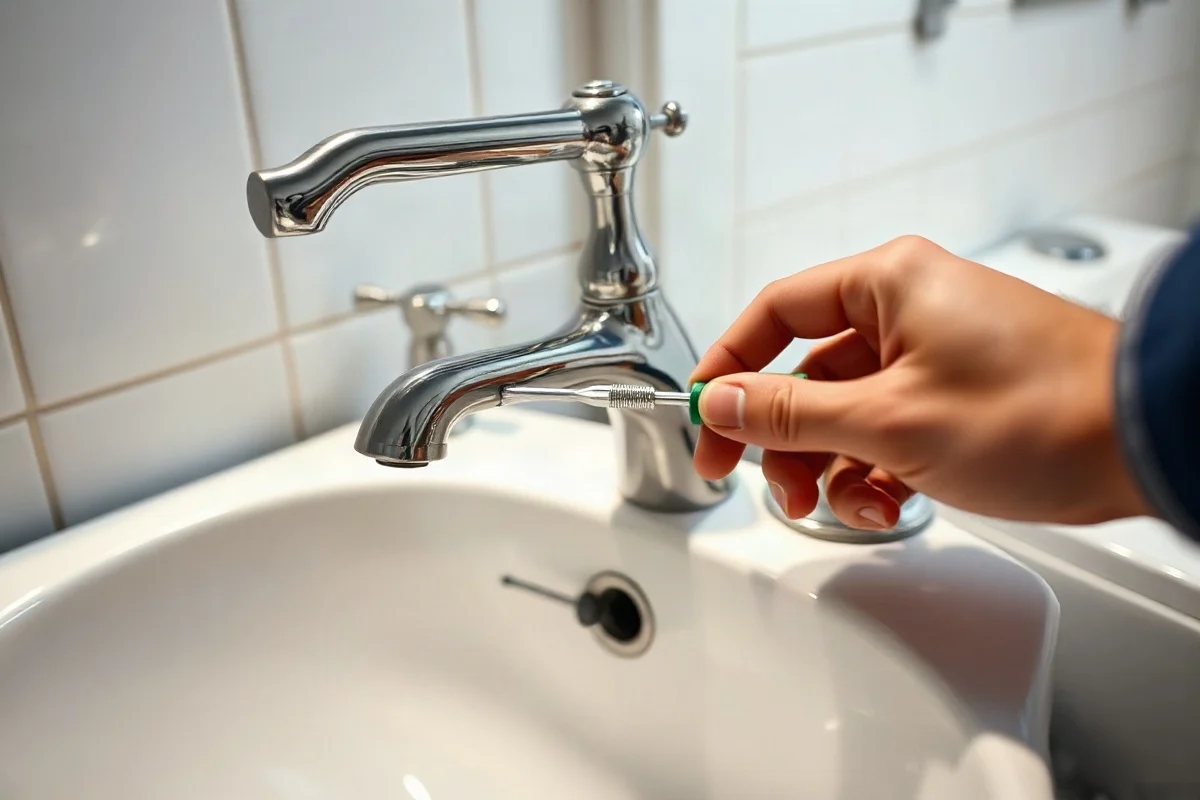
Look for a visible screw on top or beneath the handle. Decorative caps may conceal the screw and can often be lifted carefully with a thin, non-sharp tool. Remove the screw and pull the handle straight up or away from the valve stem. If mineral deposits have bonded the handle in place, avoid prying against the sink or faucet body with excessive force. A handle puller may be safer than improvised leverage.
3. Expose and remove the valve stem
Depending on the faucet, a decorative sleeve or bonnet nut may cover the valve stem. Protect finished surfaces with a cloth and use the correct wrench size. Turn the retaining part carefully. If it is seized, heavily corroded, or begins twisting the faucet body, stop rather than risk damaging the fixture or supply connection.
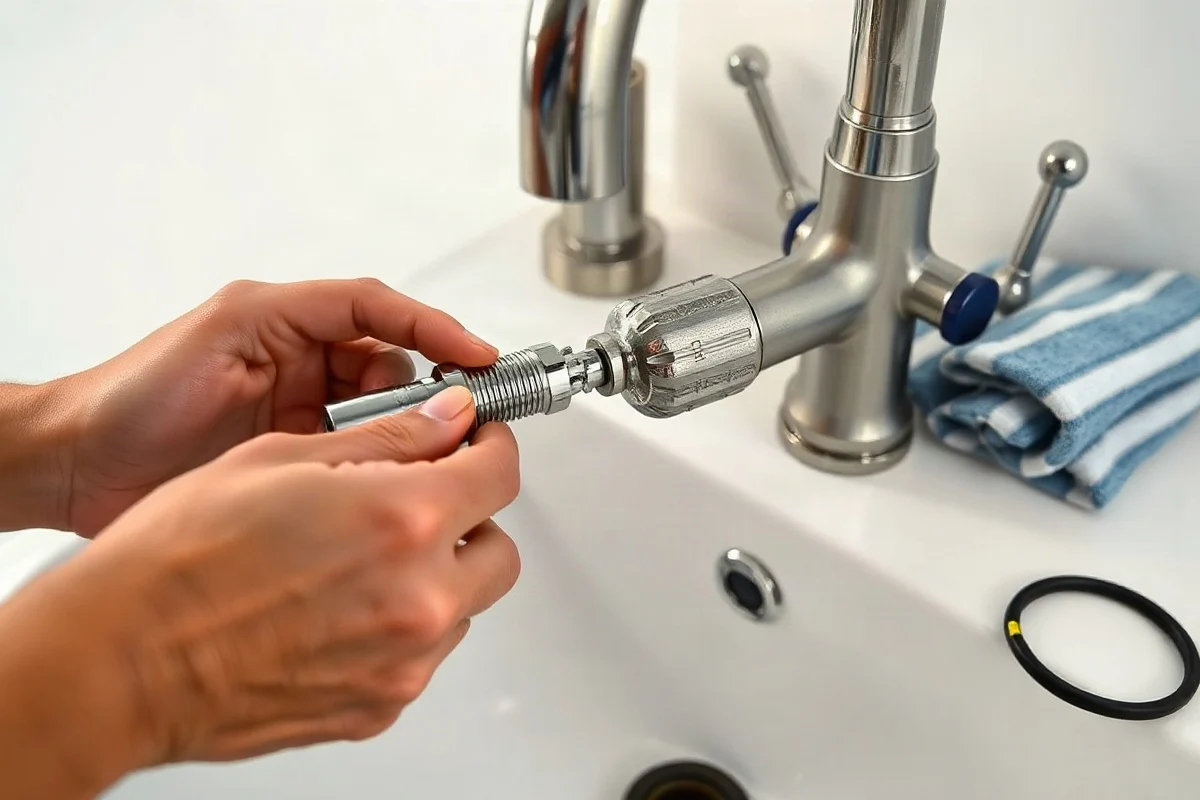
Once the retaining nut is removed, lift or unscrew the valve stem according to the faucet’s design. Keep the parts in order. The old washer is usually held to the bottom of the stem by a screw. Remove the screw and washer, inspecting the screw for corrosion or damage.
4. Inspect the valve seat
The valve seat is the surface against which the washer seals. It should be reasonably smooth and free of deep grooves, chips, or heavy mineral deposits. A damaged seat can quickly destroy a new washer, causing the drip to return.
Light residue may be cleaned carefully, but do not aggressively scrape or grind the seat. If it is pitted, cracked, or visibly damaged, the faucet may need a compatible replacement part or professional service. Some compression faucets allow a seat to be replaced or resurfaced, but the correct method depends on the design.
5. Install the new washer and reassemble
Fit the new washer in the same position as the old one and reinstall the retaining screw. Tighten it securely but do not strip the screw or compress the washer excessively. Reinstall the valve stem, retaining nut, decorative parts, and handle in their original order.
6. Test slowly
Close the faucet, then open the shutoff valve gradually. Watch the handle, faucet body, and connections for leaks. Open and close the faucet several times without forcing it. A small amount of residual water may drain from the spout immediately, but a continuing drip indicates that the repair needs further inspection.
When replacing the washer is not enough
If the drip continues, first confirm that the new washer is the correct size and seated flat. A loose retaining screw, damaged valve seat, misaligned stem, or debris can also prevent a seal. If the faucet uses a cartridge or ceramic disc, replacing a washer may not address the actual fault. Those designs usually require inspection and replacement of the appropriate cartridge, seals, or disc assembly.
A faucet that leaks from the handle or base may need O-rings, packing, a gasket, or a mounting repair rather than a spout washer. If the leak is underneath the sink, check the supply line and shutoff valve without disconnecting anything. Water inside a cabinet can damage flooring and cabinetry, so dry the area and arrange professional help if the source is unclear or the leak is active.
Replacement may make more sense than repeated repairs when the faucet body is cracked, badly corroded, difficult to find parts for, or damaged in several locations. A qualified plumber can determine whether a repair is practical and whether replacing the fixture will reduce the chance of another leak.
Costs and practical factors
The cost of fixing a dripping tap depends on more than the washer itself. Important factors include the faucet type, access beneath the sink, corrosion, the condition of the shutoff valve, whether replacement parts are available, and whether the visit involves diagnosis, repair, or complete fixture replacement. Labor policies and service charges also vary by location and provider.
Ask for an explanation of the suspected cause and what the quoted work includes. If replacement is recommended, compare the cost and expected durability of repairing the existing faucet with installing a compatible new fixture. For broader planning, see our guide to plumbing costs, but remember that general information cannot predict a local quote.
When to call a professional
Use a qualified local plumber when the water cannot be shut off, the faucet or supply connection is corroded, the leak may be inside a wall or cabinet, or the repair could damage a finished surface. Professional help is also appropriate when a new washer does not solve the drip, the faucet is a specialized design, or you are unsure how the parts fit together.
Get help promptly for a rapidly worsening leak, significant flooding, water near electrical equipment, sewage exposure, or any condition that could cause injury or property damage. Do not work on electrical connections or gas piping yourself. For urgent water damage, an emergency plumber may be the appropriate starting point.
How to choose the right plumber
Look for a professional who regularly handles faucet and sink repairs, explains the likely cause before beginning, and provides a clear description of labor, parts, and any diagnostic charges. Ask whether the repair includes testing the faucet and checking for related leaks. You can also review our guidance on hiring a plumber before scheduling service.
Be cautious of anyone who recommends replacing the entire faucet without inspecting the leak or who cannot explain why a washer, cartridge, valve seat, or connection has failed. A reliable diagnosis should match the location and behavior of the water. If you need additional faucet-specific information, our faucet repair resource covers related problems and repair decisions.
A dripping tap is often solved by replacing a worn washer, but the safest approach is to identify the faucet type, isolate the water supply, and inspect the actual leak source first. Work slowly, avoid forcing corroded parts, and call a qualified local professional when the problem extends beyond a simple, accessible faucet repair.
Comments
0No comments yet. Be the first to share a helpful note or question.
Leave a Comment
Your email address will not be published. Comments are reviewed before appearing on the site.