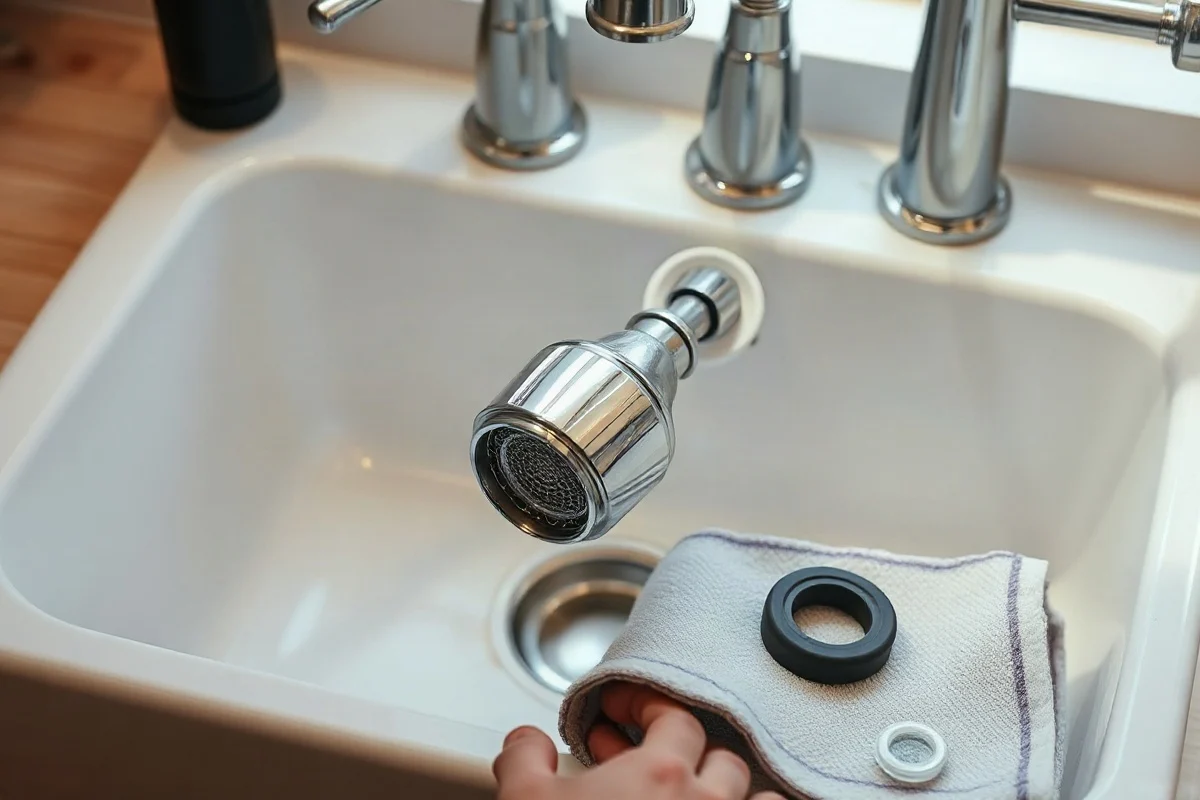
You can often fix a faucet spray head by unscrewing it from the hose or faucet body, cleaning mineral deposits and debris from the screen, checking the rubber washer, and reinstalling it carefully. If the spray head is cracked, the hose connection leaks after the washer is replaced, or water is leaking inside the faucet cabinet, replacing the head or calling a qualified local plumber may be the better choice.
A pull-down or pull-out spray head is used frequently, so it can develop weak flow, an uneven spray pattern, dripping, or a loose connection. Some problems are simple homeowner repairs, while others point to a damaged hose, faucet valve, shutoff connection, or concealed leak. The steps below help you identify the likely cause without taking apart more of the faucet than necessary.
Common faucet spray head problems
The symptom usually provides a useful starting point. Before removing parts, turn the faucet on briefly and observe where the water comes from and how the spray head behaves.
- Low flow from the spray head: Mineral scale, sediment, or a clogged inlet screen may be restricting water.
- Water sprays sideways: Blocked or damaged rubber spray nozzles can redirect water.
- Dripping after the faucet is turned off: Water remaining in the hose or head may drain briefly, but continued dripping can indicate debris, a worn seal, or a faucet valve problem.
- Water leaking at the connection: The washer may be missing, misaligned, worn, or installed with the connection cross-threaded.
- Water leaking from the spray head body: A cracked plastic housing or damaged internal fitting may require replacement.
- The head will not switch between stream and spray: The diverter or selector may be blocked, worn, or broken.
Safe checks before you start
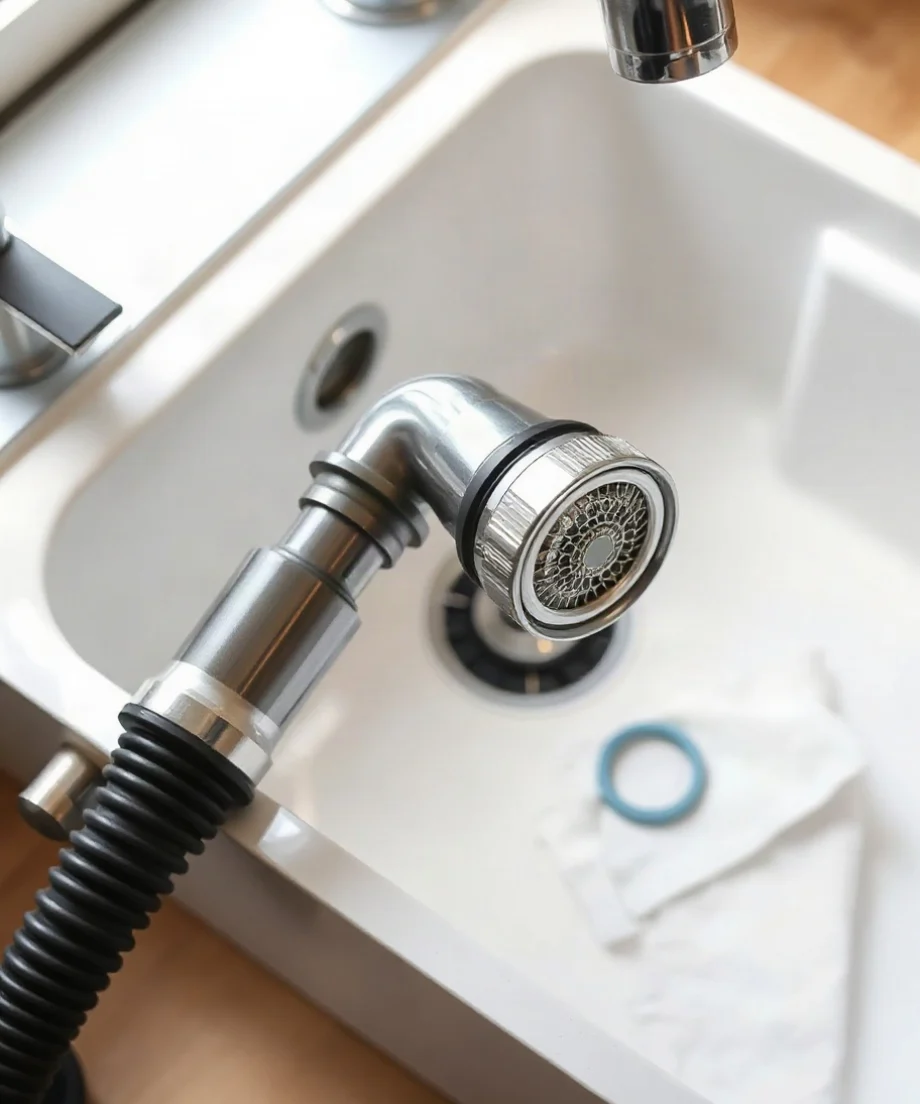
Most spray-head cleaning is a low-risk task, but protect the cabinet and avoid forcing parts. Clear the area under the sink and place a towel or shallow container below the hose connection. If the connection is under pressure, close the faucet before disconnecting anything. You normally do not need to shut off the home’s main water supply for a spray-head cleaning, but use the small shutoff valves under the sink if you are removing a hose connection and want to limit dripping.
Do not work on a wet electrical outlet, disposal wiring, or other electrical equipment under the sink. If water has reached an outlet or appliance connection, stop and arrange qualified help. Also call a professional if the cabinet is flooding, a supply line is damaged, or you cannot identify which connection is leaking.
How to clean a clogged faucet spray head
1. Remove the spray head carefully
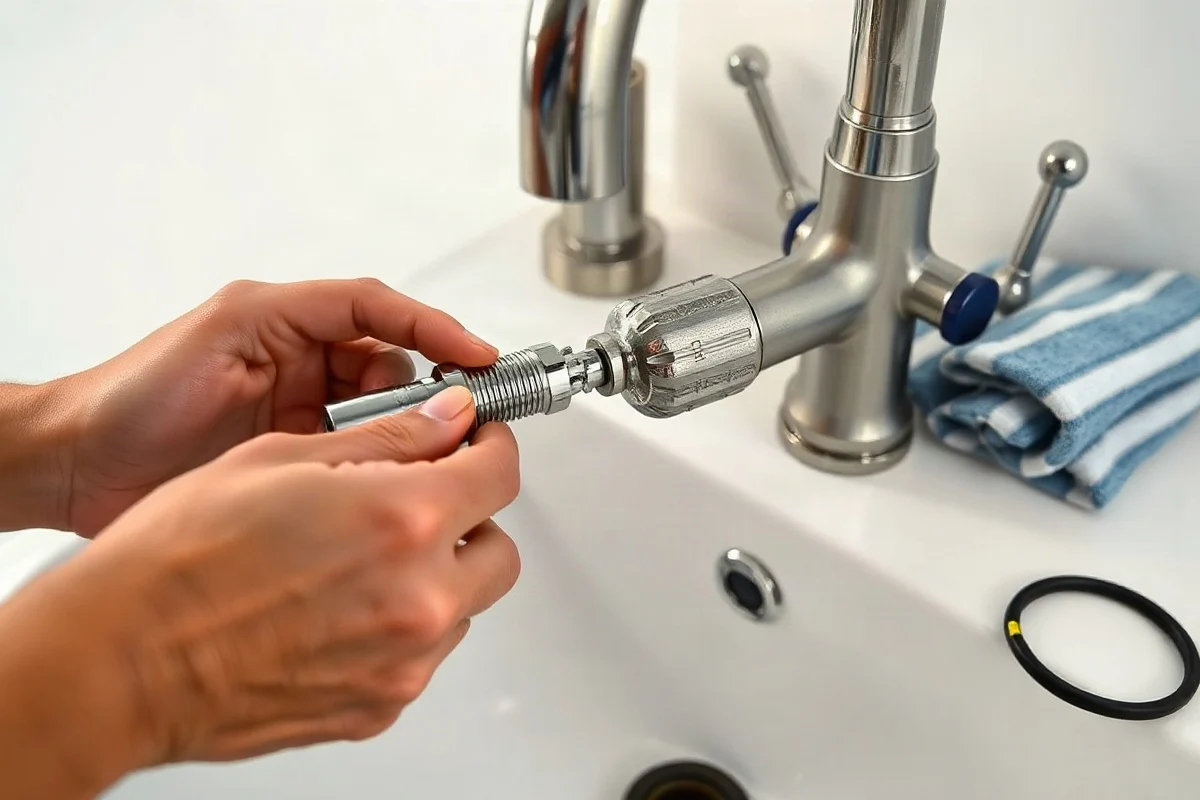
For a pull-down or pull-out faucet, extend the spray head and look for the threaded connection where it joins the hose. Many heads can be loosened by hand. If it is tight, use an adjustable wrench over a cloth to protect the finish, and turn gently. Do not twist the hose sharply or pull hard enough to dislodge the hose weight beneath the sink.
If the spray head is attached to a separate side sprayer, look underneath the sink for the connection between the sprayer hose and the faucet fitting. Take a quick photo before disconnecting it so you can remember the washer’s position and the routing of the hose.
2. Inspect the washer and screen
Inside the threaded end, you may find a flat rubber washer and a small mesh screen or flow insert. Remove loose debris with a plastic pick, a blunt wooden toothpick, or a soft brush. Avoid sharp metal tools that can damage the sealing surface. Keep track of every small piece, because the screen, insert, and washer may look similar but serve different purposes.
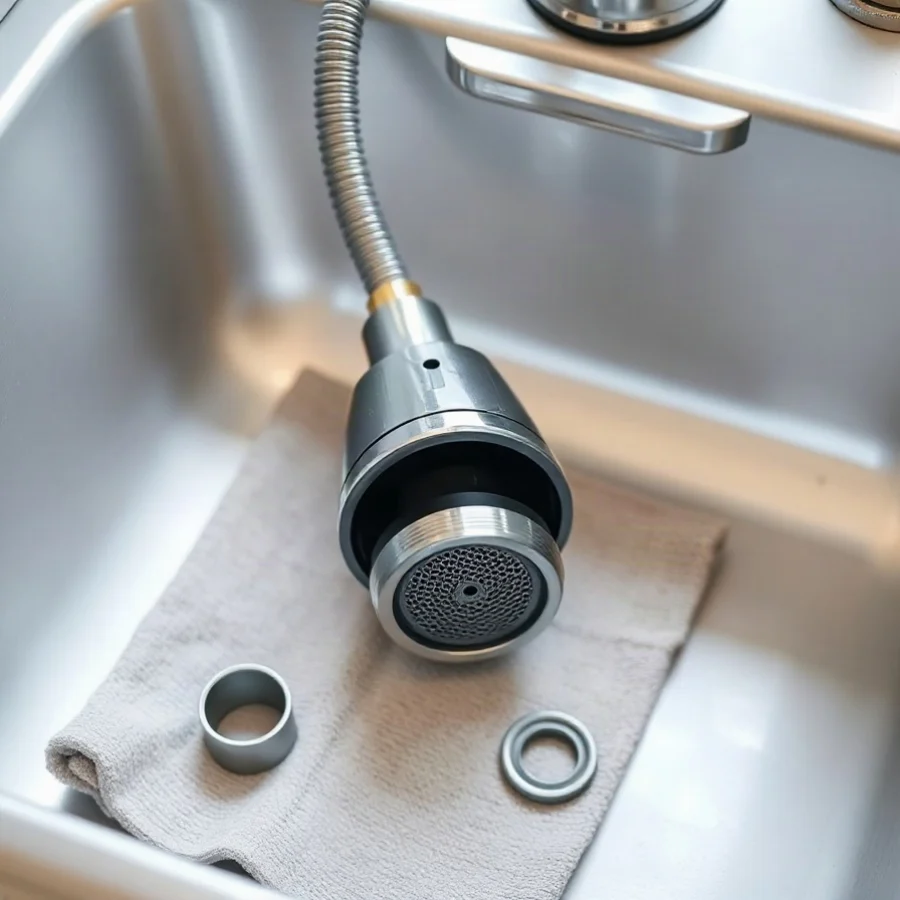
Check the washer for flattening, cracking, brittleness, or distortion. A damaged washer can cause a leak even when the spray head itself is in good condition. If the washer is missing, take the old head or a clear photo of the connection to a plumbing or hardware supplier and obtain a compatible replacement rather than guessing at the size.
3. Flush and clean the parts
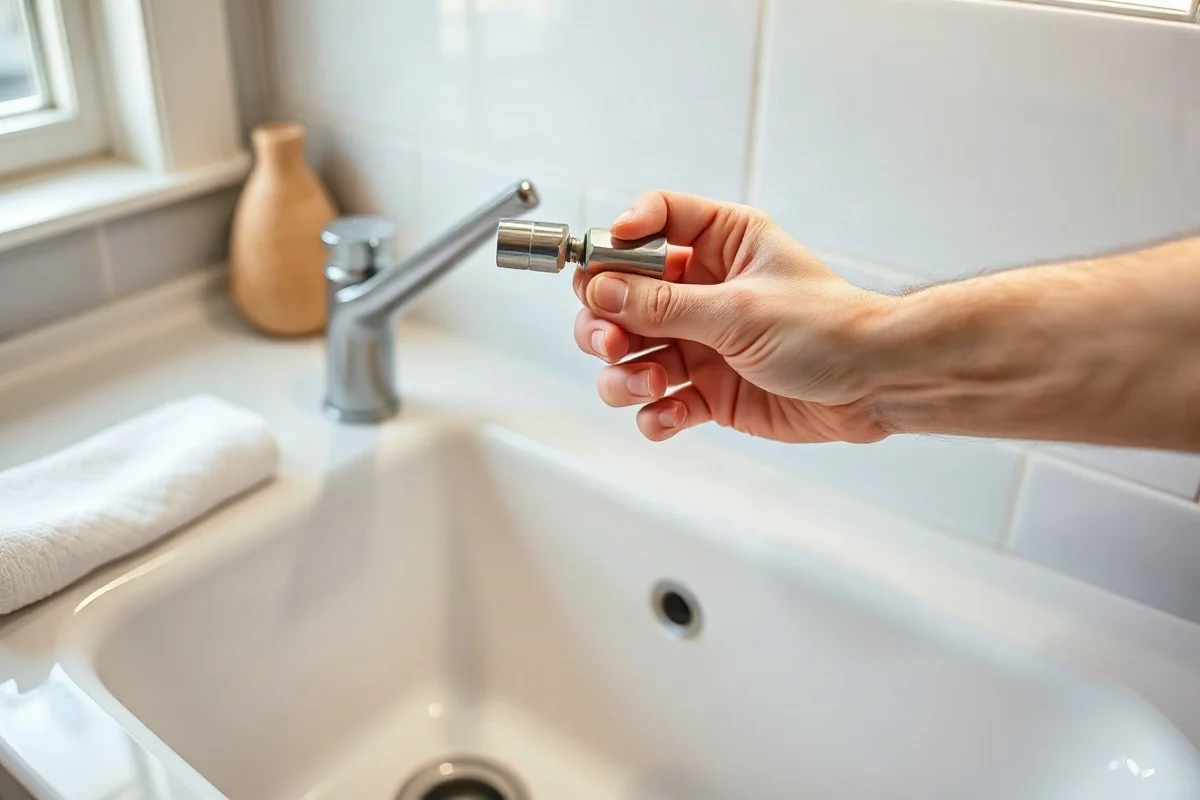
Rinse the spray head under clean running water. If mineral deposits are visible, soak the removable screen or spray head in white vinegar diluted with water, provided the manufacturer’s care instructions do not prohibit it. A short soak can loosen scale, but avoid prolonged soaking of decorative finishes, rubber components, or parts with unknown materials. A soft toothbrush can help clear the spray nozzles.
Do not poke every nozzle with a needle. Some spray heads use flexible rubber outlets that can be cleaned by rubbing them gently with a fingertip. Forcing a sharp object into the openings can enlarge or damage them and may make the spray pattern worse.
4. Flush the hose before reassembly
With the spray head still removed, point the hose into a bucket or sink and turn the faucet on briefly. This can flush sediment from the hose. Keep the water flow controlled so the hose does not whip around or spray into the cabinet. If the hose itself has a crack, bulge, or persistent leak, stop using the faucet and replace the hose or have a plumber evaluate it.
5. Reinstall the spray head
Place the washer and screen back in their original positions, then thread the spray head onto the hose by hand. Turn it slowly to avoid cross-threading. Tighten it snugly by hand; if the connection still leaks, use a wrench with a cloth for a small additional adjustment. Do not rely on excessive force or wrap thread-sealing tape around a connection designed to seal with a washer. Tape can prevent the washer from seating correctly.
Turn the faucet on and check the connection while moving the spray head through its normal range. Look underneath the sink as well as around the head. A connection that stays dry during a quick test but leaks when the hose is pulled may have a damaged washer, loose fitting, or strained hose.
When cleaning does not solve the problem
If the spray is still weak after cleaning, check whether the main faucet stream is also weak. Low flow from both the faucet and spray head may point to a partially closed shutoff valve, a clogged supply component, a faucet cartridge or valve issue, or a broader water-supply problem. A spray head alone cannot correct those conditions.
If the stream is strong at the faucet but weak only at the spray head, the head’s internal screen, diverter, or flow insert may remain blocked or damaged. Compare the old part with the manufacturer’s replacement information if it is available. Some faucet brands use proprietary spray heads, while universal-looking parts may not fit correctly or may alter the faucet’s flow behavior.
A head that leaks from its plastic body, selector button, or seam is usually not worth repairing with glue or sealant. Adhesives may fail under water pressure and can make future replacement more difficult. Replacing the spray head is generally more reliable, provided the replacement matches the hose connection and faucet design.
Repair or replace the spray head?
Cleaning is a reasonable first step when the head is intact and the issue is mineral buildup or debris. Replacing the washer may solve a leak at the threaded connection. Replacement is more appropriate when the head is cracked, discolored from deterioration, difficult to operate, or still leaking after the connection has been correctly reassembled.
Before buying a new part, identify whether the faucet is pull-down, pull-out, or equipped with a separate side sprayer. Check the connection, attachment method, button layout, and finish. If possible, use the faucet’s model information. Keep the old part until the new one has been tested, since the connection and washer arrangement can help diagnose a mismatch.
For related faucet symptoms, see our guide to faucet repair and the broader faucet and sink repair category.
When to call a qualified plumber
Contact a qualified local plumber if the leak comes from inside the faucet body, the hose connection cannot be separated without damaging the fitting, or water is entering the cabinet from an unclear location. Professional help is also appropriate when the faucet has a concealed leak, the shutoff valve will not close, the supply line is corroded, or a repair attempt has left the connection dripping.
Stop using the faucet if water is flooding the cabinet or reaching electrical equipment. For a serious leak, close the nearest working shutoff valve if you can do so safely and arrange prompt local service. If you need urgent assistance, our emergency plumber resource can help you understand when a plumbing problem needs immediate attention.
What affects the cost of spray-head service?
The total cost depends on whether the problem requires cleaning, a replacement washer, a new spray head, a hose replacement, or diagnosis of a deeper faucet issue. Other factors can include access beneath the sink, the faucet’s design, damaged shutoff valves, corrosion, and whether more than one component is leaking. A simple part replacement is different from repairing a faucet body or supply connection.
Ask a plumber to explain the diagnosis, the part being replaced, and whether the recommendation is repair or full faucet replacement. Request a written estimate when practical and confirm whether service charges, parts, and labor are listed separately. Avoid choosing a provider solely because of the lowest initial quote if the scope of work is unclear. Our guide to hiring a plumber includes questions to ask before work begins.
How to prevent future spray-head problems
Wipe the spray nozzles periodically and avoid using abrasive cleaners on the finish. Do not yank the hose or allow it to rub against sharp cabinet edges. Keep cleaning products and heavy items away from the hose so it can retract and move freely. Check beneath the sink occasionally for moisture, mineral marks, or a hose that has begun to kink.
When a spray head develops a small flow problem, early cleaning may prevent a loose connection from becoming a cabinet leak. If the issue continues after basic cleaning and washer inspection, stop experimenting with incompatible parts and have the faucet evaluated by a qualified professional.

Comments
0No comments yet. Be the first to share a helpful note or question.
Leave a Comment
Your email address will not be published. Comments are reviewed before appearing on the site.