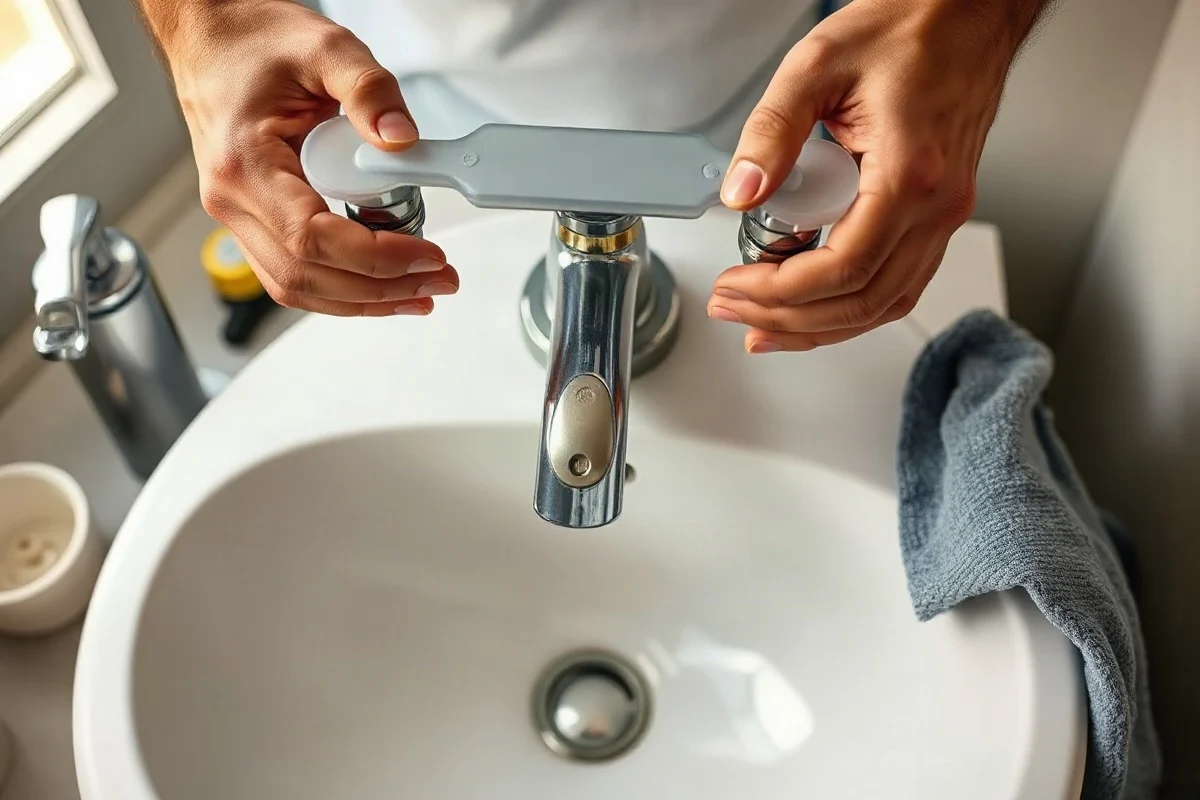
To fix a leaky two-handle faucet, first shut off the water, identify whether the leak comes from the spout or a handle, and then replace the worn cartridge, valve stem, washer, or O-ring causing the problem. Many faucet leaks can be handled with basic tools if the shutoff valves work and the faucet design is familiar. However, corroded parts, hidden leaks, damaged supply connections, or water that cannot be stopped are reasons to contact a qualified local plumber.
Identify where the faucet is leaking
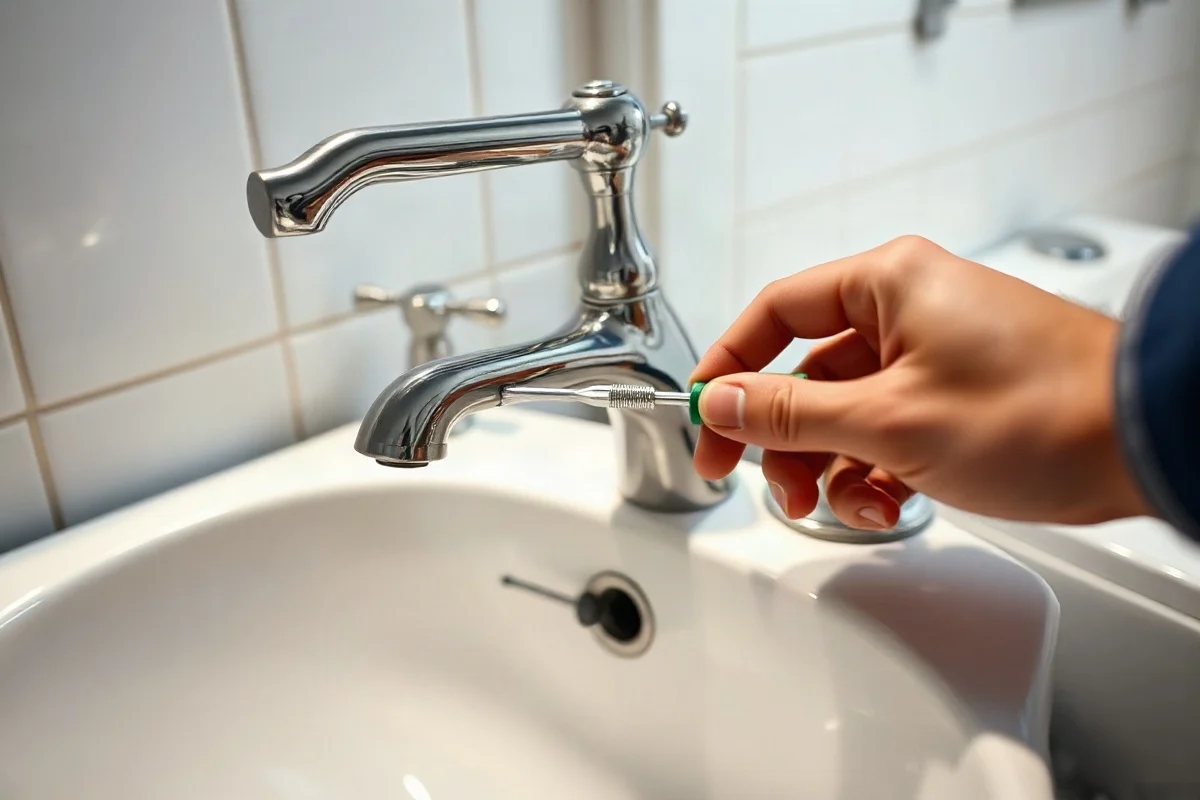
A two-handle faucet usually has separate hot and cold controls. Before taking anything apart, dry the fixture and watch where water appears. The location provides useful clues about the failed part.
- Water dripping from the spout when both handles are closed: A worn cartridge, valve stem, seat, washer, or internal seal is a common cause.
- Water appearing around one handle: The O-ring, packing seal, cartridge, or valve stem beneath that handle may be worn.
- Water leaking under the sink: A loose supply connection, failed faucet connection, cracked hose, or leak at the sink opening may be involved.
- Water leaking from the base of the spout: The spout O-rings or another seal may need replacement.
- Water leaking from the faucet body or countertop: The fixture may be cracked, badly corroded, or improperly sealed.
Turn each handle on and off separately while observing the faucet. This can help you determine whether the hot side, cold side, or both sides are involved. Do not assume that a dripping spout always means the entire faucet needs replacement.
Safe checks before you begin
Start with low-risk checks that do not require removing pressurized plumbing parts. Clear the cabinet beneath the sink so you can see the shutoff valves and connections. Place a towel or small container below the plumbing to catch residual water.
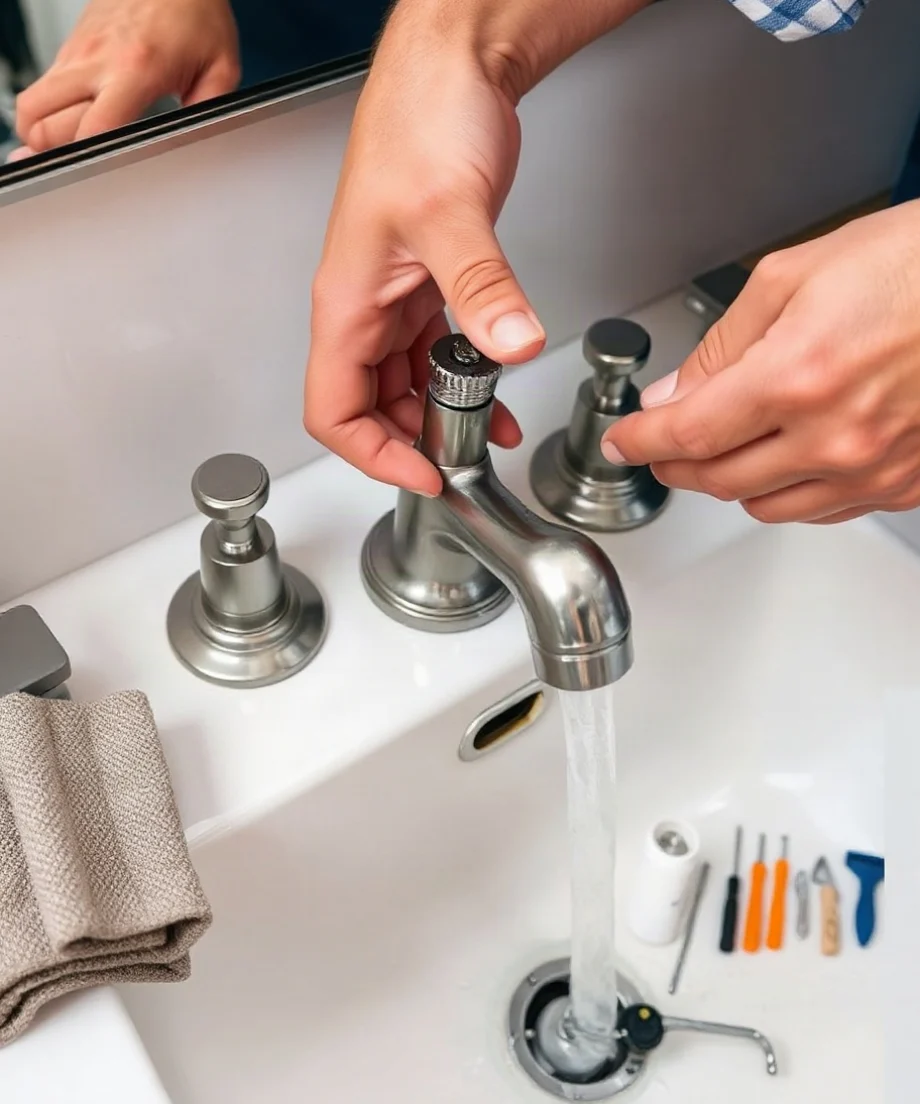
Look for two small shutoff valves on the water lines leading to the faucet. Turn each valve clockwise gently until it stops. Do not force a valve that is stuck, badly corroded, or beginning to leak around its stem. If the valves do not shut off the water, you may need to shut off the home's main water supply, but only if you know where it is and can operate it safely.
Open both faucet handles briefly after closing the shutoffs. This releases pressure from the faucet and confirms whether the water has stopped. If water continues flowing strongly, close the main supply if appropriate and call a qualified plumber. Never remove a faucet handle or valve component while the line is still pressurized.
Gather basic tools and replacement parts
The tools vary by faucet style, but a typical repair may require a Phillips screwdriver, a flat screwdriver, an adjustable wrench, hex keys, penetrating oil for light surface corrosion, a flashlight, and a clean cloth. You may also need a replacement cartridge, valve stem, washer, seat, O-ring, or seal.
Take a photo of the faucet before disassembly. Keep small parts in order as you remove them, and bring the old component to a plumbing supply store if you need help matching it. Faucet parts are not universal, even when two fixtures look similar. The brand and model may be printed on the faucet, escutcheon, handle, or documentation.
How to repair a two-handle faucet step by step
1. Shut off the water and protect the drain
Close the hot and cold shutoff valves beneath the sink. If the faucet is in a bathtub or shower, use the appropriate local shutoff or main supply only when you can safely access it. Cover the drain opening with a stopper or cloth so a screw or retaining clip cannot fall inside.
2. Remove the leaking handle
Many handles have a decorative cap covering a retaining screw. Carefully pry off the cap with a thin flat screwdriver, then remove the screw and lift off the handle. Other designs use a side screw or a small hex screw. Avoid excessive force, because older handles can crack when they are stuck to a corroded stem.
If the handle will not move after the screw is removed, do not pry aggressively against the finished faucet body. A handle puller may be safer than twisting the fixture. A plumber can remove a seized handle with less risk of damaging the faucet or sink.
3. Remove the retaining hardware
Under the handle, you may find a decorative sleeve, escutcheon, retaining nut, clip, or bonnet. Remove only the parts associated with the leaking side, and keep track of their position. Use an adjustable wrench carefully and protect finished surfaces with a cloth.
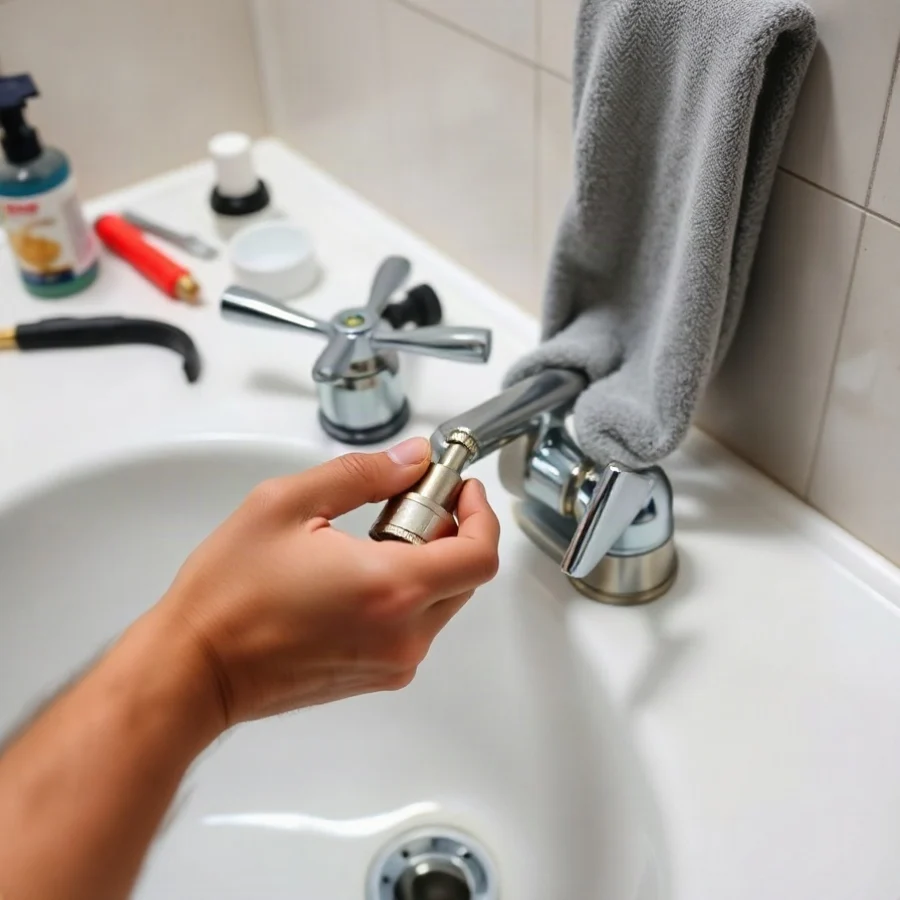
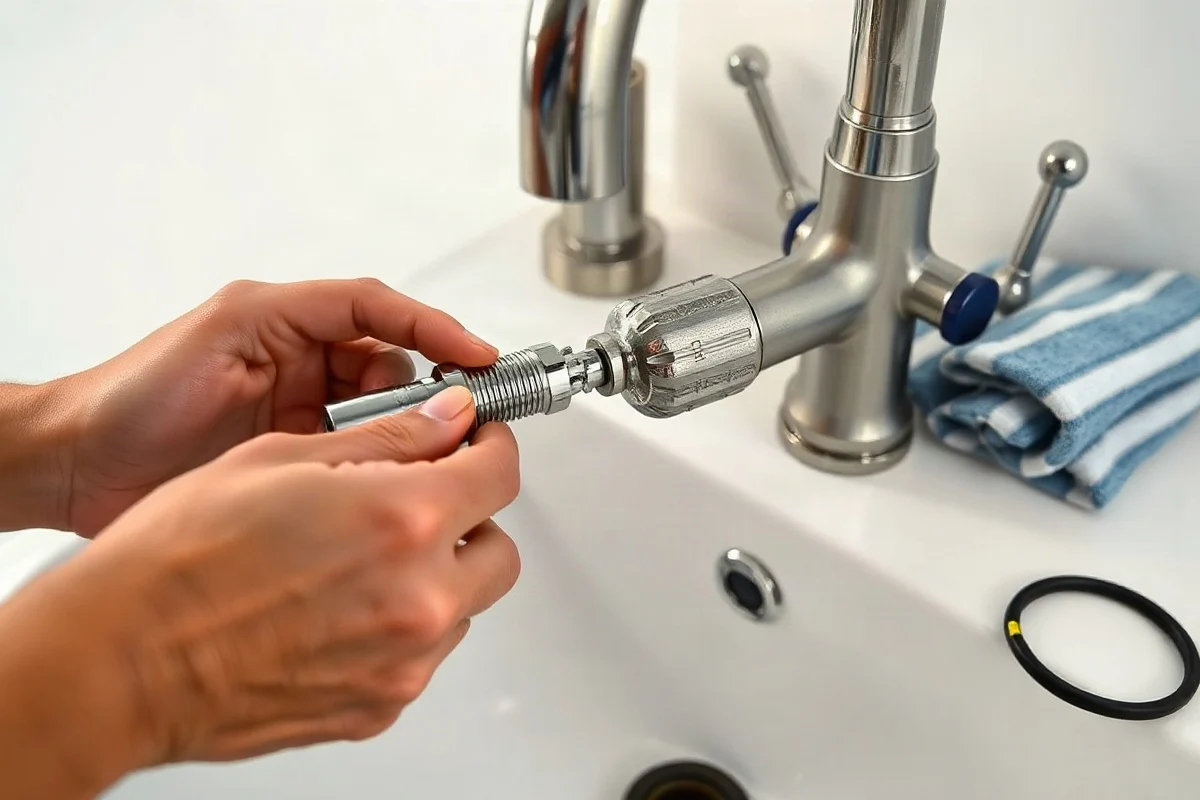
Some faucet designs use a cartridge that lifts out after a retaining clip or nut is removed. Others use a valve stem that unscrews from the faucet body. Older compression faucets may contain a rubber washer held to the end of the stem by a screw. The internal arrangement determines which part should be replaced.
4. Inspect the cartridge, valve stem, and seals
Pull out the cartridge or valve stem carefully. If the part is stuck, gentle rocking may help, but do not damage the faucet body by twisting it with excessive force. Inspect the component for mineral buildup, cracks, flattened rubber, worn edges, or corrosion.
A damaged cartridge or valve stem is usually replaced rather than repaired. A compression-style faucet may need a new washer and possibly a new valve seat. If water was leaking around the handle, inspect the O-rings and packing seals. Replace seals with the correct size and material for the faucet.
Do not rely on tightening the handle to stop a leak. Over-tightening can damage internal parts, strip threads, make the handle difficult to operate, and accelerate wear.
5. Clean the valve opening carefully
Wipe away loose mineral deposits and debris with a clean cloth. Avoid scraping aggressively or using harsh chemicals that could damage the sealing surface. If the faucet body is deeply pitted, cracked, or heavily corroded, a new seal may not solve the problem.
Before installing a replacement cartridge or valve stem, compare it with the old part. Check the length, shape, tabs, splines, seal locations, and orientation. Installing the wrong cartridge can cause continued leaking or prevent the handle from turning correctly.
6. Install the replacement part
Install the new component in the same orientation as the original. Some cartridges have alignment tabs or markings that must match the faucet body. Replace the retaining clip, nut, sleeve, and handle in the reverse order of removal.
Use only a small amount of faucet-compatible plumber's grease on O-rings when the manufacturer or part instructions call for it. Do not apply grease to every surface automatically, and do not substitute sealants where the faucet design does not require them.
7. Restore water slowly and test
Open the shutoff valve slowly while watching the repaired faucet and the connections beneath the sink. Turn on the repaired handle gradually, then check for drips with a dry tissue or paper towel. Test both handles and look around the base, supply connections, and faucet body.
If the faucet makes unusual noises, sprays from a joint, leaks more than before, or will not shut off, close the water and reassess the repair. A small leak can quickly damage the cabinet, countertop, flooring, or contents stored beneath the sink.
When replacing the faucet is better than repairing it
Repairing one internal part is often reasonable when the faucet body is sound and replacement parts are available. Replacing the complete faucet may make more sense when several components are failing, the finish and body are severely corroded, the handle is seized, or the faucet has already required repeated repairs.
Also consider replacement if the mounting hardware or supply connections are damaged, the faucet wobbles because the sink deck is compromised, or the fixture no longer matches the sink's mounting openings. A replacement should be compatible with the sink configuration and water connections. If you are unsure whether the existing holes and connections will work with a new faucet, ask a professional before purchasing.
When to call a qualified plumber
Stop the DIY repair and arrange qualified local help if the shutoff valve will not work, the faucet body begins twisting in the sink, a supply line is damaged, or corrosion prevents safe disassembly. Professional help is also appropriate when the leak is inside a wall, cabinet, ceiling, or floor rather than at the visible faucet.
Call promptly for major flooding, water that cannot be controlled, sewage exposure, unsafe electrical conditions, or damage extending beyond the fixture. Keep water away from electrical devices and do not enter a flooded area if electrical hazards may be present. For urgent leaks, use a service that handles emergency leak repair.
A plumber may also be the better choice when the faucet is part of a shower valve, when access is limited, or when the repair could affect concealed piping or finished surfaces. Work involving hidden plumbing, code-related changes, or difficult access should be evaluated by a qualified local professional rather than guessed at.
What affects the cost of fixing a leaky faucet?
The cost depends on more than the dripping symptom. Important factors include the faucet brand and design, the replacement part required, the extent of corrosion, accessibility beneath the sink, whether the shutoff valves work, and whether the faucet can be repaired without damaging the countertop or cabinet.
A simple washer or O-ring replacement may involve fewer parts than a cartridge replacement. A seized handle, failed shutoff valve, broken supply connection, or damaged faucet body can add work. The number of leaking sides also matters, especially if both hot and cold components are worn.
Before approving service, ask what the diagnosis includes, which parts may be replaced, whether the faucet is repairable, and what work would require additional approval. Get a written estimate or clear explanation of charges when possible. Avoid choosing solely on the lowest initial quote if the scope of work is unclear.
For broader planning, review practical information about plumbing costs and compare the likely repair with the age and condition of the fixture.
How to choose the right plumber
Look for a plumber or plumbing company that clearly explains the cause of the leak, the repair options, and any limitations discovered during inspection. Ask whether the person has experience with your faucet type and whether replacement parts will be identified before work begins.
Confirm that the professional is qualified to perform the work in your area, and ask about applicable licensing, insurance, written estimates, and service terms rather than assuming they are included. Local requirements and business practices vary, so verify details directly with the provider or the appropriate local authority.
A reliable plumber should not pressure you into replacing the entire faucet without explaining why repair is impractical. On the other hand, a professional may reasonably recommend replacement when the body is corroded, parts are unavailable, or continued repairs are unlikely to last. For more guidance, see this overview of hiring a plumber.
Preventing another faucet leak
Operate the handles gently and avoid forcing them past their normal stopping point. Wipe away standing water around the faucet base, check the cabinet occasionally for dampness, and look for small drips before they become cabinet or flooring damage. Do not use abrasive cleaners that can damage finishes or seals.
If mineral deposits build up around the aerator or handle, clean the accessible exterior carefully and follow the faucet maker's care guidance when available. When a repair is complete, recheck the faucet and the connections after it has been used several times. Early detection is one of the simplest ways to limit the damage caused by a small leak.
A two-handle faucet leak is often repairable, but the correct fix depends on the faucet design and the exact leak location. Shut off the water before disassembly, replace the worn internal part with a matching component, and stop if corrosion, hidden damage, or unsafe conditions make the job uncertain. When in doubt, a qualified local plumber can diagnose the fixture and help you decide whether repair or replacement is the safer long-term choice.
Comments
0No comments yet. Be the first to share a helpful note or question.
Leave a Comment
Your email address will not be published. Comments are reviewed before appearing on the site.