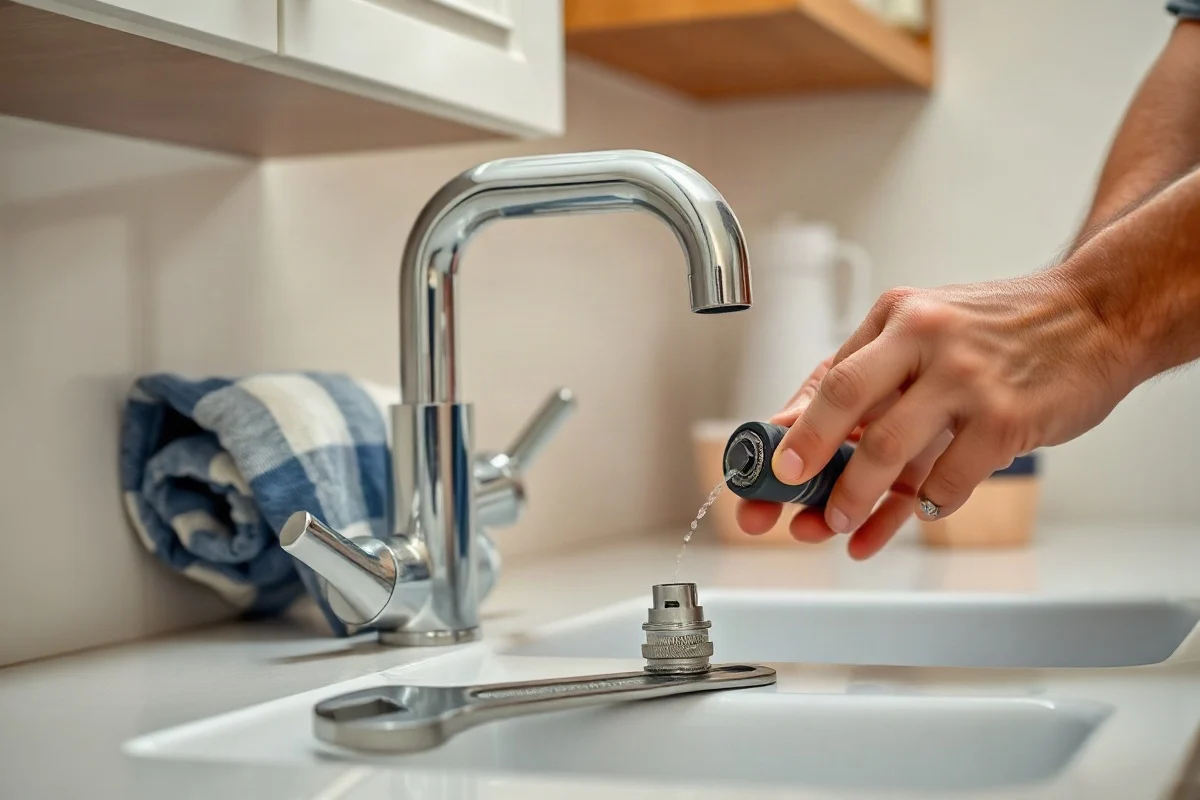
To repair a broken faucet, first shut off the water supply, identify the symptom, and inspect the faucet’s accessible parts. A loose handle, worn cartridge, damaged washer, clogged aerator, or failed connection can often explain the problem. Some basic repairs are reasonable for a careful homeowner, but a concealed leak, corroded valve, flooding, electrical hazard, or damaged supply line should be handled by a qualified local plumber.
Start by identifying the faucet problem
“Broken faucet” can describe several different faults. The symptom helps determine whether a cleaning, adjustment, replacement part, or complete faucet replacement is appropriate.
Common symptoms and likely causes
- Water drips from the spout after the handle is closed: The cartridge, ceramic disc, washer, or internal seals may be worn or damaged.
- Water leaks around the handle: A loose handle, failed O-ring, or damaged cartridge may be allowing water to escape.
- Water leaks beneath the sink: The supply connection, faucet mounting area, flexible hose, or shutoff valve may be leaking.
- Low flow from the spout: A clogged aerator, partially closed shutoff valve, blocked cartridge, or supply problem may be responsible.
- The handle is hard to turn: Mineral buildup, corrosion, or a failing cartridge can restrict movement.
- The faucet wobbles: The mounting hardware may be loose, or the sink surface or faucet base may be damaged.
- The faucet will not stop running: An internal valve component may have failed, or the shutoff valve may not be working properly.
Before disassembling anything, take a clear photo of the faucet and look for a brand name or model marking. A replacement cartridge or seal must match the faucet design. If you cannot identify the part, bring the old component to a plumbing supply store or ask a professional for help rather than forcing an incompatible replacement.
Safe checks you can perform first
Several low-risk checks can narrow down the problem without opening the plumbing system. Work slowly, protect the sink with a towel, and keep small screws and clips in a container.
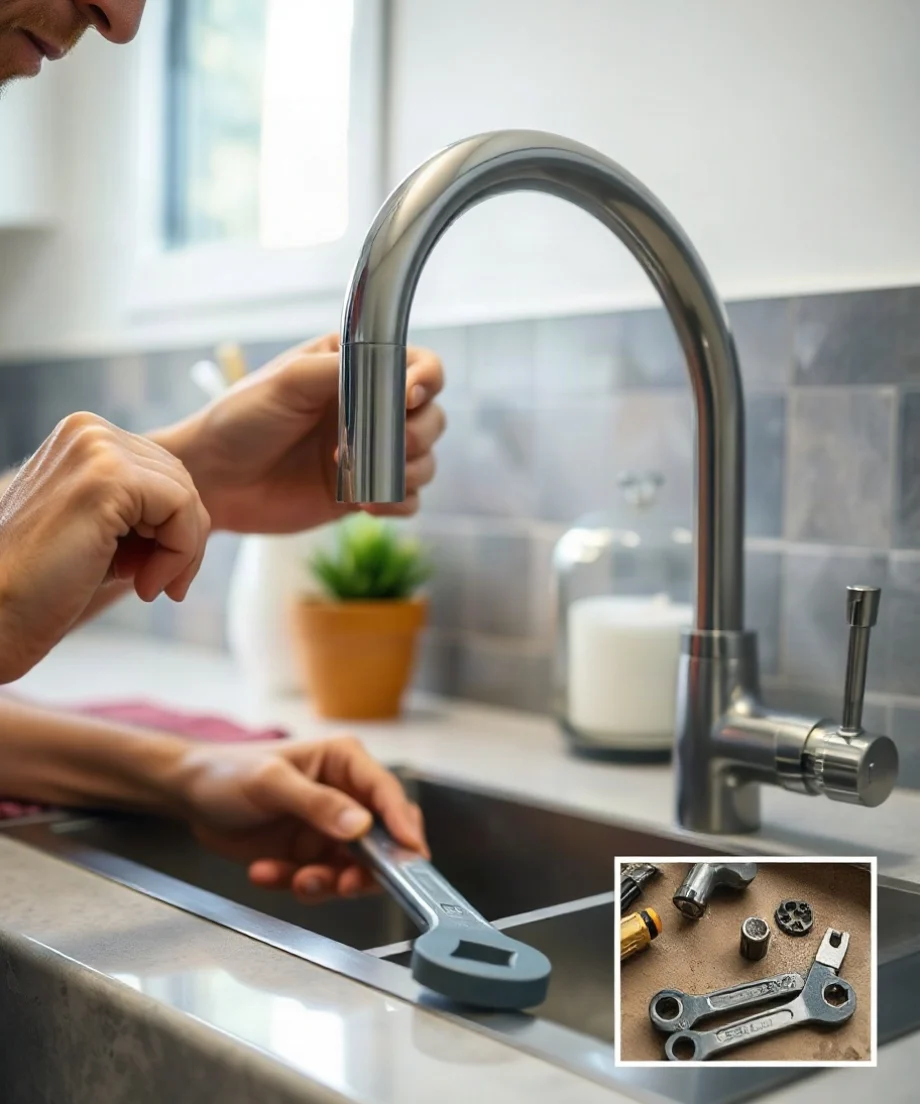
1. Clear the area and check for active leaks
Remove items from beneath the sink and dry the cabinet floor and supply connections. Turn the faucet on briefly, then watch where the first drop appears. Water that begins at the handle or spout is different from water that starts at a hose connection below the sink. A dry cabinet makes the source easier to identify.
2. Check the shutoff valves
Most sink faucets have hot and cold shutoff valves below the basin. Confirm that both valves are open if the faucet has weak flow. Do not use excessive force on a valve that is stuck, heavily corroded, or leaking around its stem. Forcing it can turn a minor faucet problem into a larger leak.
3. Clean the aerator
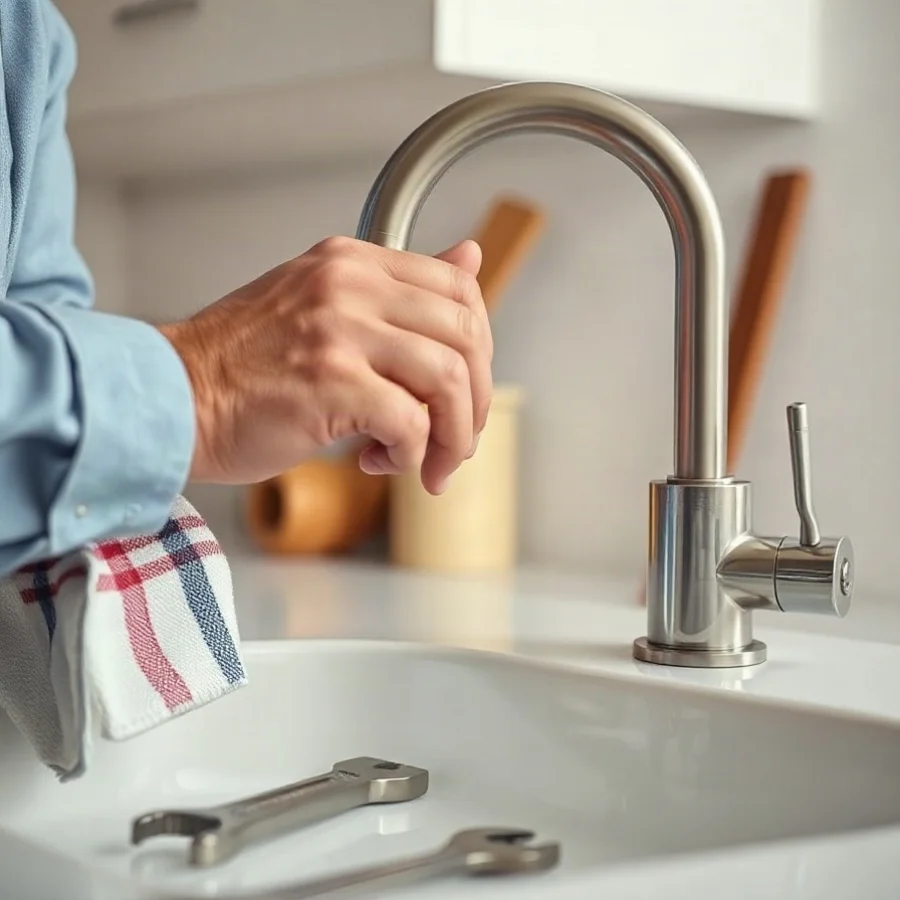
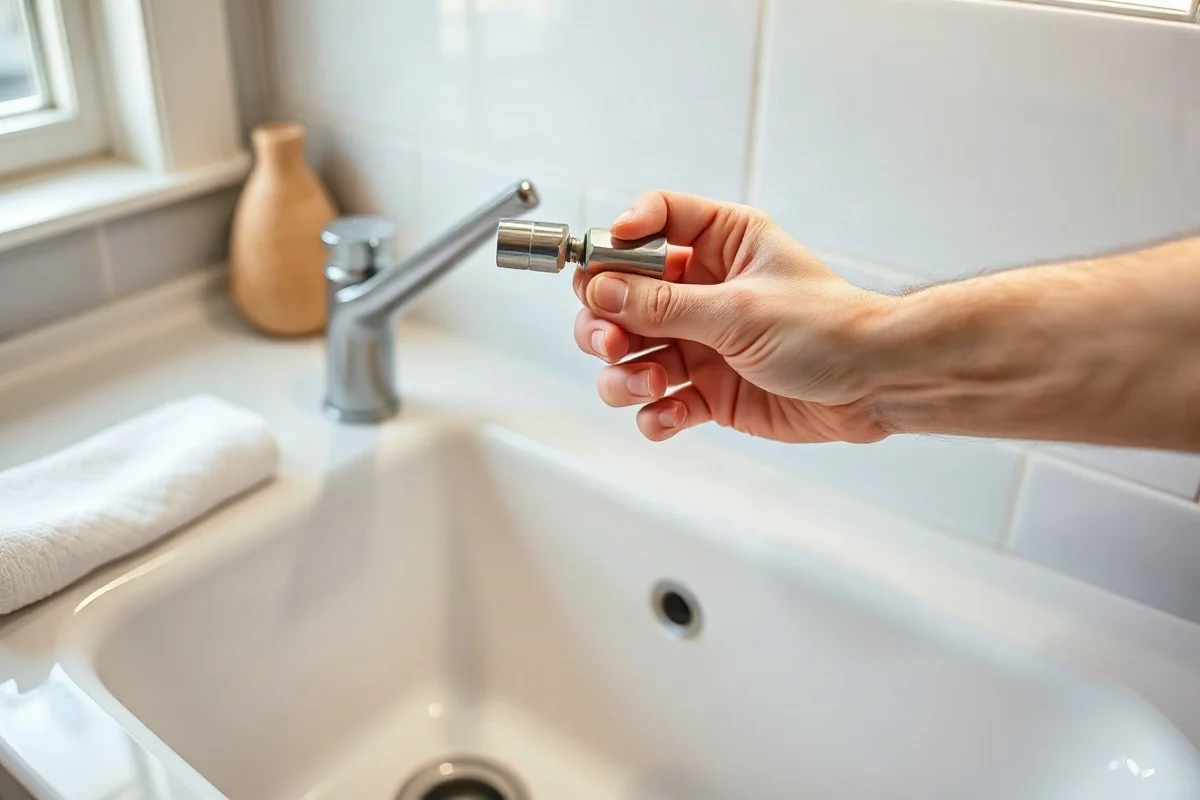
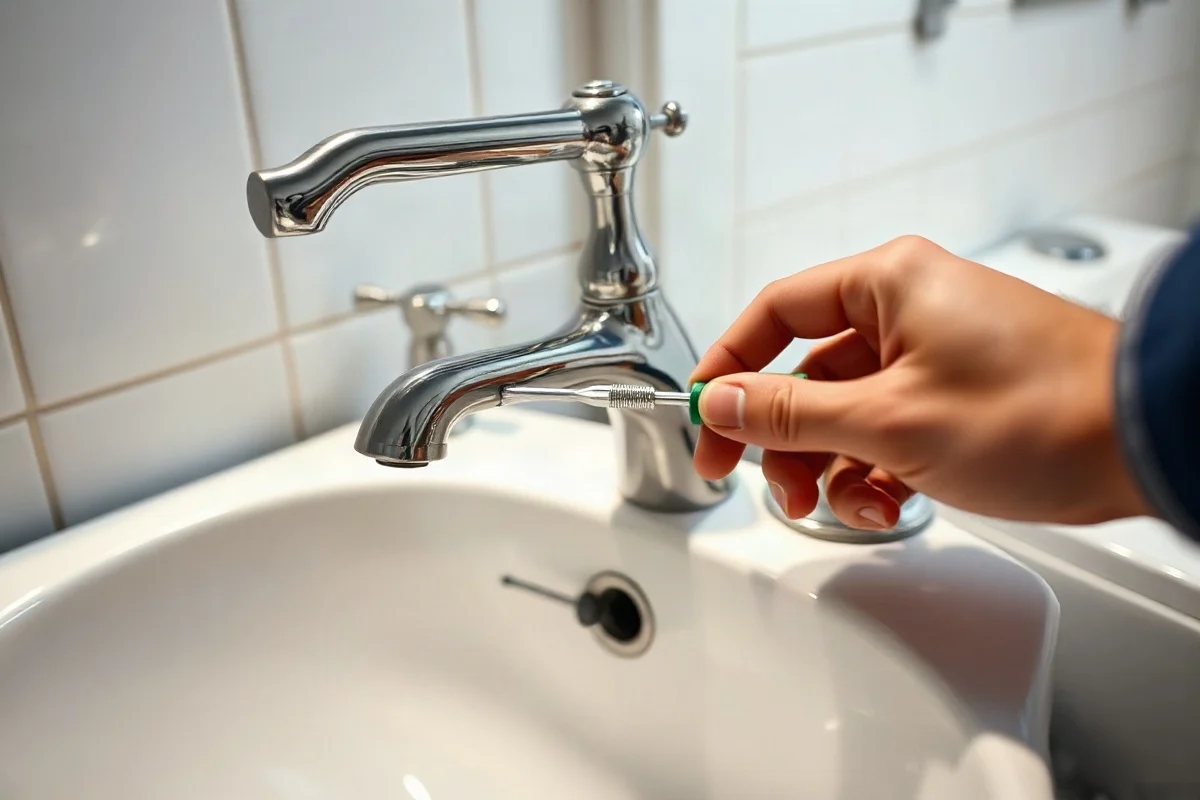
The aerator is the small screened fitting at the end of the spout. Mineral deposits can restrict flow or create an uneven stream. Wrap the aerator with a cloth and carefully remove it with adjustable pliers if needed. Rinse the screen and soak removable parts in an appropriate descaling solution according to the product directions. Do not scratch a finished surface or force an aerator that is seized by corrosion.
4. Tighten an accessible handle
A loose handle may only need its retaining screw tightened. Look for a visible screw or a small decorative cap that can be lifted carefully. Use the correct screwdriver or hex key and tighten gently. Over-tightening can strip the screw, crack the handle, or make the faucet difficult to operate.
5. Inspect the cabinet for moisture
Use a dry paper towel around each connection while the faucet runs. If the towel becomes wet, shut off the affected valve if it operates normally. Place a container under a minor drip and arrange repair promptly. A steady stream, rapidly spreading water, swollen cabinet material, or water near electrical equipment requires immediate caution and qualified help.
How to replace a faucet cartridge or washer
If the faucet drips from the spout and the aerator is clean, an internal valve component may be worn. The exact procedure varies by faucet type, but the general process is similar.
- Shut off the hot and cold water. Open the faucet to release pressure and confirm that flow has stopped.
- Cover the drain. A towel or drain stopper helps prevent screws and clips from disappearing into the sink.
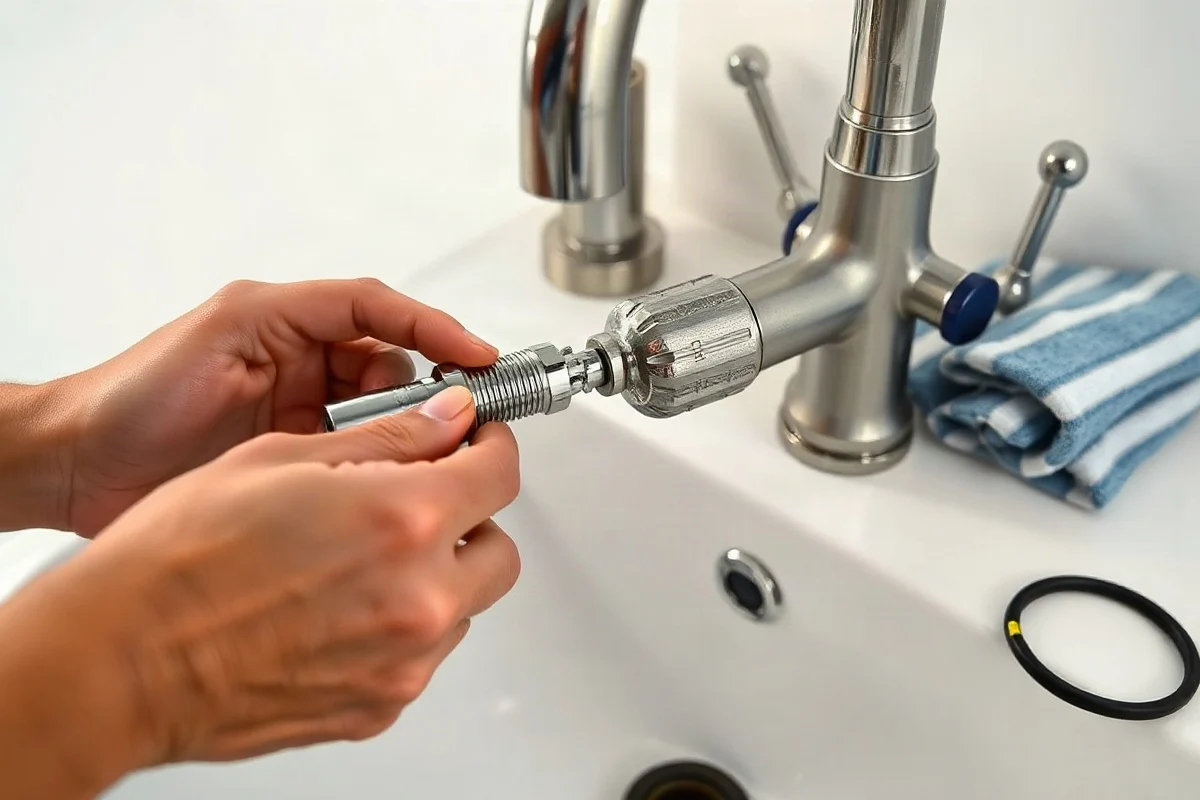
- Remove the handle. Take off the decorative cap if present, then remove the retaining screw. Do not pry aggressively against a finished surface.
- Expose the valve component. Depending on the design, you may find a retaining nut, clip, screw, cartridge, washer, or ceramic disc assembly.
- Photograph the arrangement. Record the position of clips, stops, and seals before removal.
- Remove the old part carefully. Mineral deposits can make a cartridge difficult to extract. If it will not move with reasonable hand pressure and the proper tool, stop rather than twisting the faucet body or damaging the valve housing.
- Clean accessible surfaces. Wipe away loose debris without gouging the valve seat or leaving grit inside the faucet.
- Install the matching replacement. Follow the component manufacturer’s instructions and align any tabs or orientation marks correctly.
- Reassemble and test slowly. Open the shutoff valves gradually while watching for leaks. Run both temperatures and check the faucet again after several minutes.
This type of repair is only suitable when the shutoff valves work, the faucet is accessible, and the internal part can be identified confidently. A seized cartridge, cracked faucet body, corroded supply connection, or damaged shutoff valve is a good reason to stop and contact a professional. More guidance about selecting a repair approach is available in this faucet repair resource.
When replacing the whole faucet makes more sense
Repair is not always the best value or the most reliable solution. Replacement may be more practical when the faucet body is cracked, the finish is badly corroded, several internal parts have failed, or replacement components are unavailable. A faucet that has leaked long enough to damage the sink, countertop, cabinet, or wall may also require related repairs.
Before buying a replacement, measure or record the number and spacing of the sink openings, the available clearance beneath the sink, the supply connection arrangement, and the faucet height you need. A faucet that physically fits may still be awkward if it does not reach the basin properly. If the sink or countertop must be modified, use a qualified installer rather than drilling an unknown material or damaging a stone surface.
Repairs that should be left to a professional
Call a qualified local plumber when the problem extends beyond a simple accessible faucet component. Professional help is especially important when:
- The shutoff valve will not close or begins leaking when operated.
- A supply line, wall connection, or concealed pipe is leaking.
- Water is entering a wall, floor, ceiling, cabinet base, or electrical area.
- The faucet is connected to unusual equipment, filtration, instant-hot-water equipment, or other specialized plumbing.
- The sink or countertop must be cut, removed, or structurally repaired.
- Corrosion prevents safe disassembly.
- There has been major flooding or extensive water damage.
- Water may have contacted electrical wiring or electrical equipment.
For a serious or rapidly spreading leak, shut off the nearest safe water supply if you can do so without touching unsafe equipment, move people away from the area, and seek urgent local assistance. Do not keep testing a failed faucet while water is accumulating.
Repair or replacement cost factors
The final cost depends on the faucet design and the condition of the surrounding plumbing, not simply on the visible drip. Important factors include the replacement part, labor, access beneath the sink, corrosion, seized connections, failed shutoff valves, damaged supply lines, and any cabinet or countertop work.
A basic cleaning or adjustment may be relatively simple, while a cartridge replacement can require specialized tools and time. Replacing the faucet may involve disconnecting old fittings, correcting poor previous installation, or adapting the new faucet to the existing sink openings. Ask for a written description of the work before authorizing it and confirm whether the estimate covers parts, labor, removal of the old fixture, and testing. Avoid relying on an unusually low quote that does not explain what is included. You can also review general plumbing cost factors before comparing estimates.
How to choose the right plumber
Look for a plumbing professional with experience repairing the type of faucet and sink involved. Explain the symptom, where the water appears, whether the shutoff valves work, and whether there is any water damage. Send photos if the company offers that option, but understand that an on-site inspection may still be necessary.
Before work begins, ask what the plumber believes is failing, whether repair or replacement is recommended, what access or parts may be needed, and how unexpected corrosion or damage will be handled. Verify the professional’s business information and any qualifications required in your area rather than assuming every provider follows the same standards. For help comparing local service options, see this guide to hiring a plumber.
Preventing another faucet failure
Clean the aerator when flow becomes uneven, avoid using excessive force on handles, and address small leaks before cabinet materials swell or connections corrode. Do not hang heavy items from a pull-down faucet hose, and avoid harsh cleaners that can damage the finish or seals. Periodically look beneath the sink for moisture, mineral deposits, rust, or movement at the mounting hardware.
The safest repair is the one that matches your skill level and the condition of the plumbing. A clean aerator, loose handle, or clearly identified replaceable component may be manageable with patience. If water is hidden, flooding, reaching electrical equipment, or coming from a damaged connection, stop the DIY repair and contact a qualified local plumber.
Comments
0No comments yet. Be the first to share a helpful note or question.
Leave a Comment
Your email address will not be published. Comments are reviewed before appearing on the site.