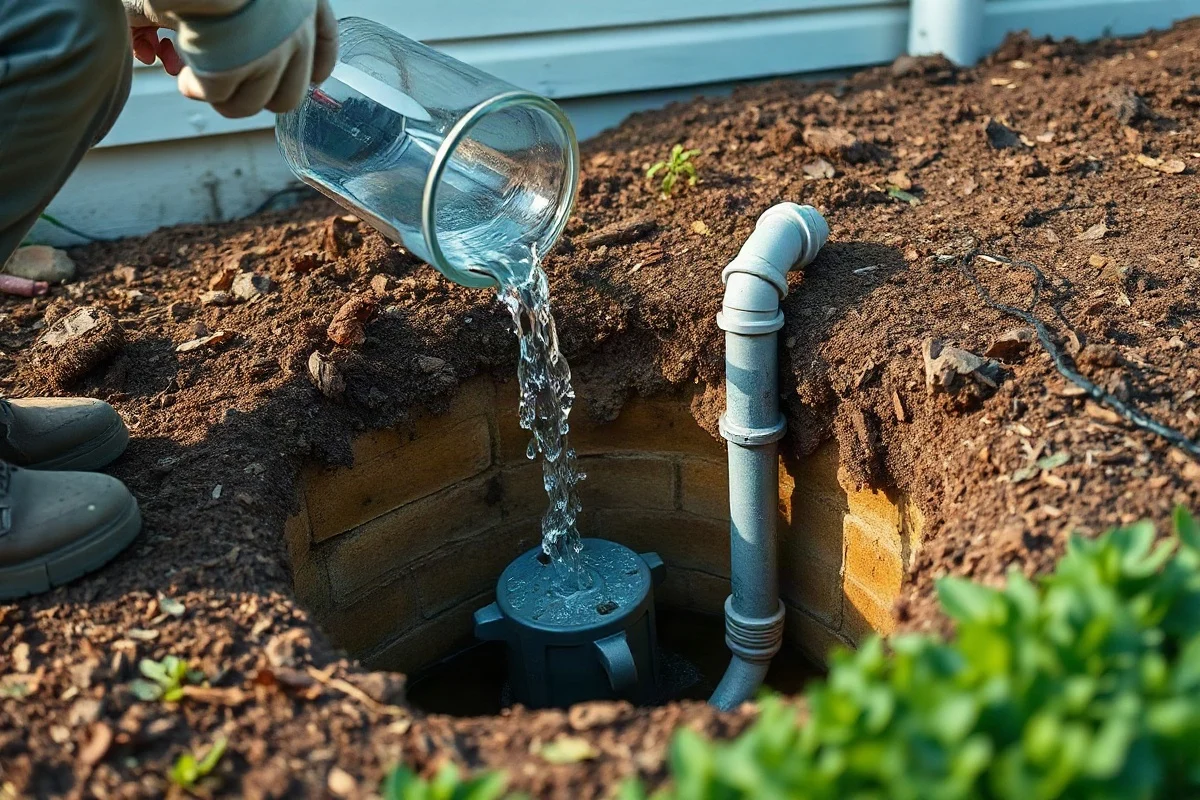
To test a sump pump before storm season, safely add water to the pit until the float or pressure switch activates the pump, then confirm that it starts, removes the water, shuts off, and sends discharge water away from the foundation. A visual inspection and a test of the backup system can reveal problems before heavy rain creates a basement emergency.
Why Test a Sump Pump Before Storm Season?
A sump pump may sit unused for long periods, especially during a dry season. During that time, the float switch can stick, the pump can collect debris, the discharge pipe can become blocked, or the electrical connection can develop a problem. A pump that worked during the last storm is not automatically ready for the next one.
Testing before severe weather gives you time to correct simple issues and arrange qualified help if the pump has a mechanical, electrical, or drainage problem. It also helps you understand how the system normally sounds and behaves, making unusual operation easier to recognize later.
Safety Steps Before You Begin
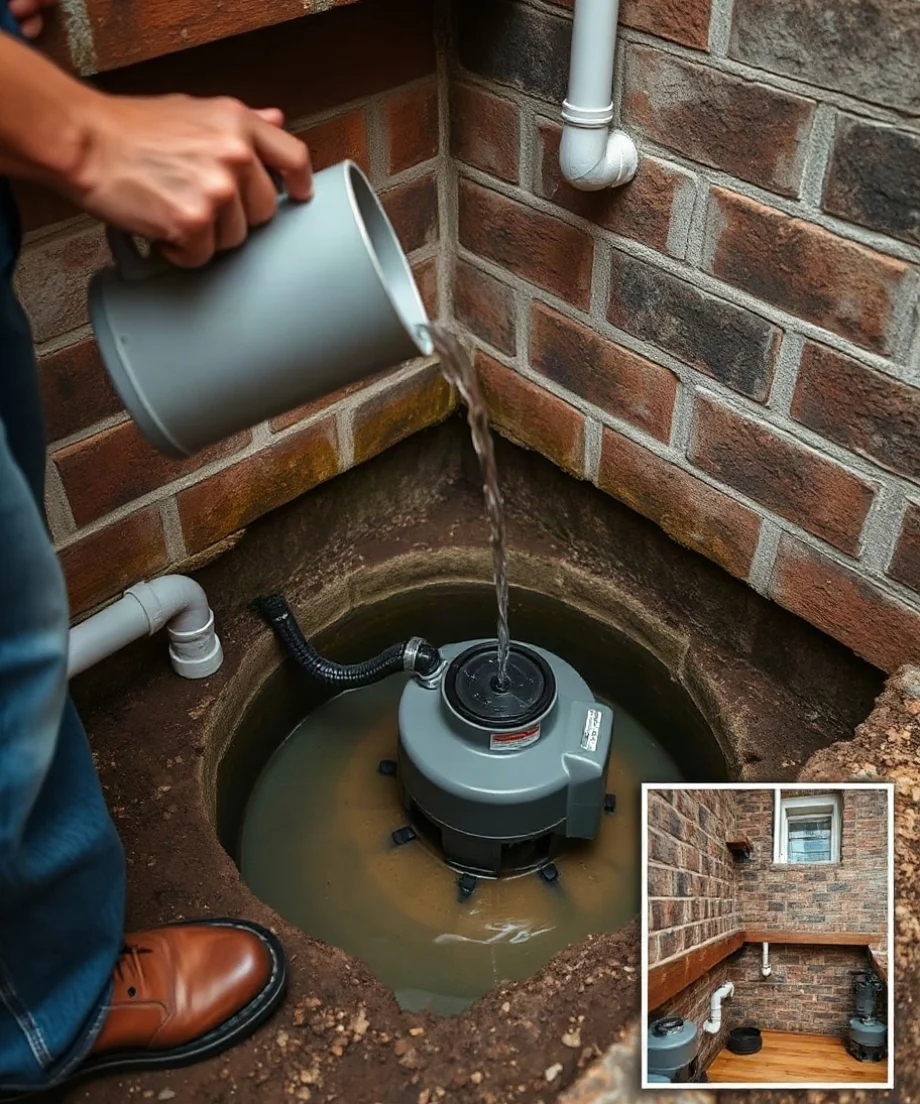
Most homeowners can perform a careful visual inspection and a basic water test, but safety comes first. Do not reach into standing water near electrical equipment. If the pit area is flooded, the pump cord or outlet is damaged, or water may have contacted electrical components, stop and contact a qualified local professional.
- Keep children and pets away from the sump pit.
- Wear gloves if you may handle dirty water, sediment, or debris.
- Do not remove electrical covers or attempt to repair wiring.
- Never lift or carry a pump by its power cord.
- Do not unplug a pump repeatedly if doing so could allow water to rise into the basement.
- Stop if sewage, chemical contamination, or unsafe flooding is present.
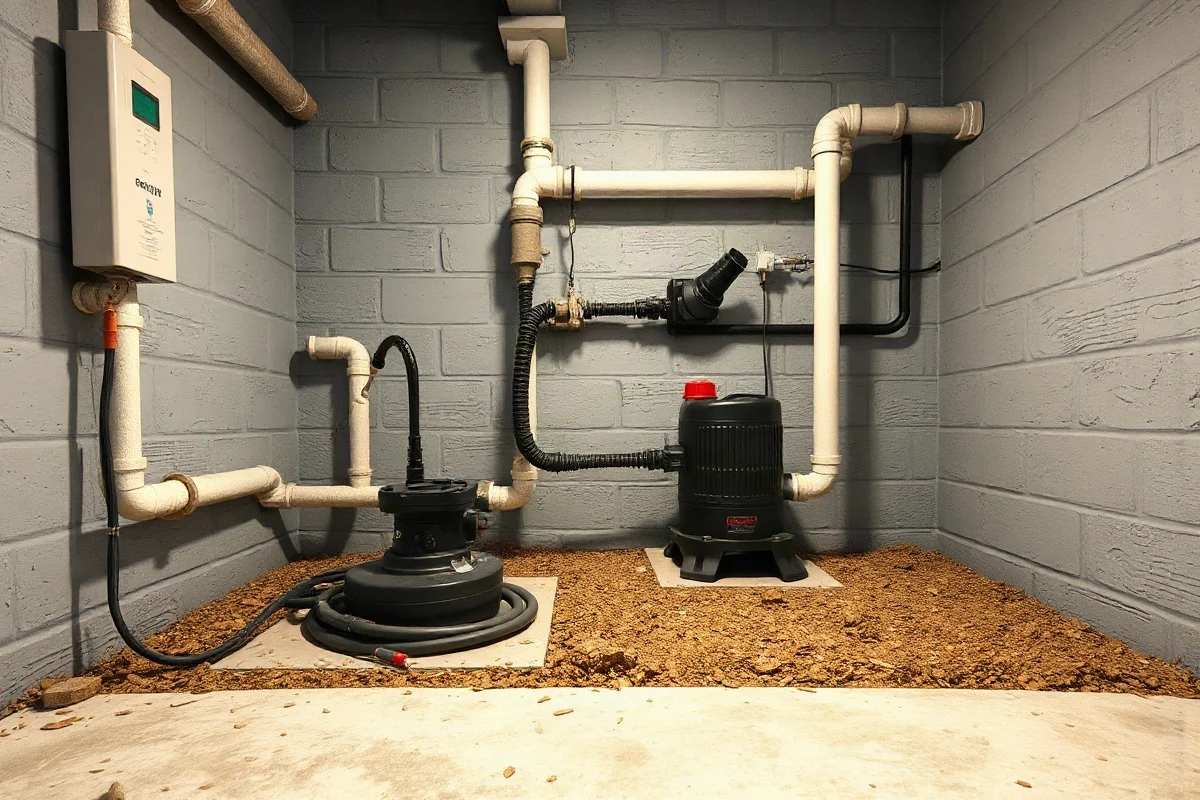
Before testing, locate the pump’s power cord, outlet, discharge pipe, check valve, and any battery or water-powered backup equipment. If the system has an alarm, controller, or backup battery, identify its normal indicators without opening electrical enclosures.
How to Test the Main Sump Pump
1. Inspect the pit and pump
Remove the sump pit cover only if it can be removed safely and without disturbing sealed connections. Look for excessive sediment, stones, plastic, or other debris around the pump. The pump should sit upright and remain stable. A tilted pump can interfere with the float switch or place stress on the discharge connection.
Check the visible discharge pipe for cracks, loose joints, or water stains. Outside the home, make sure the discharge outlet is not covered by soil, leaves, ice, mulch, or other material. The outlet should move water away from the foundation rather than immediately returning it to the same area.
2. Listen for unusual conditions
With the system connected to power, listen for humming, rattling, grinding, or repeated short cycling. A brief sound during operation can be normal for the equipment, but a sudden change from its usual behavior deserves attention. A pump that runs continuously without lowering the water level may have a blocked discharge, a failing pump, or more incoming water than the system can handle.
3. Add water gradually
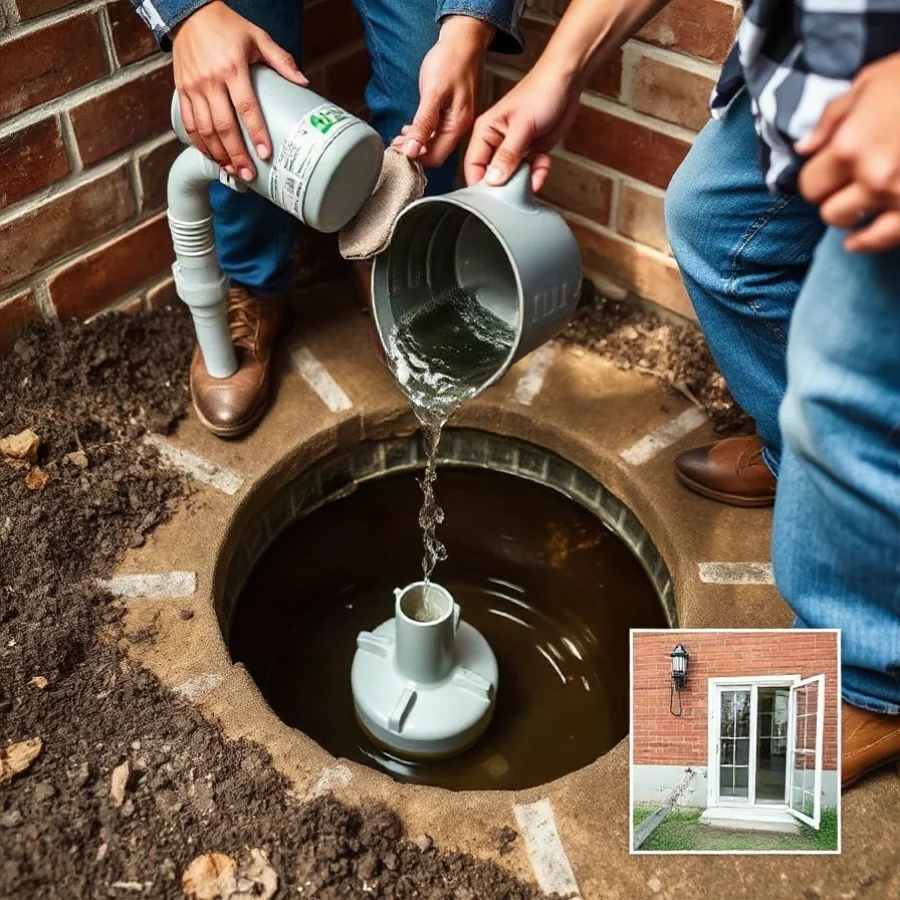
Use a clean bucket or hose to add water to the pit slowly. Do not add water faster than the discharge system can handle, and stop if the water rises unexpectedly. The float should rise with the water and activate the pump, although the exact activation method varies by model.
Watch for these results:
- The pump starts automatically when the water reaches its normal activation level.
- Water flows through the discharge pipe.
- The water level drops steadily.
- The pump turns off after the water falls to its normal shutoff level.
- The pump does not restart repeatedly without a clear rise in water.
Run one or more controlled cycles rather than continuously operating the pump for an extended period. If the pump fails to start, disconnect power only if doing so is safe and the water level is not rising. Then contact a qualified professional if the cause is not obvious and low-risk.
Warning Signs During the Test
Several symptoms point to different possible causes. A silent pump may have no power, a tripped protective device, a failed switch, or a burned-out motor. A pump that hums but does not move water may be jammed or unable to overcome a discharge problem. Do not place your hand into the pit to clear a suspected obstruction while the pump is connected to power.
If the float does not move freely, debris or a tight pit may be interfering with it. You may remove visible debris from around the float when the equipment is safely disconnected and the area is dry, but do not bend, cut, or alter the switch. A pump that runs but moves little water may have a blocked outlet, a damaged impeller, a loose connection, or a discharge arrangement that needs professional evaluation.
Repeated cycling can result from a small pit, an incorrectly positioned float, water flowing back through the discharge line, or unusually high groundwater. Frequent cycling can shorten equipment life, so arrange an inspection if it continues after basic checks.
Check the Discharge Line Outside
A working pump is only useful if the discharge line carries water away from the home. During the test, walk outside and confirm that water exits the pipe. Look for pooling near the foundation, a disconnected extension, or a crushed section of pipe. Clear leaves and loose debris from the outlet, but do not excavate, reroute, or modify buried drainage without understanding where the line leads.
Cold weather can create another problem if water freezes in an exposed discharge line. If you suspect an ice blockage, do not use an open flame or unsafe heating method. A qualified local professional can assess the discharge design and recommend a safe correction suited to the property and climate.
Test the Backup Sump Pump or Battery
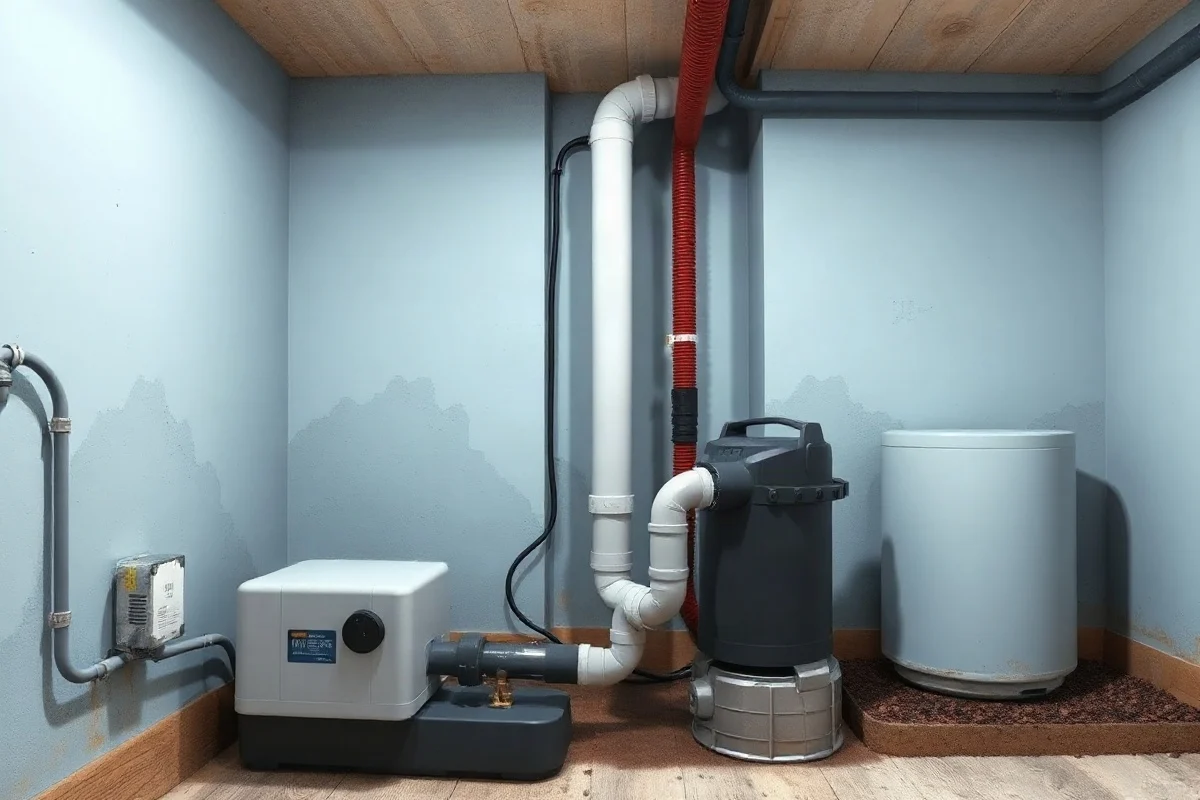
If your home has a battery backup, inspect the controller for warning lights, alarms, or a low-battery message. Check the battery case for swelling, leakage, corrosion, or unusual heat. Do not handle a damaged battery or open a sealed battery enclosure. Contact a qualified technician for unsafe conditions.
Follow the manufacturer’s instructions for testing the backup system. Some systems have a test button, while others activate when the main pump is disconnected or when water reaches a separate float. Do not disable the primary pump or create a rising-water condition unless you can monitor the pit continuously and restore the system immediately.
If the home uses a water-powered backup, test it according to its instructions and confirm that its discharge path is open. Because backup systems may involve plumbing connections and local installation requirements, a professional should handle leaks, modifications, or uncertain connections.
What Homeowners Can Safely Fix
Low-risk maintenance may include removing loose debris from the pit when power is safely disconnected, clearing leaves from an accessible outdoor discharge opening, confirming that the pump is upright, and replacing a clearly worn external hose or clamp when the replacement is straightforward and compatible. Always follow the pump manufacturer’s instructions.
Do not attempt to repair a motor, alter electrical wiring, bypass a float switch, open a control box, or change a hardwired connection. Electrical work around water can cause shock, fire, or equipment damage. A qualified local professional should diagnose those problems.
Repair or Replace the Pump?
Repair may be reasonable when the pump has a simple, identifiable issue such as debris affecting the float or a damaged accessible discharge component. Professional service is more appropriate when the motor is noisy, the pump cannot keep up with normal inflow, the switch fails intermittently, or the system has repeatedly stopped during storms.
Replacement may make sense when the pump is unreliable, badly corroded, repeatedly repaired, or no longer suited to the basement’s water conditions. The correct choice depends on pit size, pump capacity, discharge layout, electrical supply, backup needs, and the manufacturer’s requirements. A plumber or qualified sump-pump technician can evaluate the complete system rather than replacing only the visible pump.
Cost Factors to Consider
The total cost of sump-pump service depends on the problem and the work required. Factors can include the pump type and capacity, labor, access to the pit, discharge-pipe repairs, check-valve replacement, electrical diagnosis, battery-backup service, water damage, and any changes needed to improve drainage. Emergency work during active flooding may involve different service conditions than planned maintenance.
Ask for a written explanation of the recommended repair or replacement, what parts are included, whether testing is included, and what conditions could change the estimate. Avoid choosing solely on the lowest initial quote if the proposal does not address the discharge line, float operation, backup system, or cause of repeated failure. For general plumbing budgeting guidance, see our plumbing costs guide.
When to Call a Qualified Local Professional
Call for qualified help if the pump will not start, the outlet or wiring appears damaged, the pit is filling rapidly, the pump runs without removing water, the discharge line is blocked underground, or water has entered areas with electrical equipment. Professional help is also appropriate for major basement flooding, sewage exposure, concealed leaks, hardwired electrical work, and any installation that may involve local requirements.
When choosing a contractor, ask whether they regularly service sump pumps, whether they will inspect the discharge path and backup system, and whether the written proposal identifies the cause of the problem. Confirm that the company uses appropriately qualified workers for plumbing and electrical portions of the work. You can also review our guidance on hiring a plumber before scheduling service.
Make Testing Part of Storm Preparation
Test the sump pump before storm season, after major repairs, and periodically during periods when heavy rain is likely. Keep the pit accessible, avoid storing items where they could block the pump or discharge equipment, and learn where the system receives power. If your basement has valuable contents or a history of flooding, discuss backup and water-management options with a qualified local professional before the next major storm.
A short, controlled test cannot guarantee that a sump system will handle every storm, but it can expose common failures early. The most important result is not simply hearing the motor run; it is confirming that the pump activates, removes water, shuts off correctly, and sends that water safely away from the home.

Comments
0No comments yet. Be the first to share a helpful note or question.
Leave a Comment
Your email address will not be published. Comments are reviewed before appearing on the site.