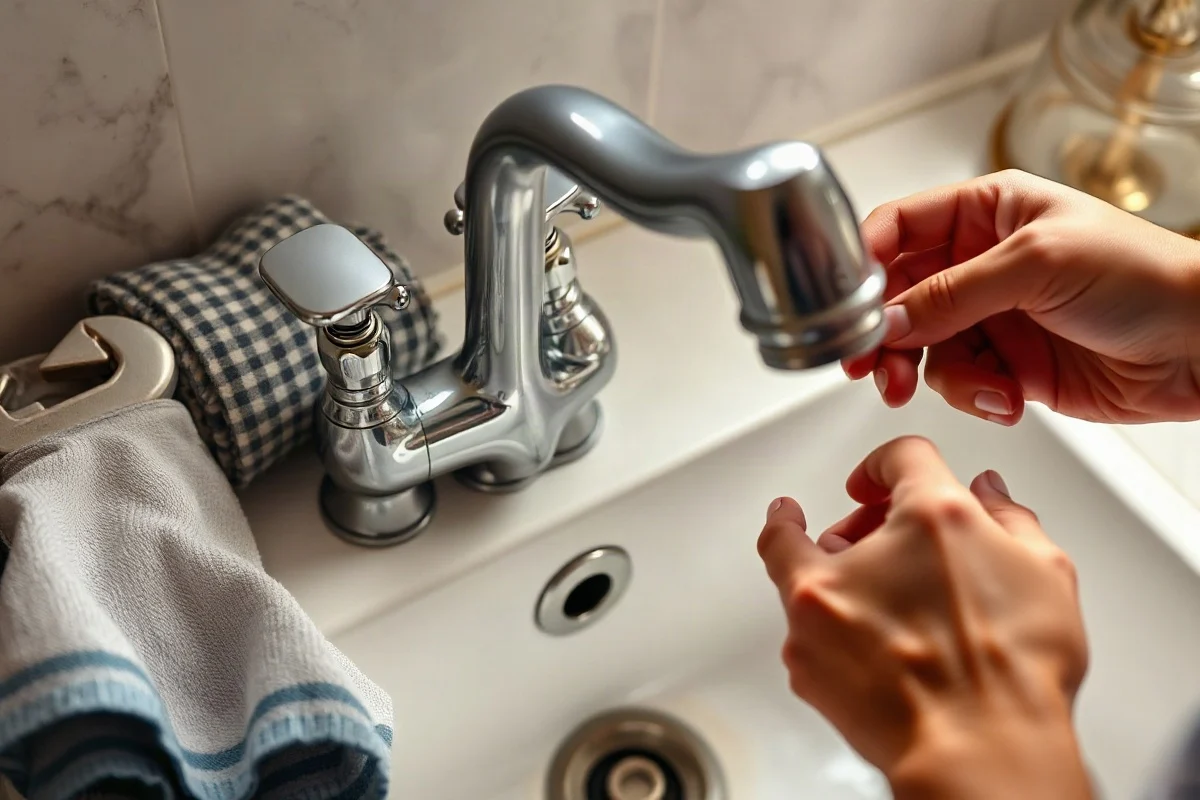
Replacing a worn washer can stop a dripping kitchen sink faucet, especially on an older compression-style faucet with separate hot and cold handles. First shut off the water supply, identify where the water is coming from, and match the replacement washer to the removed part. A washer replacement is usually a manageable homeowner repair when the shutoff valves work, the faucet is accessible, and there is no sign of a hidden leak or damaged water connection. Cartridge, ceramic-disc, and ball-style faucets may need a cartridge, seal, O-ring, or other repair part instead of a simple washer.
What a Faucet Washer Does
A faucet washer is a small flexible or molded seal that presses against a valve seat inside the faucet. When the handle is closed, the washer helps stop water from passing through the faucet. Over time, pressure, mineral deposits, heat, and repeated use can wear the washer down. A damaged washer may become hardened, cracked, flattened, or loose.
Traditional compression faucets commonly use replaceable rubber washers. Many newer single-handle faucets use cartridges, ceramic discs, or ball assemblies. Those designs may contain several seals, but replacing only a generic washer will not necessarily correct the problem. Knowing the faucet type before buying parts can prevent an unnecessary disassembly or a second trip to the store.
Signs the Faucet Washer May Be Worn
A steady drip from the spout after the handle is fully closed is the most familiar symptom. The hot or cold side may drip independently, so observe which handle affects the flow. If the drip stops when the cold handle is closed but continues when the hot handle is closed, the hot-side valve may need attention.
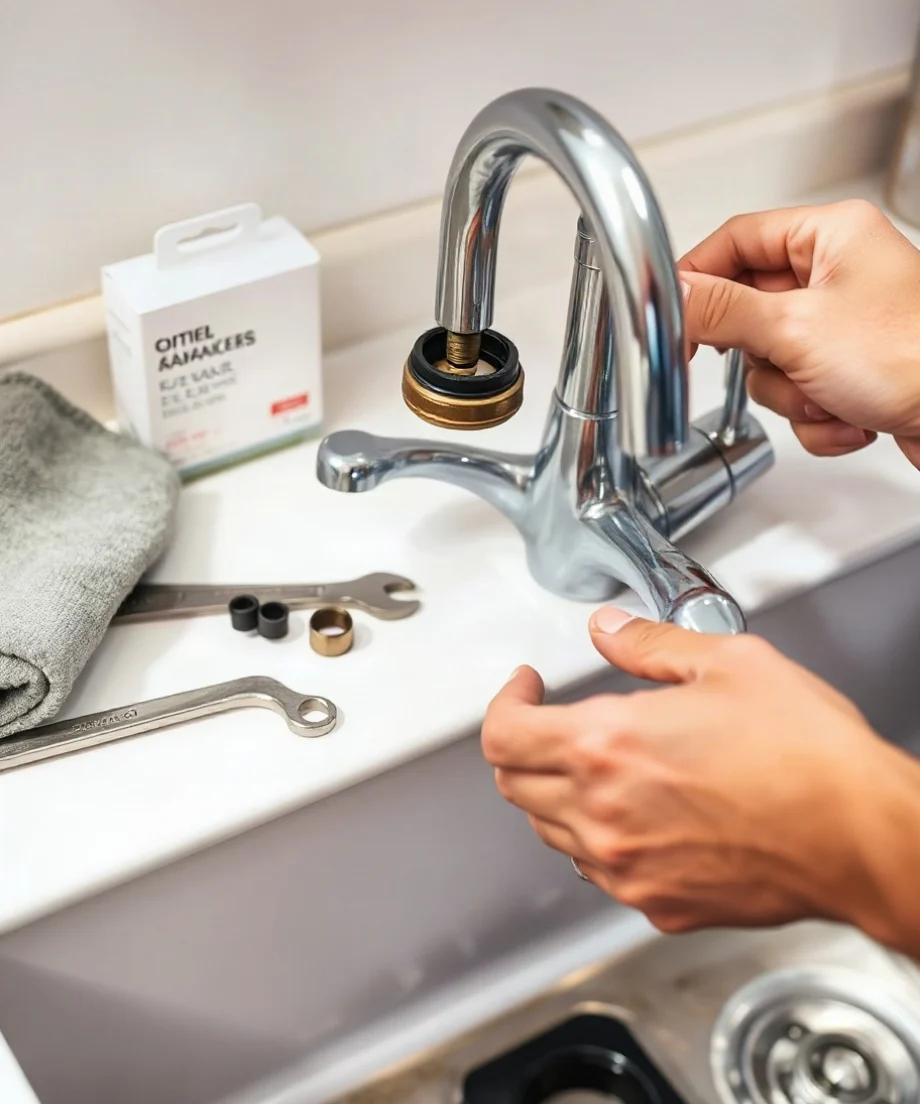
Other symptoms can point to a related seal or valve problem:
- Water continues to run briefly after the handle is closed.
- The handle feels loose, difficult to turn, or unusually stiff.
- Water leaks around the handle rather than from the spout.
- The faucet leaks at the base or where the spout joins the body.
- The faucet makes a squealing, chattering, or vibrating sound.
- The drip returns soon after a washer has been replaced.
A spout drip often involves the valve washer or cartridge. Water around the handle may involve a packing seal or O-ring. A leak at the base may come from a spout seal, faucet-body connection, or a loose mounting assembly. These symptoms can overlap, so do not assume every faucet leak is caused by the same washer.
Safe Checks Before Taking the Faucet Apart
Begin with low-risk observations. Dry the faucet with a towel, then run the water briefly and turn it off. Watch the spout, handle, faucet base, and connections below the sink. Place a dry paper towel around the supply connections and shutoff valves to reveal small drips.
Check whether the leak occurs only when the faucet is running. Water that appears underneath the sink during use may be traveling from the faucet base, a supply connection, a spray hose, or the drain assembly. That is a different problem from a washer leaking through the spout.
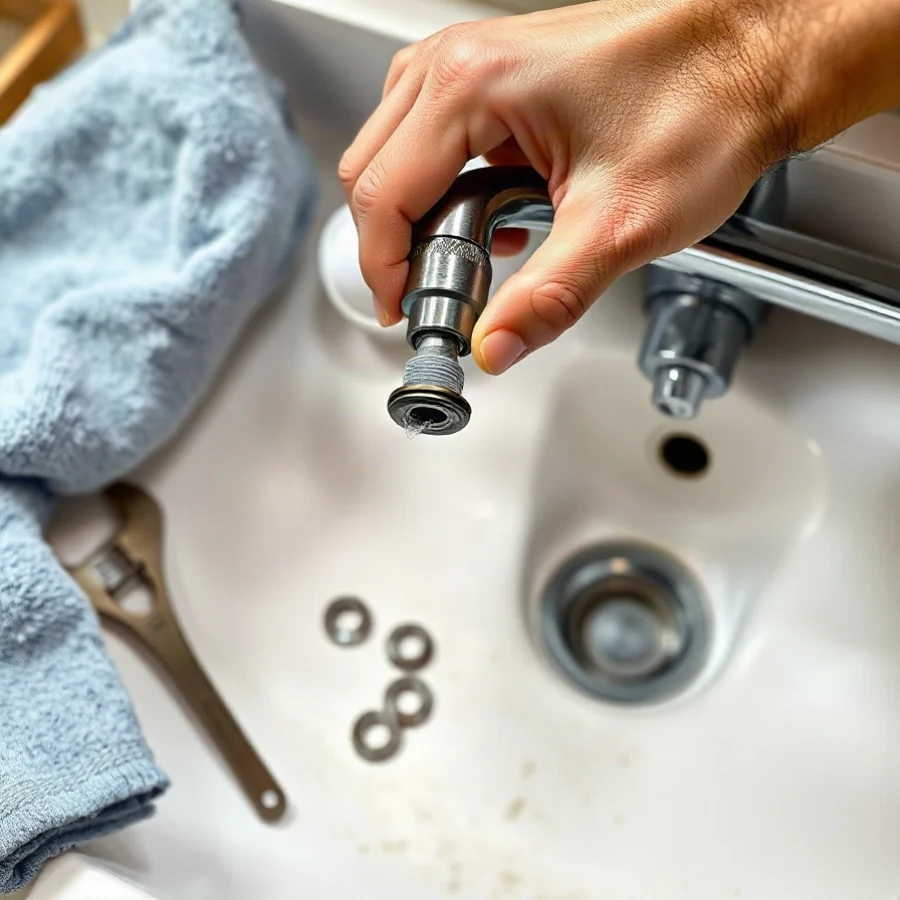
Before disassembly, clear the cabinet under the sink and place a container or towel below the work area. Confirm that the hot and cold shutoff valves turn without excessive force. Do not force a stuck valve. If a valve will not close, leaks from its stem, or begins leaking after you touch it, stop and arrange for a qualified local plumber. An inoperable shutoff can make even a small faucet repair difficult to control.
How to Replace a Washer on a Compression Faucet
The following process applies to many older two-handle compression faucets. The exact screw, cap, retaining nut, and washer arrangement varies by manufacturer, so keep removed parts in order and avoid forcing components.
1. Shut off the water and protect the drain
Close the hot and cold shutoff valves under the sink by turning them clockwise only until they stop normally. Open the faucet handles to release pressure and confirm that water has stopped. Cover the drain opening or place a stopper in it so a small screw does not disappear down the drain.
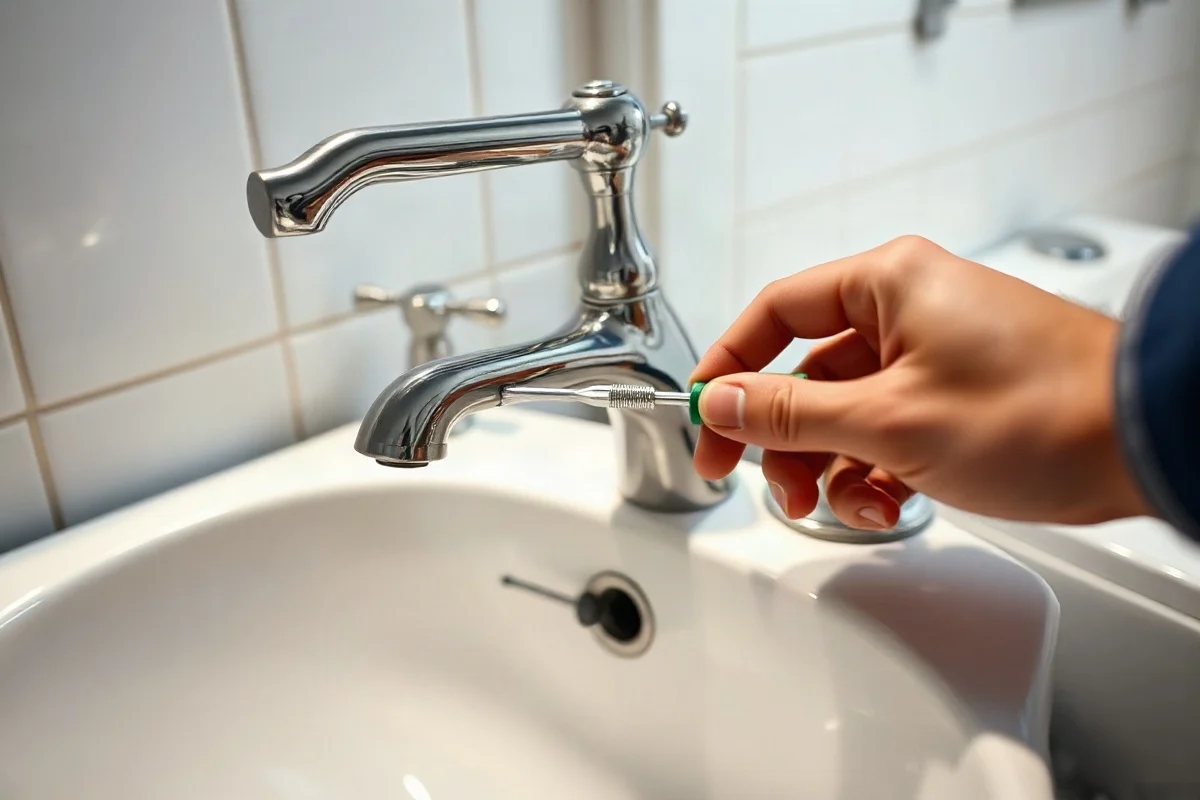
2. Remove the handle
Look for a decorative cap, screw, or set screw securing the handle. A small flat screwdriver may lift a cap carefully, while an appropriate screwdriver or hex key may remove the fastener. Protect the finish with a cloth and do not pry against a visible surface more than necessary. If the handle is stuck because of mineral buildup, gentle movement may help, but heavy force can damage the stem or faucet body.
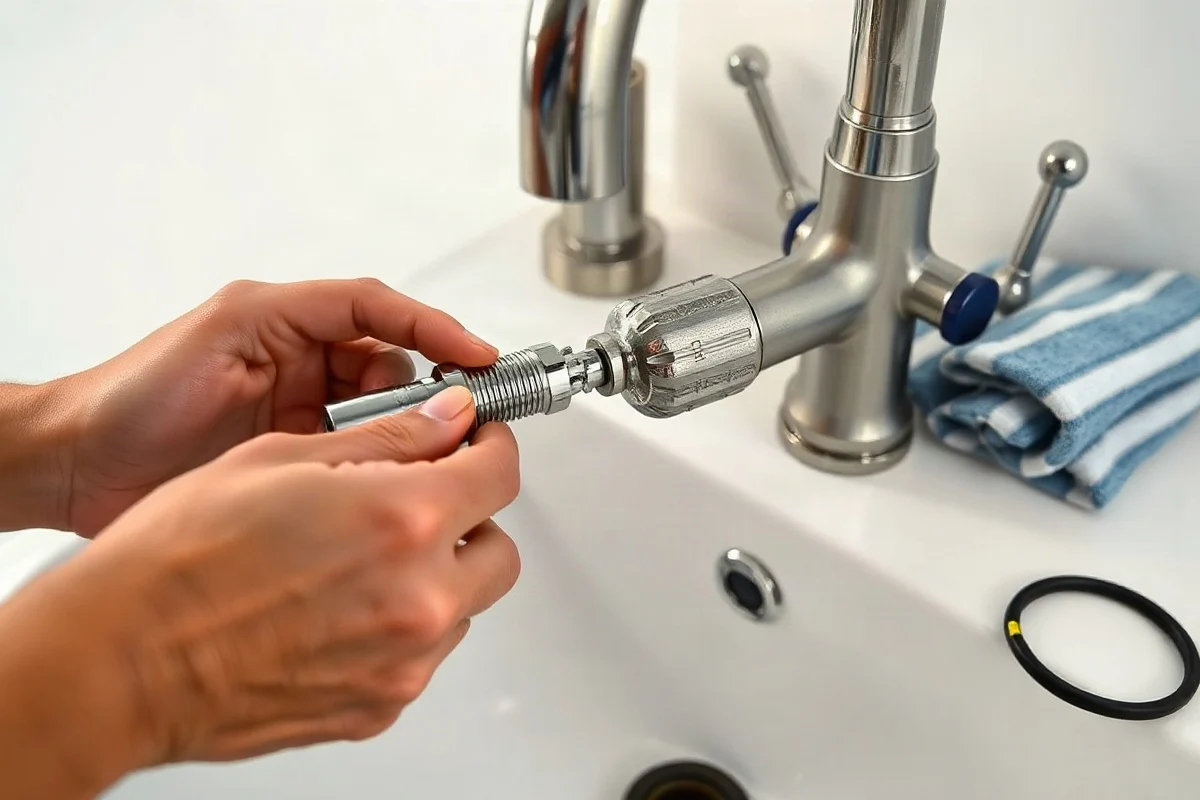
3. Remove the valve stem assembly
Once the handle is off, remove the escutcheon or retaining nut as the design allows. Use a correctly sized wrench and protect finished surfaces. Turn the valve stem assembly counterclockwise to remove it, keeping track of washers, screws, spacers, and decorative parts.
If the assembly will not move with reasonable hand-tool pressure, stop rather than twisting the faucet body or damaging the plumbing below the counter. Corrosion, cross-threading, or a seized valve may require professional tools and experience.
4. Inspect the old washer and valve seat
The washer is often held to the bottom of the stem with a small screw. Remove the screw and compare the old washer with replacement parts. Look for cracks, flattening, hardening, or a deep groove. Also inspect the valve seat inside the faucet body. Mineral deposits or a rough, damaged seat can prevent a new washer from sealing.
Clean loose debris gently with a soft cloth. Do not aggressively scrape the sealing surface or use a tool that could scratch it. If the seat is badly corroded, damaged, or difficult to reach, a new washer alone may not provide a lasting repair.
5. Install the replacement
Use a washer that matches the original diameter, thickness, shape, and material as closely as possible. Install it in the same orientation and secure it with the original screw if that screw is in good condition. Do not overtighten the screw; excessive force can deform the washer or damage the stem.
Reinstall the stem assembly, retaining nut, escutcheon, and handle in reverse order. Tighten connections firmly but avoid excessive force. Reopen the shutoff valves slowly while watching for leaks.
6. Test the repair
Turn the faucet on and off several times. Check the spout, handle, faucet base, and cabinet connections with a dry towel. Leave the cabinet accessible for a short observation period and check again after normal use. If the faucet still drips, the washer may be the wrong size, the valve seat may be damaged, or another internal component may be worn.
When a Washer Replacement Is Not the Right Repair
A washer repair may not apply to a single-handle cartridge, ceramic-disc, or ball faucet. These faucets can leak because of a worn cartridge, damaged O-rings, blocked inlet screens, worn springs, or a faulty internal assembly. Replacing the complete cartridge or valve assembly may be more practical than searching for an individual seal.
Replacement is also worth considering when the faucet body is cracked, severely corroded, difficult to find parts for, or repeatedly develops leaks. If the faucet is loose at the sink, check the mounting hardware only if it is readily accessible and the water connections remain undisturbed. A loose faucet can stress supply lines and create leaks below the counter.
For broader guidance, see this faucet repair guide. If the problem involves a supply line, shutoff valve, or leak inside the cabinet, the repair may fall under leak repair rather than a simple washer replacement.
When to Call a Qualified Local Plumber
Use professional help when you cannot shut off the water, a valve or connection begins leaking, the faucet is seized in place, or water is entering the cabinet or wall. A concealed leak, significant flooding, contaminated water, or damage to nearby electrical equipment should not be treated as a routine DIY project. If water is near an electrical outlet or appliance, avoid contact with the water and seek appropriate local assistance.
Call a qualified plumber if the new washer does not stop the drip, the faucet body or valve seat is damaged, supply lines are corroded, or the repair requires disturbing fixed piping. A professional can identify the faucet design, locate the actual source of the leak, and determine whether repair or replacement is more sensible. For urgent water loss, use an emergency plumber when the situation cannot be safely contained.
What Affects the Cost of the Repair
The final cost depends on more than the price of a washer. Important factors include the faucet design, availability of replacement parts, accessibility under the sink, condition of the shutoff valves, labor time, and whether the valve seat, cartridge, supply line, or faucet body also needs service. A simple washer repair can become a larger job if corrosion prevents disassembly or if the faucet has damaged connections.
Before approving work, ask what component is failing, whether the repair includes testing for leaks, and whether repair or faucet replacement is recommended. Request a clear written estimate when possible and ask whether additional work requires your approval. Avoid choosing a provider solely because of an unusually low initial quote; the scope of work and condition of the plumbing matter.
How to Choose the Right Plumber
Look for a local professional with experience repairing faucets and kitchen sink connections. Describe the faucet style, leak location, whether the water can be shut off, and any previous repair attempts. Ask what information or photos would help with preparation. Verify the provider's current business details and any licensing or insurance information required in your area rather than relying on general assumptions.
A reliable plumber should explain the likely cause, distinguish a faucet repair from a supply or drain problem, and tell you before expanding the scope of work. For more practical hiring questions, review this guide to hiring a plumber.
A worn washer is a reasonable DIY repair when the faucet is a compatible compression design and the shutoff valves operate safely. Work slowly, keep small parts organized, and test every connection after restoring water. If the faucet uses a different internal design or the repair exposes corrosion, damaged valves, hidden leaks, or uncontrolled water, stop and use qualified local help instead of forcing the repair.
Comments
0No comments yet. Be the first to share a helpful note or question.
Leave a Comment
Your email address will not be published. Comments are reviewed before appearing on the site.