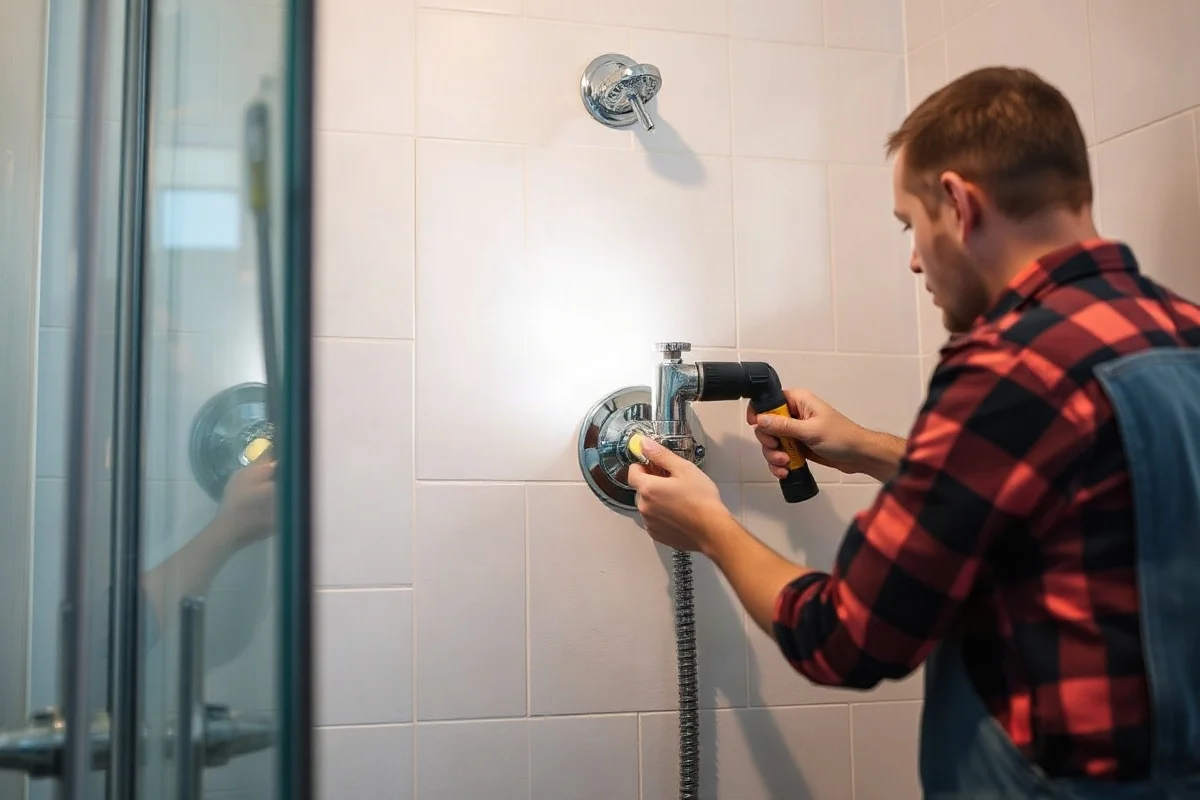
A leaking shower valve usually needs a worn cartridge, stem, seal, or valve connection repaired or replaced. If water drips from the showerhead while the valve is fully off, the cartridge or internal seals are common suspects. If water appears around the trim plate or inside the wall, the problem may involve a supply connection or the valve body itself. Simple observations are safe for most homeowners, but opening the valve, cutting into a wall, or repairing concealed plumbing is usually best left to a qualified local plumber.
What a leaking shower valve can look like
Shower valve leaks do not all appear in the same place. Identifying the location and timing of the water can help a plumber narrow down the cause and may prevent unnecessary replacement.
Water continues to drip from the showerhead
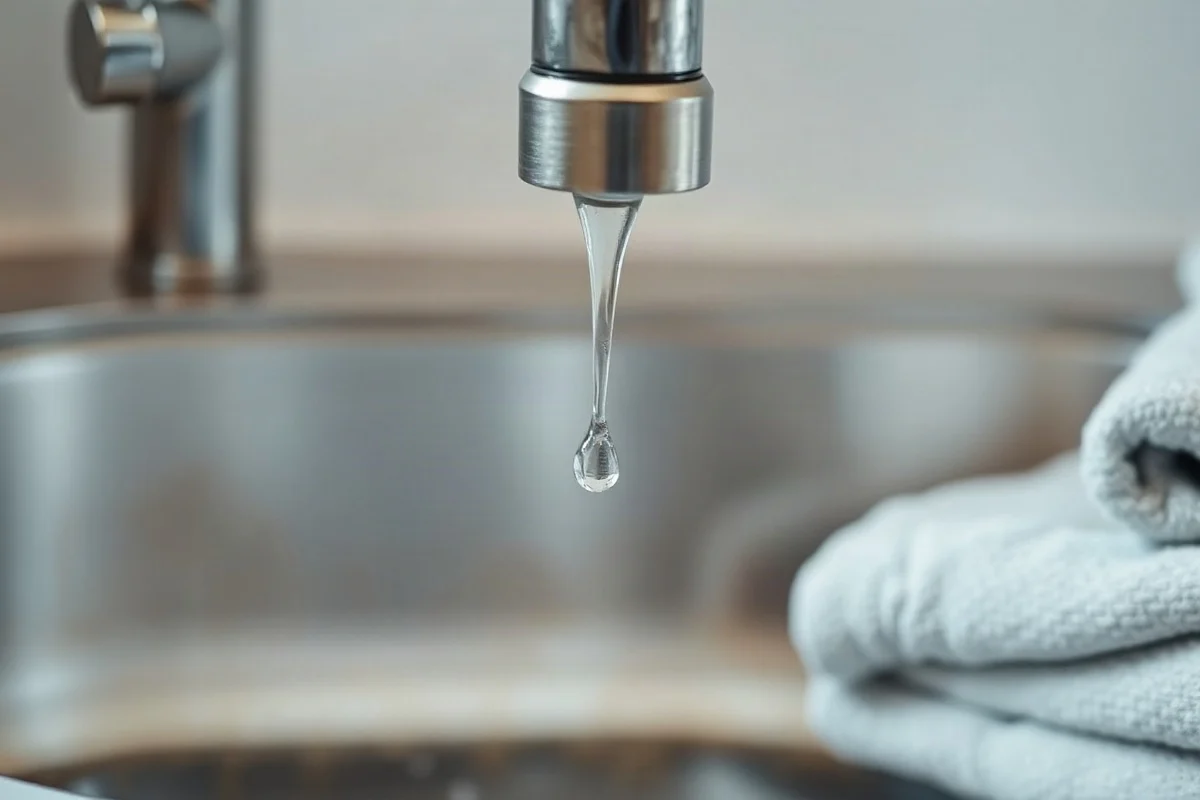
A few drops immediately after a shower can be normal as water drains from the shower arm and head. A steady drip that continues well after use is different. It often indicates that the valve is not fully stopping the water supply. In a pressure-balancing or thermostatic valve, a worn cartridge, damaged O-rings, mineral buildup, or internal wear may prevent a complete shutoff.
Water leaks around the handle
Water that appears near the handle may come from a worn stem seal, cartridge seal, escutcheon gasket, or loose trim component. Because the handle area is close to the wall opening, water can sometimes travel behind the trim before it becomes visible.
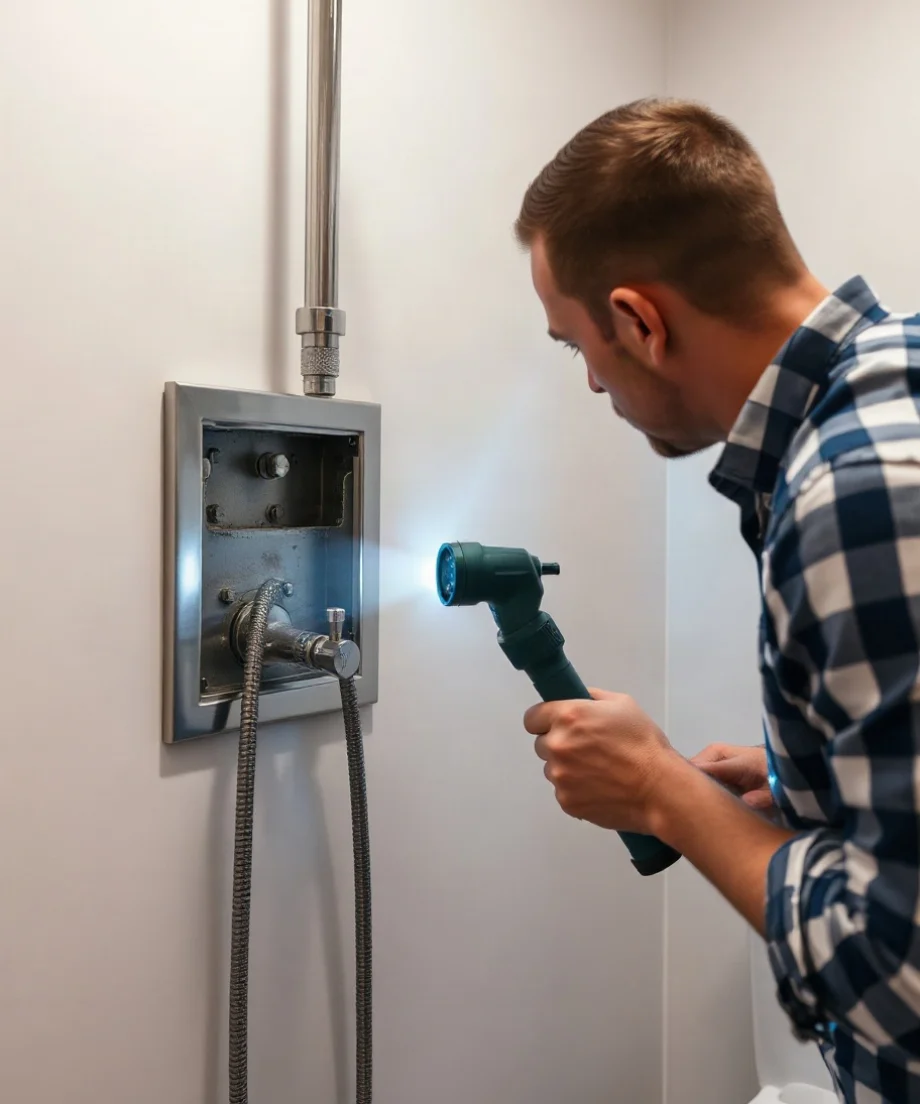
Water appears behind the trim plate
If water collects behind the decorative plate, do not assume that tightening the handle will solve the problem. The leak could involve the cartridge, valve body, threaded connection, soldered joint, or a supply pipe inside the wall. A concealed leak can damage framing, drywall, insulation, or flooring before the symptoms become severe.
The leak occurs only when the shower is running
A leak that appears only during use may involve the shower arm, tub spout, diverter, trim seal, or a connection that is exposed to pressure while the fixture operates. Water on the bathroom floor may also come from the shower door, curtain, drain, or grout rather than the valve. Trace the water carefully before assuming the valve is responsible.
Likely causes of a leaking shower valve
Shower valves contain moving and sealing parts that can wear over time. The exact design varies by manufacturer and model, so identifying the valve brand and cartridge type can be important before ordering parts.
- Worn cartridge: Single-handle shower valves commonly use a cartridge that controls temperature and flow. Internal seals can wear, and mineral deposits can interfere with movement.
- Damaged valve stem or seals: Some older or two-handle designs use stems with washers, seats, and packing seals. A worn seal may allow water to pass even when the handle is closed.
- Mineral buildup: Deposits can make a handle difficult to turn and can prevent internal surfaces from sealing correctly.
- Loose or damaged connections: Connections near the valve body, shower arm, or tub spout may leak when water pressure changes.
- Corrosion or a damaged valve body: If the valve body is cracked, severely corroded, or no longer compatible with available repair parts, replacement may be more practical.
- Improper installation or movement: A valve that was not adequately supported or sealed can place stress on connected piping and trim.
Safe checks a homeowner can perform
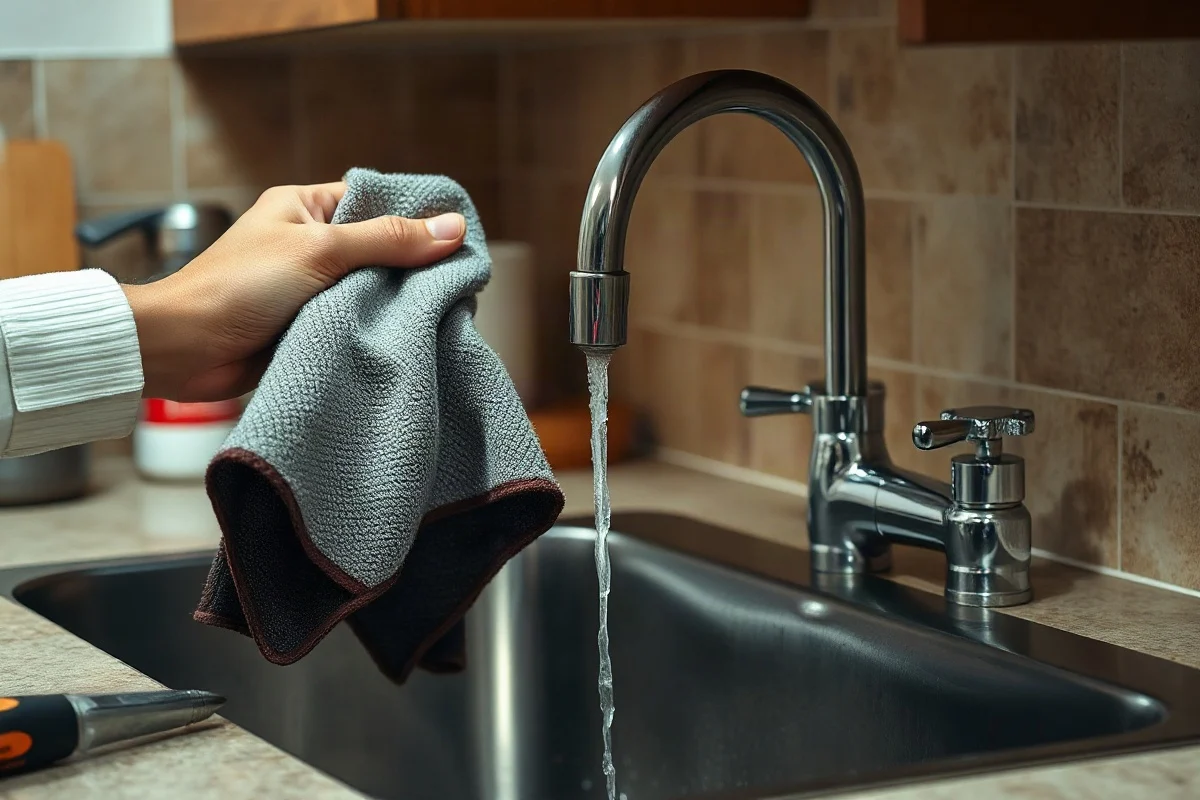
Start with low-risk observations rather than disassembling the valve. Dry the visible trim and surrounding wall with a towel, then operate the shower briefly while watching where water first appears. A flashlight can help, but avoid inserting tools into the wall opening.
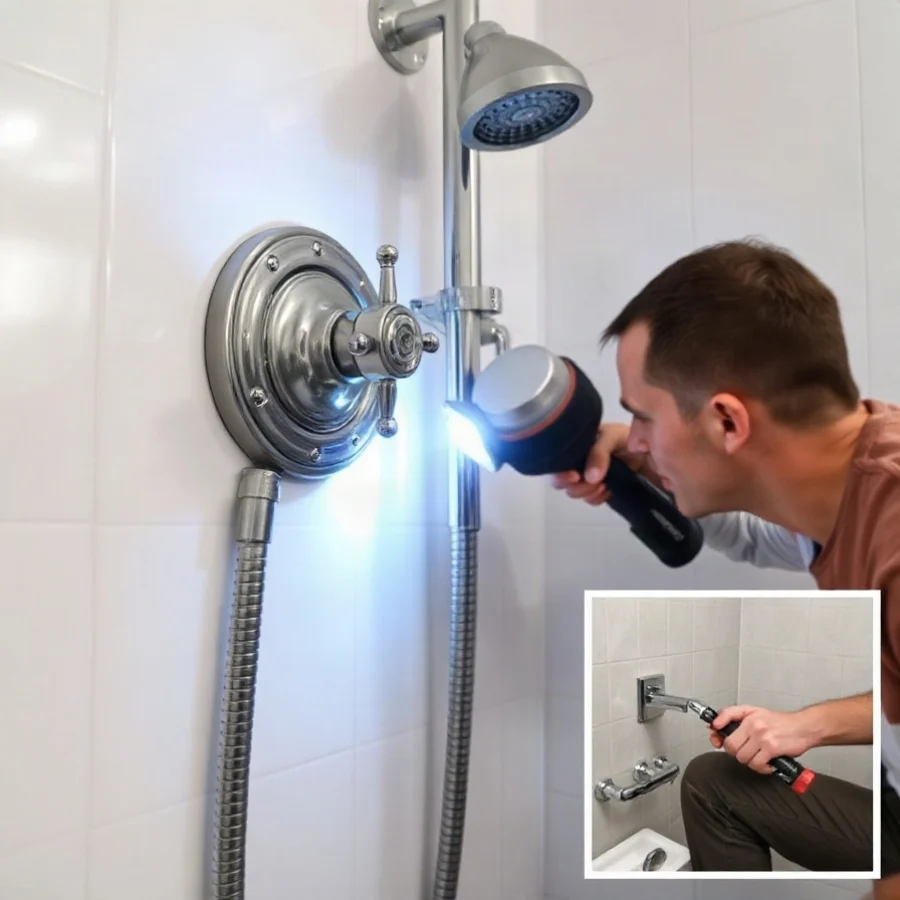
Confirm whether the showerhead continues dripping after the fixture has been off for several minutes. Also check whether the handle feels unusually loose, stiff, or difficult to rotate. Look for discoloration, soft drywall, peeling paint, musty odors, or water stains around the trim. These signs can indicate that moisture is reaching the wall cavity.
If water is actively entering the wall, stop using the shower and consider shutting off the appropriate water supply if you can do so safely. Do not remove the trim plate or cartridge unless you know how to isolate the water, identify the valve, and protect the finish. Some shower valves do not have accessible local shutoff stops, and removing a component without shutting off the supply can cause uncontrolled water flow.
For more general guidance on separating manageable tasks from professional work, review this DIY plumbing guide. Electrical work, gas work, sewage exposure, major flooding, and concealed leaks should always be handled by a qualified local professional.
When professional service is needed
Contact a qualified plumber when the leak is inside the wall, the water cannot be shut off, the valve is difficult to identify, or the repair requires removing a cartridge or stem. Professional help is also appropriate when the wall or floor shows signs of water damage, the valve body appears corroded, or the shower is located above a finished room.
A plumber may need to shut off the building water, remove the handle and trim, identify the valve, extract the cartridge or stem, inspect the valve body, and test the repair under pressure. If the valve or connected piping is concealed, limited access may be necessary to locate and repair the leak. Cutting into drywall or tile should be planned carefully because access work can affect the total project cost.
Repair or replacement: Which option makes sense?
Replacing an internal cartridge or stem is often the less disruptive option when the valve body is sound and the correct part is available. A repair may preserve the existing trim and reduce wall work. It can be a reasonable choice when the valve is relatively modern, the handle and trim are in good condition, and the leak is clearly isolated to a replaceable component.
Full valve replacement may make more sense when the valve body is cracked, badly corroded, damaged during a prior repair, or difficult to match with current parts. Replacement may also be considered when the existing valve lacks features the homeowner wants, such as a different control arrangement or improved temperature control. However, changing the valve can involve opening the wall, modifying supply connections, replacing trim, and repairing the finished surface afterward.
Questions to ask before approving a repair
- Where exactly is the leak originating?
- Is the valve body reusable, or does it need replacement?
- Is a matching cartridge or stem available?
- Will the work require opening the wall, tile, or ceiling?
- Can the existing trim be reused?
- What testing will be performed after the repair?
- What parts and labor are included in the written estimate?
What affects leaking shower valve repair cost?
There is no single reliable price for every leaking shower valve. The final cost depends on the type of valve, the cause of the leak, access, parts availability, local labor rates, and whether additional damage is discovered.
- Valve design: A basic stem repair, single-handle cartridge replacement, pressure-balancing valve, and thermostatic valve may require different parts and labor.
- Part availability: Identifying an older or discontinued valve can take additional time. Special-order parts may affect scheduling and total cost.
- Access: A valve accessible from a removable panel is generally different from one buried behind tile or a finished wall.
- Condition of the valve body: Corrosion, seized parts, or damage can turn a component repair into a larger replacement project.
- Trim compatibility: New internal parts may not match existing trim, or replacement of the valve may require new handles and a cover plate.
- Water damage: Wet drywall, insulation, framing, flooring, or subfloor materials may need separate evaluation and repair.
- Urgency and timing: A leak that cannot be stopped or is damaging the home may require faster professional attention than a minor, contained drip.
For broader planning, the plumbing costs guide explains why estimates vary and what to include when comparing quotes. A written estimate should identify the suspected cause, proposed work, access requirements, parts, cleanup, and any exclusions rather than presenting only a vague total.
How to choose the right plumber
Look for a plumber who regularly handles bathroom fixtures and concealed water leaks. Ask whether the company has experience with the valve brand or type in your home and whether the technician will inspect the valve body before recommending full replacement.
Before work begins, request a clear explanation of the repair plan. Confirm whether the estimate covers diagnostic time, replacement parts, access work, testing, and removal of damaged materials. Licensing and insurance requirements vary by location, so verify the professional's qualifications with the appropriate local authority or trade organization rather than relying on an unverified claim.
A reputable professional should not pressure you into replacing the entire valve without explaining why a cartridge or stem repair is unsuitable. At the same time, a plumber should be willing to recommend replacement when the valve body is unsafe, severely corroded, or no longer repairable.
What to do if the leak is getting worse
Stop using the shower if water is entering the wall, the ceiling below is staining, or the floor is becoming wet. If you can safely identify and close the relevant water shutoff, do so. Do not use electrical equipment in standing water, and keep people away from areas where water may have reached electrical components.
For active flooding or a leak that cannot be controlled, seek prompt local help through an emergency plumber service. If the leak is contained and the shower still operates normally, schedule a qualified inspection before a small valve problem causes hidden damage.
The most cost-effective decision is usually based on the actual source of the leak, not simply the age of the fixture. Safe observation can provide useful information, but concealed connections, valve replacement, and water-damage concerns require professional judgment. Addressing the problem early gives you more repair options and helps protect the wall and surrounding finishes.
Comments
0No comments yet. Be the first to share a helpful note or question.
Leave a Comment
Your email address will not be published. Comments are reviewed before appearing on the site.