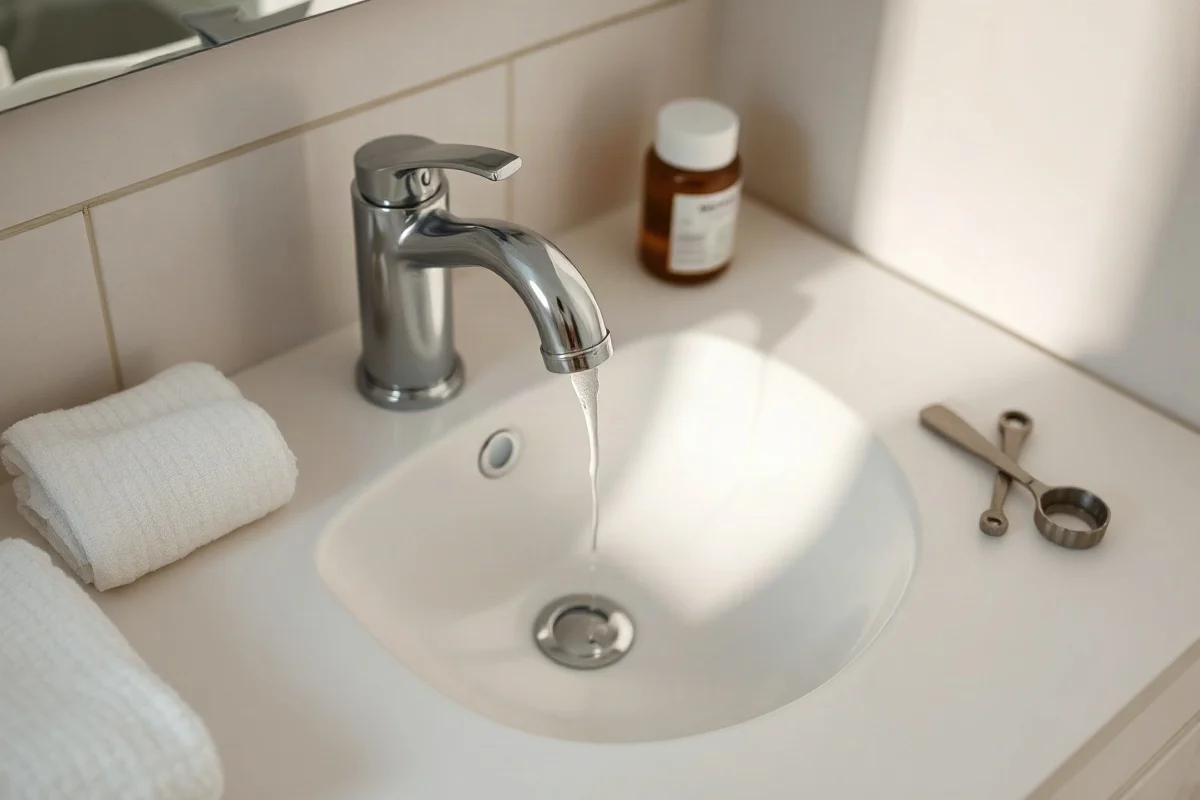
To stop a dripping bathroom faucet, first shut off the water supply, identify whether the faucet has one or two handles, and replace the worn cartridge, valve, washer, or O-ring causing the leak. A few low-risk checks can help you narrow down the problem, but do not force corroded parts or continue if water is leaking inside the cabinet, around the wall, or near electrical equipment.
A faucet that drips after the handles are closed is usually losing its watertight seal. The leak may be small, but leaving it unresolved can waste water, stain the sink, damage the cabinet, or signal a more serious problem with the faucet body or supply connections. The repair is often manageable when the correct replacement part is available, but the design varies considerably between faucet brands and models.
Start by identifying where the water is coming from
Before taking anything apart, dry the faucet and sink area with a towel. Then observe the leak for a few minutes. The location and timing of the water can point to different causes.
- Water drips from the spout after the handle is closed: A worn cartridge, valve stem, washer, or valve seat is a likely cause.
- Water appears around the handle: A damaged O-ring, stem seal, cartridge seal, or loose trim component may be allowing water to escape.
- Water leaks beneath the sink: Check the supply line connections, shutoff valves, faucet mounting area, and drain assembly.
- Water comes from the base of the spout: A worn O-ring or seal may be letting water past the swivel joint.
- The faucet drips only when the handle is moved: The cartridge or internal seals may be worn, or a connection may need attention.
Do not assume that every puddle near a faucet comes from the faucet itself. Water can travel along the countertop or sink and collect underneath in a different location. Dry the area thoroughly and use a flashlight to trace the first point where moisture returns.
Safe checks a homeowner can perform
Several basic steps are generally low risk if the faucet is accessible and the shutoff valves work normally. Keep a towel and a small container nearby before beginning.
Confirm that the handles are fully closed
Turn the handle or handles gently to the closed position. Do not overtighten them. Excessive force can damage the handle, valve stem, or internal cartridge without stopping the leak. If the faucet still drips with normal hand pressure, the internal seal probably needs service.
Check the shutoff valves
Look beneath the sink for the hot and cold water shutoff valves. Close both valves by turning them clockwise, but stop if one is stuck, severely corroded, or begins leaking around the stem. Open the faucet briefly to release pressure, then close it again.
If a shutoff valve will not close, leaks when turned, or appears badly deteriorated, avoid disassembling the faucet until the water supply can be controlled safely. A qualified local plumber can address the valve and faucet without creating an uncontrolled leak.
Inspect the supply connections
With the cabinet dry, wrap a paper towel around each connection below the sink. Reopen the shutoff valves carefully and watch for new moisture. This simple test can reveal a leaking supply line connection that is separate from the dripping spout.
Do not keep tightening a connection that is already snug. Overtightening can damage threads, crush a gasket, or cause a flexible supply line to fail. If water is spraying, pooling quickly, or reaching electrical equipment, close the nearest working shutoff and seek qualified help.
Common causes of a dripping bathroom faucet
Worn cartridge
Many single-handle bathroom faucets use a cartridge to control both water flow and temperature. Over time, mineral deposits, normal wear, or damaged seals can prevent the cartridge from closing completely. A drip from the spout is a common symptom.
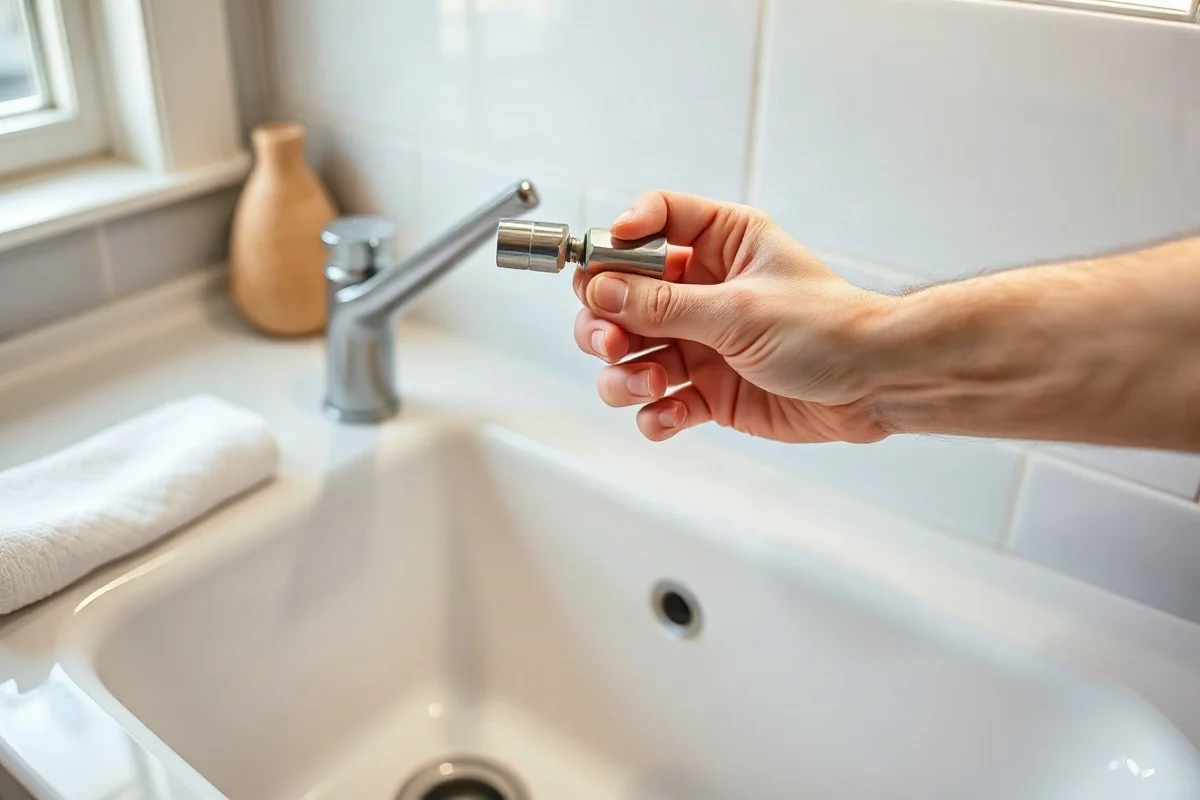
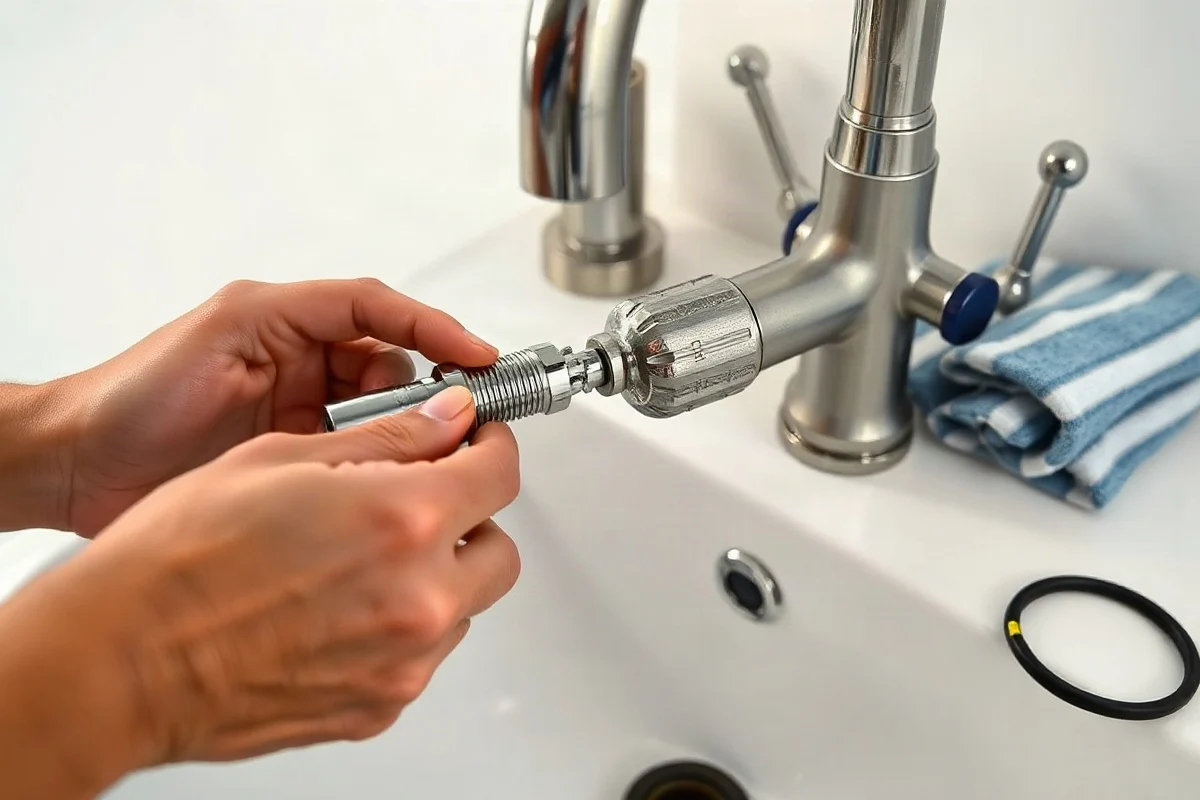
Cartridge replacement begins with removing the handle and retaining hardware. The exact arrangement differs by model. Some faucets have a decorative cap, set screw, clip, nut, or retaining ring. Photographing each step and keeping small parts in a container can help during reassembly.
Damaged washer or valve seat
Two-handle faucets often use compression-style valves or other valve assemblies with washers and seats. A worn washer may allow water to pass even when the handle is closed. A damaged or pitted valve seat can quickly wear out a new washer, causing the drip to return.
Replacing a washer may solve the problem when the rest of the valve is in good condition. If the seat is damaged, the valve body is corroded, or the stem is difficult to remove, the repair may require additional parts or professional service.
Worn O-rings and seals
Rubber O-rings seal moving parts such as a faucet spout or cartridge. When an O-ring becomes brittle, flattened, cut, or coated with mineral buildup, water may leak around the handle or spout base. Replacing the seal can be a straightforward repair if the faucet comes apart without excessive force.
Mineral deposits and debris
Hard-water deposits or small particles can prevent internal components from sealing. Cleaning removable parts may help, but aggressive scraping can damage polished surfaces and sealing edges. If deposits have built up inside the cartridge or valve, replacing the affected component is often more reliable than trying to restore it.
How to replace a faucet cartridge or valve component
If you decide to attempt the repair, locate the faucet brand and model first. The model information may be printed on the faucet, shown in the original documentation, or identifiable through the manufacturer’s product information. Take the removed component to a plumbing or hardware supplier only after confirming that the water is fully shut off and the part can be removed safely.
- Close the hot and cold shutoff valves beneath the sink.
- Open the faucet briefly to release residual pressure.
- Cover the drain opening so screws or clips cannot fall into it.
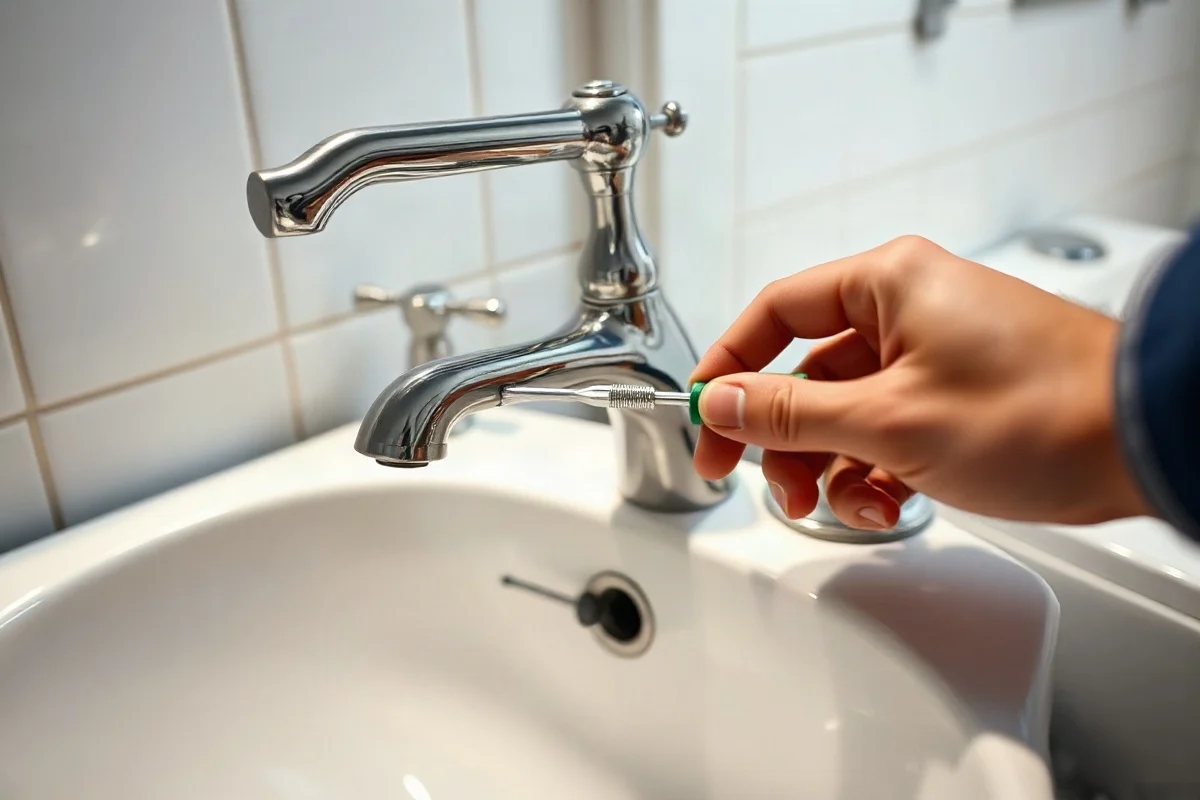
- Remove the handle carefully, using the correct screwdriver or hex key if needed.
- Remove the retaining clip, nut, or ring that holds the cartridge or valve assembly.
- Pull the component straight out when possible. Avoid twisting or prying aggressively against the faucet body.
- Clean loose debris from the opening without scratching sealing surfaces.
- Install the matching replacement part in the same orientation as the original.
- Reassemble the faucet, reopen the shutoff valves slowly, and check for leaks.
Never force a stuck cartridge with improvised tools that could crack the faucet body or damage the countertop. If the component will not move, corrosion is extensive, or the faucet begins leaking from an unexpected location, stop and contact a qualified plumber. More repair guidance is available in this faucet repair guide.
Repair or replace the faucet?
Repair is often reasonable when the faucet body is in good condition, replacement parts are available, and the leak is limited to a cartridge, washer, O-ring, or other serviceable component. Replacement may make more sense when the faucet is heavily corroded, has damaged threads, leaks from the body, or needs several hard-to-find parts.
Also consider the condition of the shutoff valves and supply lines. Replacing an internal faucet part will not solve a leaking valve beneath the sink. If the faucet is old and multiple components are deteriorating, installing a compatible replacement may reduce repeated disassembly and future leaks.
When replacing a faucet, verify the number and spacing of the sink openings, the supply connection type, the clearance beneath the counter, and whether the new faucet includes the needed mounting hardware. If you are uncertain about compatibility, ask a qualified professional before purchasing.
When to call a professional plumber
A dripping spout is not usually an emergency, but some conditions require more than a basic homeowner repair. Contact a qualified local plumber when:
- The shutoff valves do not work or begin leaking.
- The faucet or supply line is spraying, flooding, or damaging the cabinet.
- You cannot identify the source of the water.
- The leak appears inside a wall, ceiling, floor, or vanity structure.
- The faucet body, pipes, or connections are badly corroded.
- A cartridge, valve stem, or retaining part is seized.
- Water has reached electrical equipment or created an unsafe condition.
- The repair involves concealed plumbing, extensive water damage, or work that may need to meet local requirements.
For a fast-growing leak or major flooding, close the main water shutoff if it is safe to do so and arrange qualified emergency assistance. Avoid working around sewage, exposed wiring, or contaminated water. You can review general leak repair information while arranging service.
What affects the cost of faucet repair?
The final cost depends on the faucet design, the failed component, access to the plumbing, the condition of the shutoff valves, and whether parts are readily available. A simple cartridge or washer replacement may involve less work than removing a corroded faucet or repairing damaged connections beneath the sink.
Service timing can also affect the total, particularly when the problem requires urgent attention outside normal scheduling. Before work begins, ask the plumber to explain the suspected cause, the planned repair, the parts involved, and whether additional damage could change the scope. Avoid choosing a provider based only on the lowest initial quote if the description of the work is unclear.
How to choose the right local plumber
Look for a plumber who clearly explains the diagnosis and distinguishes faucet repair from related work such as supply-line, shutoff-valve, cabinet, or hidden-leak repairs. Ask whether the technician has experience with your faucet type and whether the proposed replacement part is compatible with the existing fixture.
Before approving the job, request a written description of the work and ask what is included. Confirm how the plumber handles unexpected corrosion or parts that cannot be removed safely. Licensing, insurance, and other requirements vary by location, so verify the qualifications that apply in your area rather than relying on a general claim.
For additional guidance on comparing service providers, see our information about hiring a plumber. A careful diagnosis can prevent a small bathroom faucet drip from turning into cabinet damage, a failed shutoff valve, or a much larger leak.
Comments
0No comments yet. Be the first to share a helpful note or question.
Leave a Comment
Your email address will not be published. Comments are reviewed before appearing on the site.