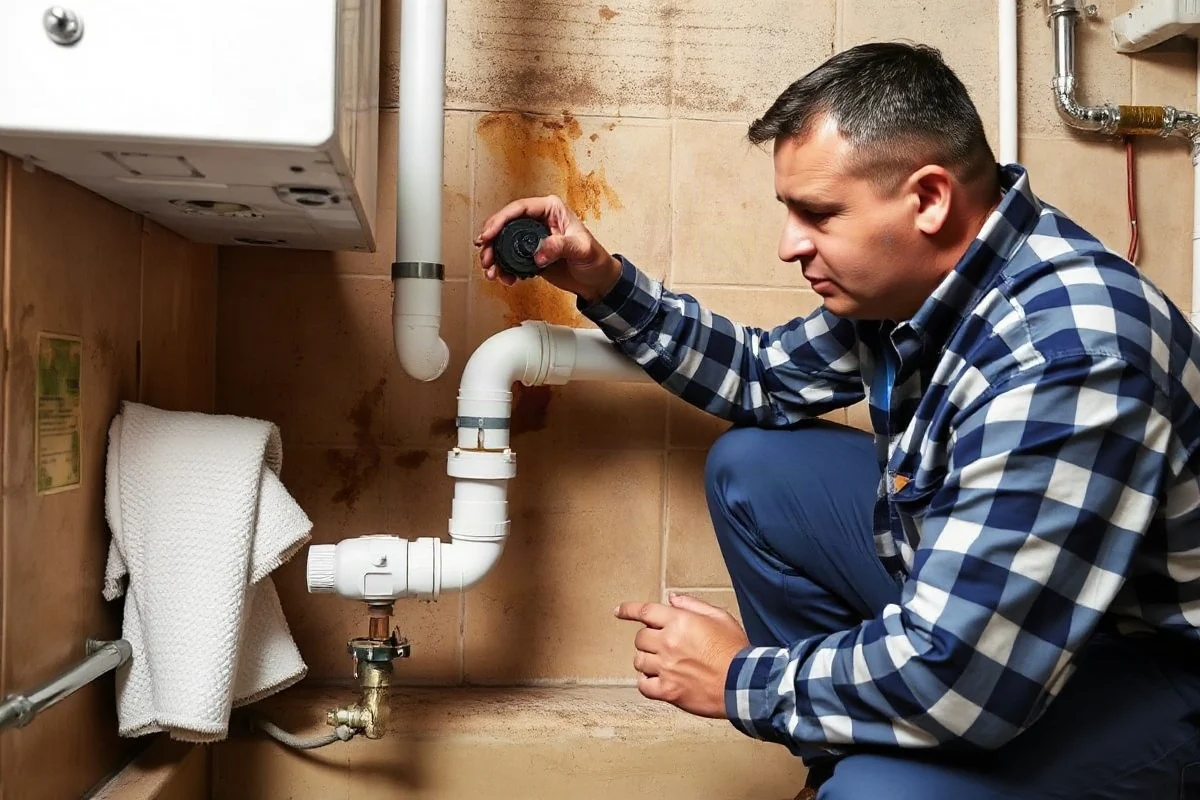
Yes, a burst pipe can sometimes be repaired without replacing the entire section, but the right choice depends on the location, material, age, and extent of the damage. A clean split or small puncture in an otherwise sound pipe may be fixed by removing the damaged portion and installing a new fitting or short replacement section. If the pipe is brittle, badly corroded, repeatedly leaking, or damaged in several places, replacing a longer section—or the complete accessible run—may provide a more reliable solution.
Before making that decision, stop the water flow and protect the area from further damage. A burst pipe can quickly affect flooring, drywall, cabinets, insulation, wiring, and personal belongings. If water is near electrical equipment, sewage is involved, or the leak is inside a wall, ceiling, crawl space, or slab, use a qualified local professional rather than attempting the repair yourself.
What a burst pipe usually looks like
A pipe does not always fail with a dramatic split and a strong spray. The first signs may be a wet spot, unexplained dripping, reduced water pressure, a sudden increase in water use, or water appearing below a ceiling or cabinet. Other warning signs include:
- A visible crack, hole, bulge, or split in an exposed pipe
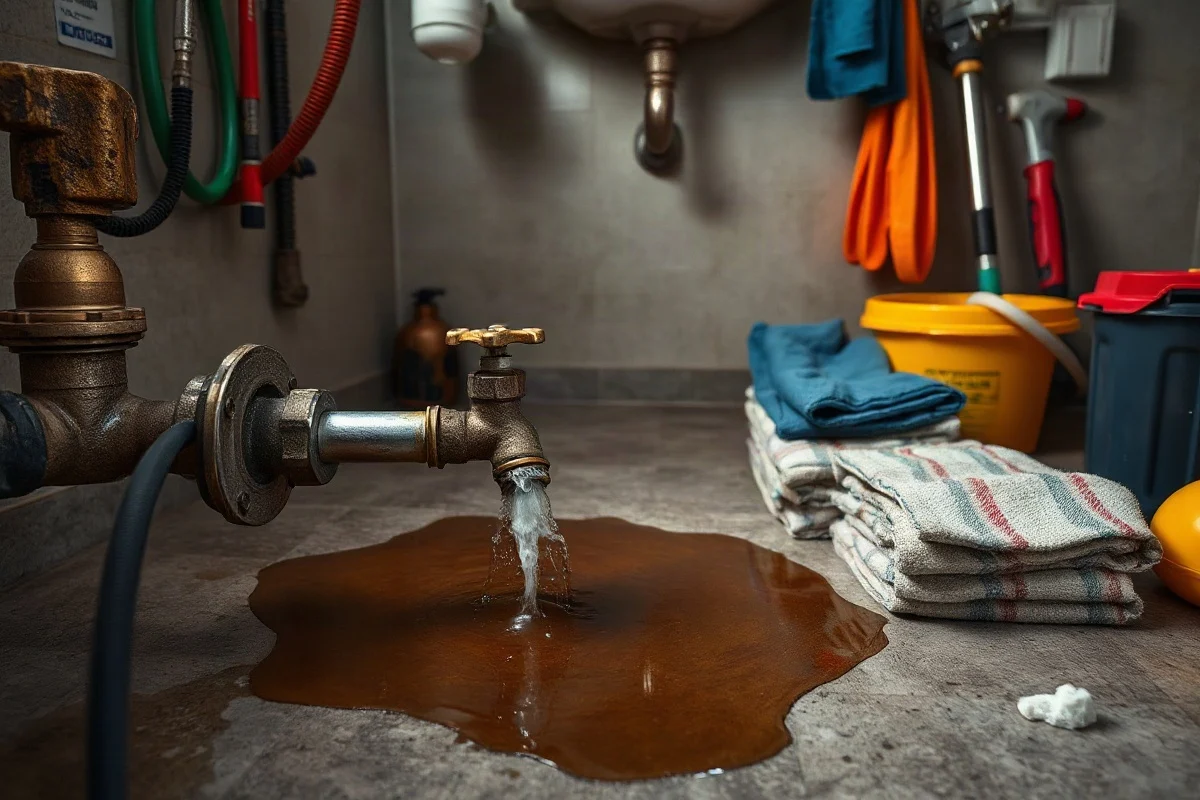
- Water pooling near a water heater, basement, crawl space, or utility area
- Damp drywall, stained ceilings, swollen flooring, or musty odors
- Frost on an exposed pipe during freezing weather
- Unusual sounds when fixtures are turned off
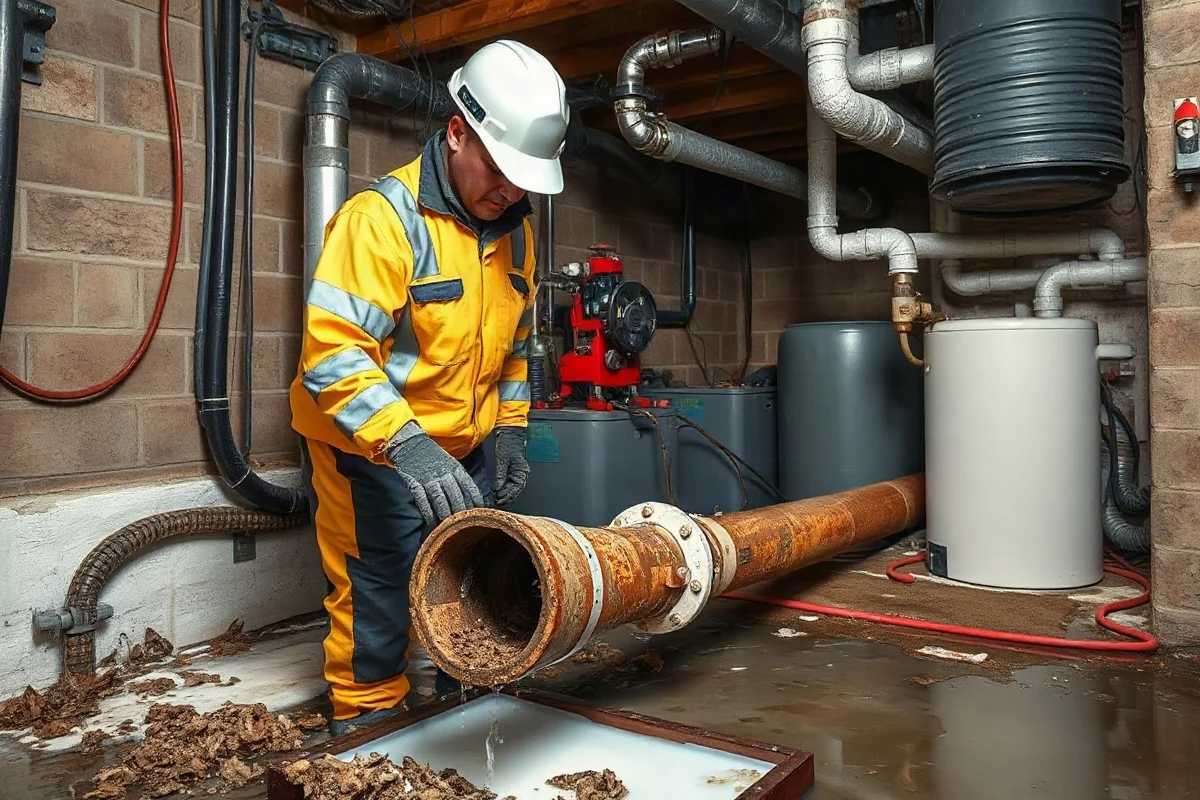
- Rust, green or white mineral buildup, or corrosion around joints
- Water pressure that changes suddenly after a leak begins
The location of the water is not always the location of the break. Water can travel along framing, insulation, or the outside of a pipe before becoming visible. That is why concealed leaks often require professional testing and access work.
Safe steps homeowners can take first
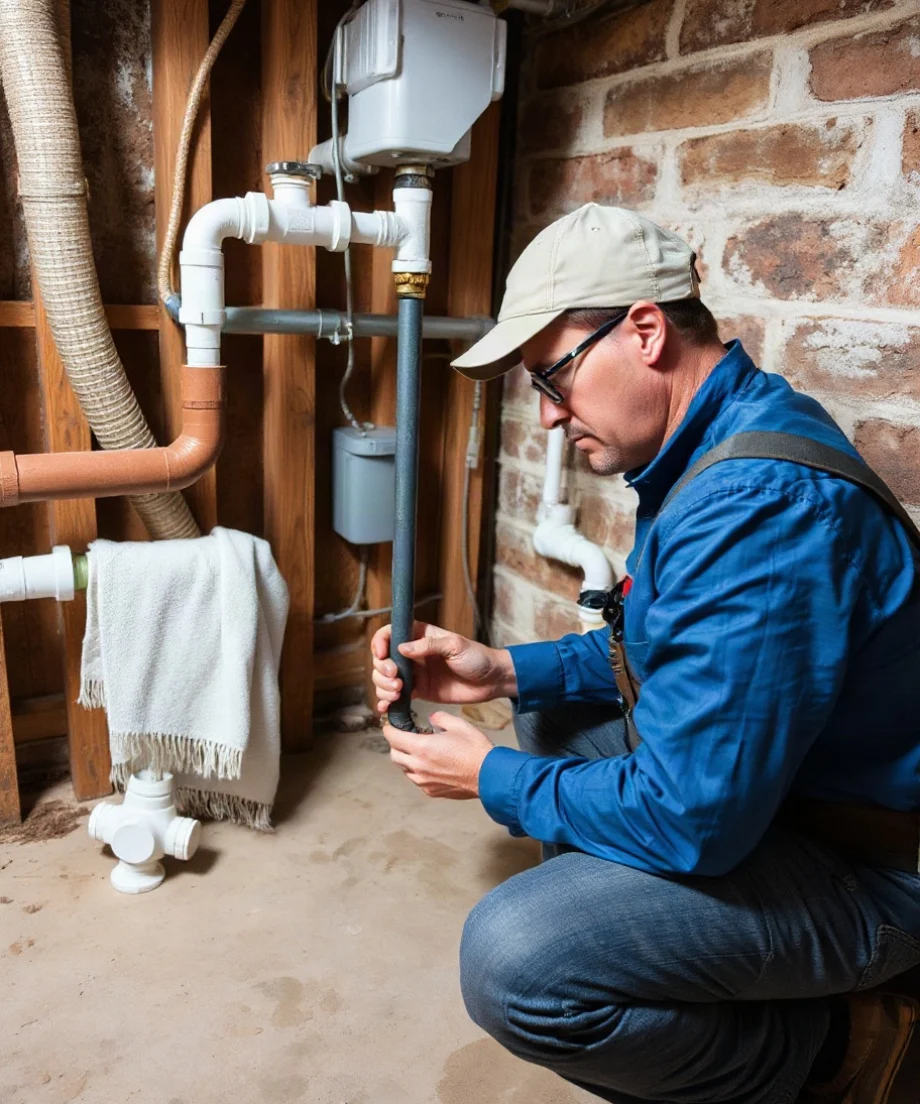
Homeowners can take a few low-risk steps while arranging help. First, close the main water shutoff if you can reach it safely. If the leak is limited to a fixture or appliance and has a dedicated valve, closing that valve may stop the flow. Open a cold-water faucet briefly after shutting off the supply to relieve some pressure, but do not open fixtures if doing so could send water into a damaged area.
Move furniture, boxes, and other belongings away from the water. Use containers or towels to limit spread only if the area is safe to enter. Take photos and videos of the damage for your records, and note when you first noticed the problem. If water is close to outlets, electrical panels, appliances, or wiring, do not step into standing water or touch electrical equipment. Contact an appropriate qualified professional for the electrical hazard as well as a plumber.
Do not use a torch, soldering equipment, power tools, or chemical sealants as an emergency fix unless you are trained and the work is clearly safe. A clamp or temporary repair product may reduce water flow in some situations, but it should not be treated as a permanent solution, particularly on a pressurized line or a pipe inside a wall.
When a localized pipe repair may be enough
A plumber may recommend cutting out only the damaged portion when the surrounding pipe is in good condition. This approach is more likely to make sense when:
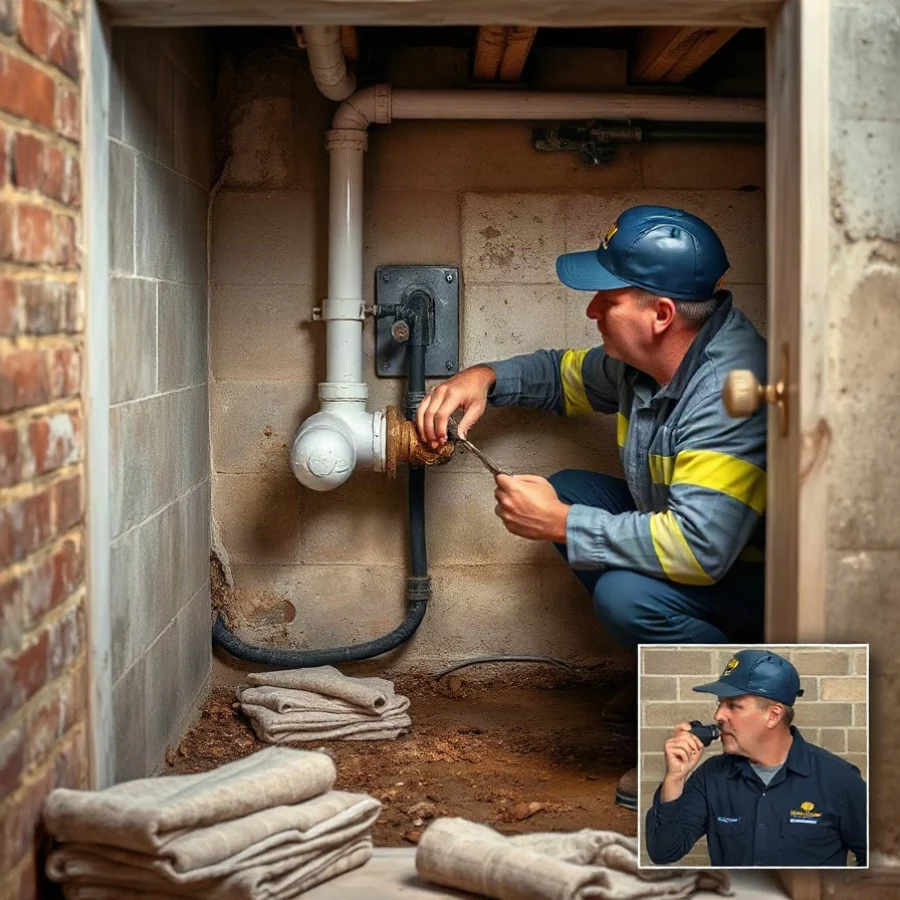
- The damage is confined to one accessible location
- The pipe wall is solid and shows little corrosion or wear
- The material is compatible with a practical replacement section and fittings
- The failure resulted from a single event, such as impact or freezing at one exposed spot
- Nearby joints and connections are dry, stable, and properly supported
The repair typically involves shutting off and draining the line, removing the failed piece, preparing the ends, and installing a new section with suitable connections. The exact method depends on whether the system uses copper, galvanized steel, CPVC, PVC, PEX, or another material. Connections must be compatible with the pipe and appropriate for the line’s use. A professional should also check for movement, inadequate support, pressure problems, and other conditions that could cause the replacement piece to fail.
A small repair is not necessarily a lesser repair. Removing a clearly isolated failure can avoid unnecessary disturbance to walls, ceilings, flooring, or finished cabinets. However, the visible hole is only part of the decision. The pipe around it must be evaluated before assuming a short patch will last.
When replacing the whole section is safer
Replacement becomes more appropriate when the pipe shows broader deterioration or when the original cause is likely to affect nearby areas. A plumber may recommend replacing a longer section if the pipe is:
- Heavily rusted, pitted, scaled, or discolored over multiple feet
- Brittle, cracked, misshapen, or damaged at several points
- Part of an older system with repeated leaks
- Located where future access would be difficult or destructive
- Improperly supported or exposed to rubbing, vibration, or movement
- Connected to fittings that are also deteriorated
Replacing a longer run can reduce the number of joints and remove weak material that may fail next. It may also be more practical if the pipe has already been opened for access. On the other hand, full-section replacement can require more labor and may involve removing drywall, flooring, insulation, cabinets, or other finishes. The best option balances reliability, access, disruption, and the condition of the rest of the system.
Common causes of burst pipes
Understanding why the pipe failed helps determine whether a patch is likely to solve the problem. Freezing is a common cause in exposed or poorly protected areas. Water expands as it freezes, creating pressure that can split a pipe. The pipe may not release water until it thaws, so a leak can appear later than the freezing event.
Corrosion and age can gradually weaken metal pipes. Mineral buildup, chemical exposure, movement, poor support, high pressure, and repeated temperature changes can also contribute. Plastic piping may crack from impact, improper installation, excessive stress, or freezing conditions. A failed joint may point to a connection problem rather than a defect in the pipe itself.
If the cause is not corrected, a new piece may fail as well. For example, replacing a frozen section without addressing cold air exposure leaves the system vulnerable to another break. A professional should look beyond the damaged spot when the failure pattern suggests a system-wide issue. For background on failure patterns, see what causes pipes to burst inside a house.
How the pipe material affects the decision
Pipe material influences both the repair method and the likelihood that nearby sections need attention. Copper can often be repaired by removing a damaged portion and installing a compatible replacement, but extensive corrosion or thin pipe walls may support broader replacement. Galvanized steel can develop internal corrosion and restricted flow, so a single visible failure may not represent the condition of the full system.
PVC, CPVC, and PEX each require different tools, fittings, and connection methods. A repair should use components suitable for the application and compatible with the existing pipe. Mixing materials is sometimes possible, but it requires the correct transition fittings and installation method. Do not select a pipe based only on appearance or convenience.
If you are comparing replacement materials, this guide to copper, PVC, or PEX after a burst can help explain the main considerations. A local plumber can assess which option fits the existing system and the location of the repair.
What the repair process may involve
A professional assessment usually begins with locating the failure and determining whether the line is still pressurized. The plumber may inspect adjacent joints, supports, valves, insulation, and accessible pipe surfaces. If the leak is concealed, additional diagnostic work may be needed before opening a wall or ceiling.
After selecting a repair or replacement plan, the plumber isolates and drains the affected line as safely as possible. The damaged material is removed, the remaining pipe is inspected, and the new section is installed. The system should then be refilled gradually and checked for leaks. A careful inspection also considers water damage around the pipe; drying, mold prevention, drywall removal, or electrical evaluation may be separate needs.
For an active leak that cannot be controlled, consult emergency plumbing guidance. If the damaged line involves sewage, avoid contact with the water and arrange qualified cleanup and plumbing help.
Cost factors without relying on a single number
The cost of burst pipe work varies widely, so a single advertised price cannot accurately describe every repair. Important factors include the pipe material, the length of replacement, accessibility, the time required to shut down and drain the system, and whether special fittings or equipment are needed.
Access can have a major effect. An exposed pipe in an unfinished utility area may be easier to reach than a pipe behind finished drywall, under flooring, inside a ceiling, or beneath a slab. Water damage, emergency scheduling, cleanup, disposal, and restoration may add separate expenses. A longer replacement may cost more initially but could be more practical than returning soon to repair another weak section.
Ask for a written description of the proposed work. It should identify the failed area, explain why a localized repair or broader replacement is recommended, and state whether testing, access restoration, drying, or cleanup is included. For more planning guidance, review burst pipe repair cost factors rather than relying on an unverified local estimate.
How to choose the right plumber
Look for a qualified local plumber with experience in burst pipes and the type of plumbing system in your home. Ask whether the person handling the work is appropriately licensed or qualified where required in your area, and request proof of insurance when appropriate. Licensing and permit requirements vary by location, so confirm local requirements with the relevant authority or professional.
A dependable plumber should explain the immediate shutoff, the cause they found, the condition of nearby pipe, and the differences between repair and replacement. Be cautious of anyone who recommends replacing an entire system without inspecting it, or anyone who promises a permanent result without discussing access, materials, and testing. You should also ask how the work area will be protected and whether water-damaged building materials require another contractor.
Making the repair-versus-replacement decision
The most sensible choice is usually the smallest repair that restores the system reliably—not automatically the smallest piece of pipe that can be patched. If the failure is isolated and the surrounding pipe is sound, a localized repair may be appropriate. If corrosion, brittleness, repeated leaks, poor installation, or difficult access affects a larger area, replacing the whole section can reduce future risk.
When in doubt, shut off the water, keep people away from unsafe areas, document the damage, and arrange an inspection. A prompt, properly evaluated repair can limit water damage while avoiding unnecessary replacement.
Comments
0No comments yet. Be the first to share a helpful note or question.
Leave a Comment
Your email address will not be published. Comments are reviewed before appearing on the site.